
CM2WebShare OpenID Microsoft Guide
OVERVIEW
To use Microsoft Open ID with CM2WebShare you are required to register the application on Azure Active Directory. The registration will be used to acquire an access token to requests to access the CM2WebShare API.
APP REGISTRATION USING THE WEB PORTAL
-
Sign in to Azure web portal using the link below https://azure.microsoft.com/en-gb/features/azure-portal/
-
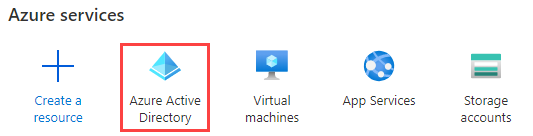
Once signed in, click on the Azure Active Directory button
-
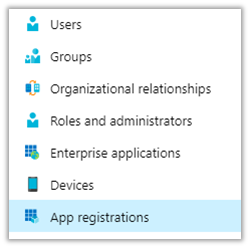
Click on the App Registrations option from the left menu
-
Click on the New registration button

-
Enter CM2WebShare into the name input field

-
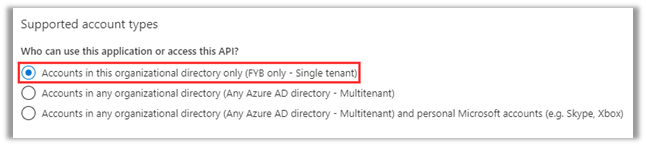
Under Supported account types section enabled Accounts in this organizational directory option
-
Select Single-page application (SPA) from the drop-down menu and type in the hostname configured for cm2webshare followed by /cm2webshare/
NoteThe URI is case sensitive, the route must match exactly the pattern below where the only variable that needs to be replaced is the hostname. Please include the trailing slash in the URL. Example: https://hostname/cm2webshare/

-
Click on the Register button

EXPOSE THE API
Applying a custom scope to the registration will prevent unauthorized access to the CM2Webshare API endpoints.
-
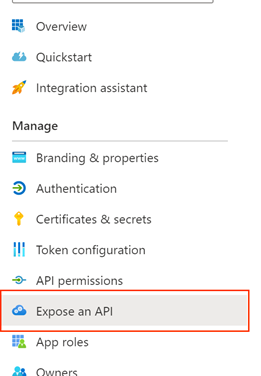
In the Left Menu, click on Expose an API
-
Next to the Application ID URI click on Add
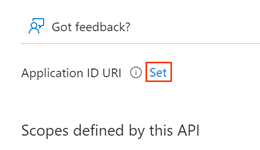
-
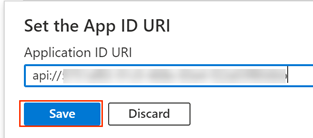
Click Save
NoteDo not Change the Application ID URI. It must be in the following format: api://{client id}
-
Click Add a scope
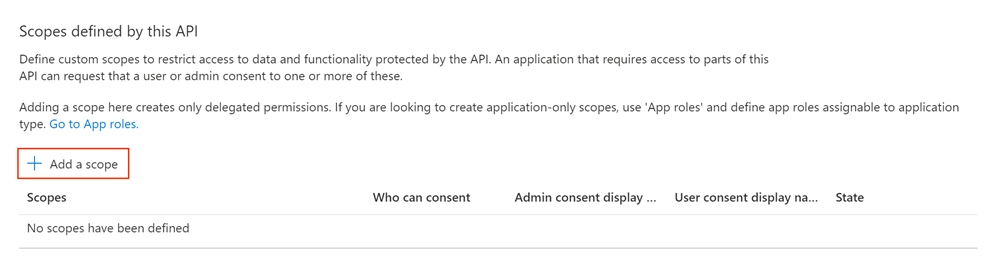
-
Specify the values below in the Add a scope window, then click Add scope
NoteThe scope must be named Grant.Access
Field Value Scope Name Grant.Access Who can consent? Admins and users Admin Consent display name Grant Access to CM2WebShare Admin consent description Grant Access to CM2WebShare State Enabled 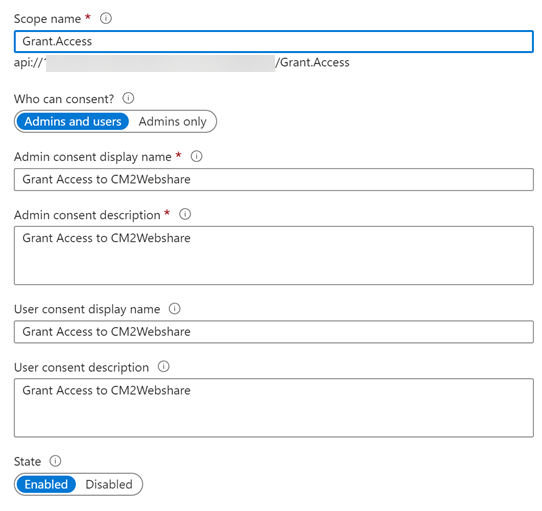
-
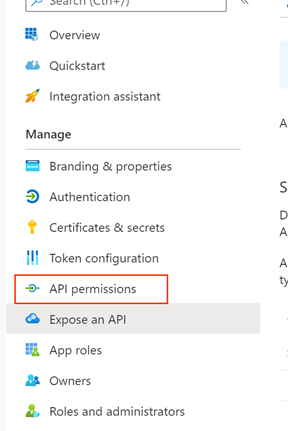
Once the scope has been added, click on API permissions
-
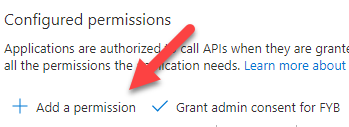
Click on Add a permission
-
Click My APIs

-
Click on the previously created CM2WebShare Azure app registration

-
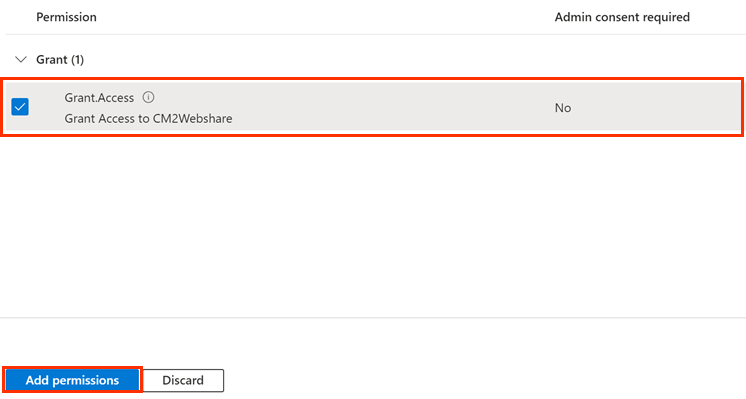
Click on the Grant.Access scope and then click Add permissions at the bottom of the screen
-
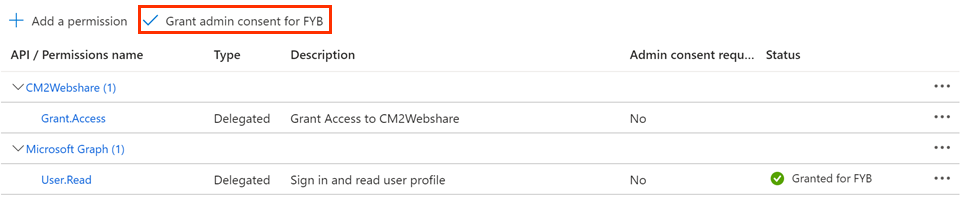
Click on Grant admin consent
GATHERING APP DETAILS
Please follow the steps below to retrieve the Application ID, Tenant ID and Redirect URL on the Azure portal. These values are required for the installation.
-
Once signed into the Azure portal click on Azure Active Directory
-
Click on App registrations

-
Click on the required application (CM2WebShare created previously)

-
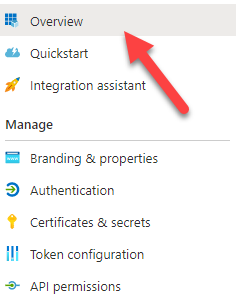
Click on Overview
-
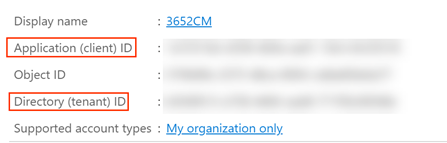
Copy the Client ID and Directory (tenant) ID and note them down.
-
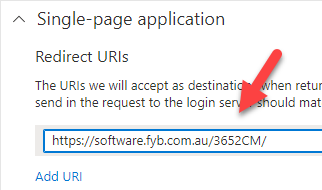
Click on Redirect URIs from the overview page

-
And then copy and note down the Redirect URI value
VALUES REQUIRED FOR INSTALLATION
The following values will be required for the installation of CM2WebShare. Please ensure that the person responsible for the installation has these values.
- Redirect URI
- Client ID
- Authorization URL
| Name | Description |
|---|---|
| Redirect URI | The URI where Azure will send the authentication payload upon successful authentication. |
| Client ID | Application's unique identifier on AzureAD. |
| Authorization URL | https://login.microsoftonline.com/\{Tenant ID} |
ENDPOINTS
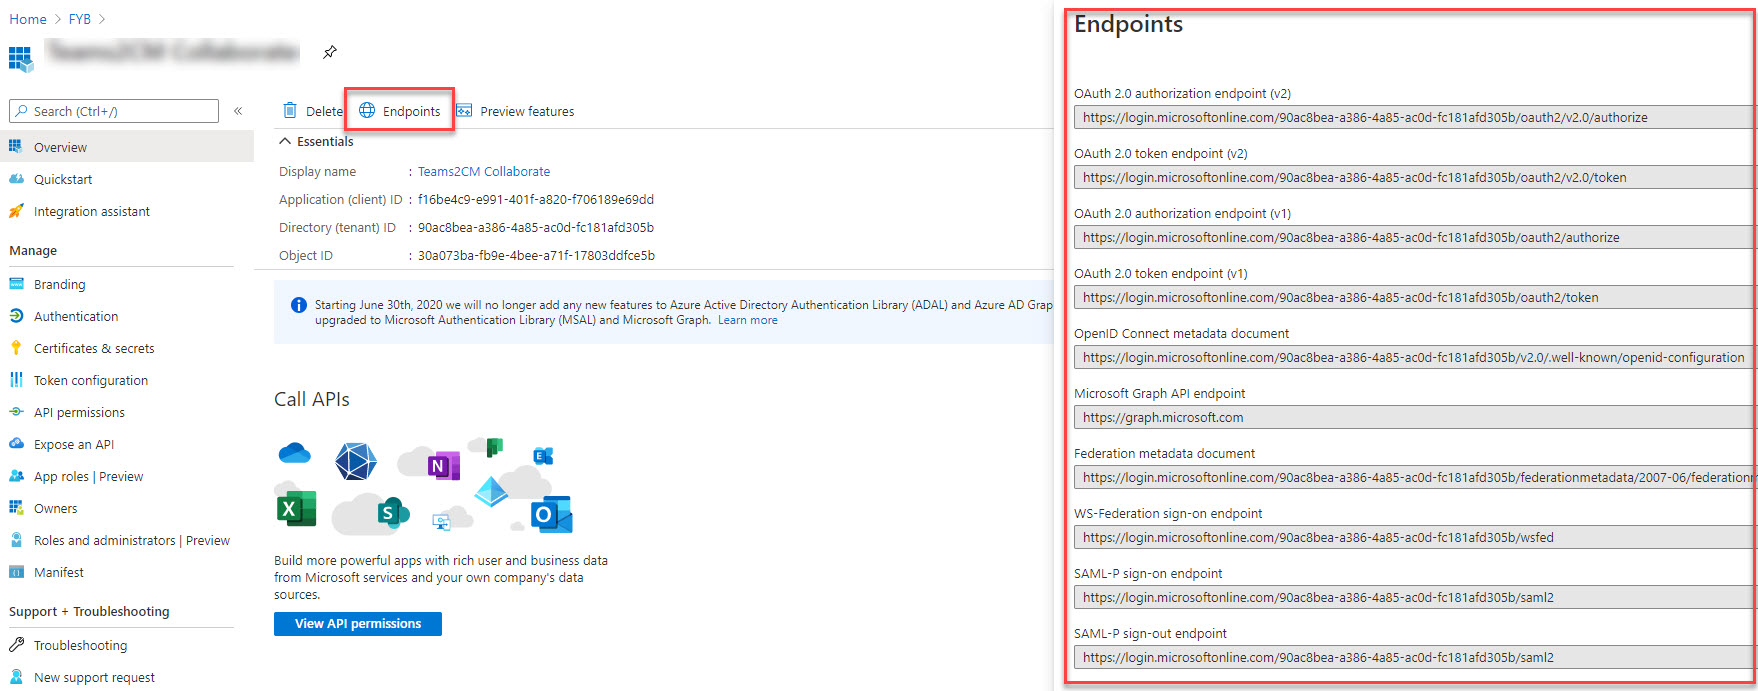
All valid endpoints for the registered application can be seen via the Azure web portal.
-
Select the registered application on Azure
-
From the Overview page select Endpoints
CONFIGURATION
The Authentication tab allows you to specify the authentication method for CM2WebShare, and is available within the admin section of CM2WebShare
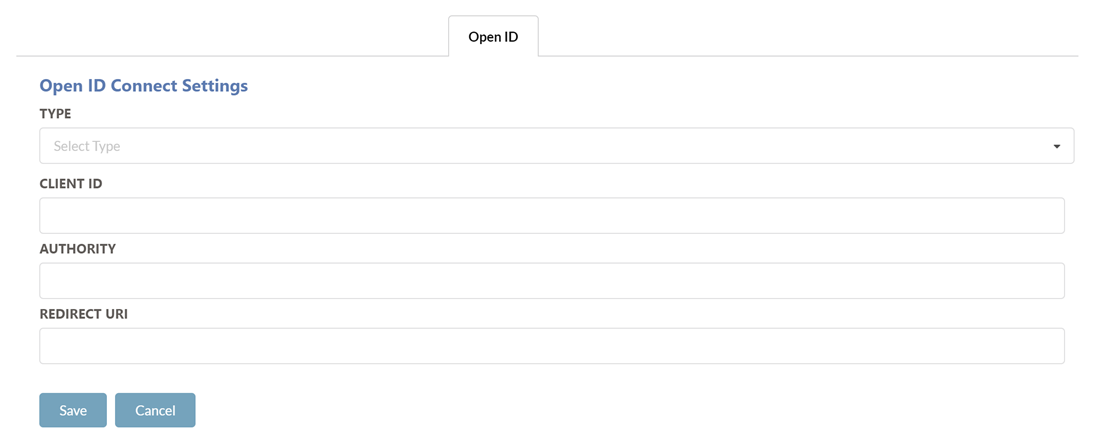
To enable Microsoft Open ID Authentication:
-
Set the Type field to Microsoft.
-
Enter the values for all the provided fields.
-
Click Save
-
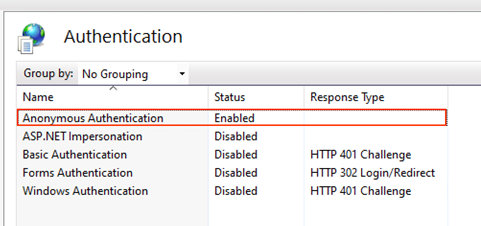
Navigate to the CM2WebShare application in IIS
-
Ensure Anonymous Authentication is the only authentication method enabled for CM2WebShare
-
Perform an app pool restart for CM2WebShare