
DocUCheck Installation Guide
DISCLAIMER
Any advice FYB provide in relation to setting up any FYB App, FYB Add-in, FYB Connector and or advice in relation to opening access to your on-premises or in the cloud systems will be general advice only. This means that the advice is of a general nature and will not consider your network setup, network infrastructure or any security requirements that you may have or in fact need. It is highly advised that you seek advice from internal or external providers to ensure that they are comfortable with what is required prior to going ahead with any deployment, setup, or configuration for external access.
LICENSE DETAILS
Please contact FYB for a valid license if you are yet to obtain one for your Add-in.
INSTALLATION COMPONENTS
The following installation components are required to ensure full functionality of the FYB DocUCheck:
- FYB DocUCheck Service allows email notifications to be sent. This is a server-side installation
- FYB DocUCheck Pop-Up Add-In allows the reminder Pop-Up to be shown when users open or close Content Manager. This is a client-side installation
INSTALLING FYB DOCUCHECK SERVICE
PRE-INSTALL CONFIGURATION
-
Open Content Manager and create a new additional field
-
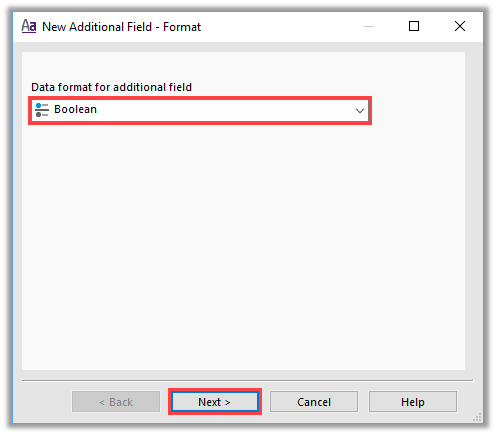
Select the format Boolean
-
Click the Next button
-
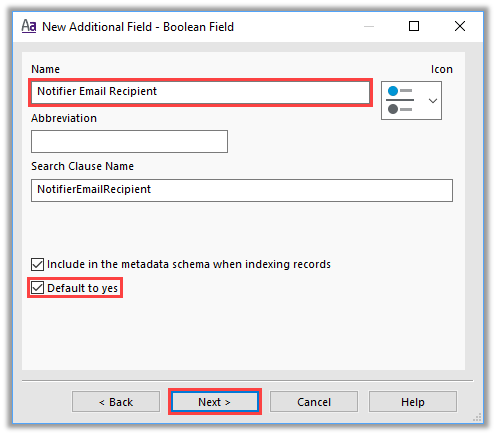
Enter the name as Notifier Email Recipient
-
Select the checkbox Default to yes (optional) and click the Next button
 info
Checking on the “Default to yes” setting will only default this field to yes for locations created post creation of this additional field. You will be required to update existing locations that will be using this functionality, as the additional field will be defaulted to No for existing Locations.
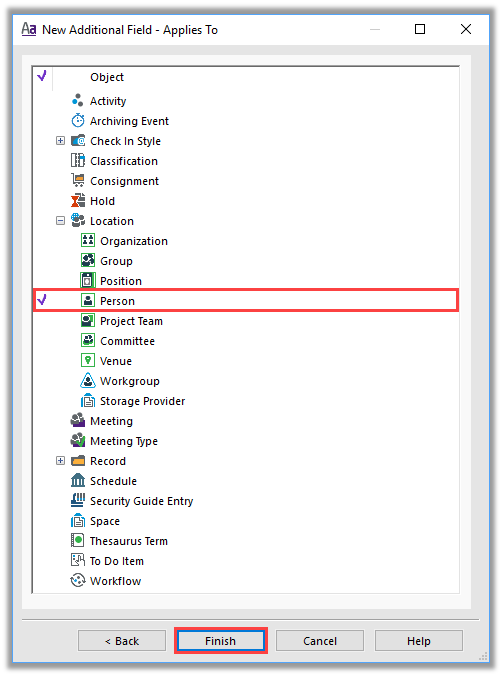
6. On the Applies To screen, tag Person and click the Finish button
-
Each Location that is to receive the email notifications will need the Notifier Email Recipient additional field set to Yes
-
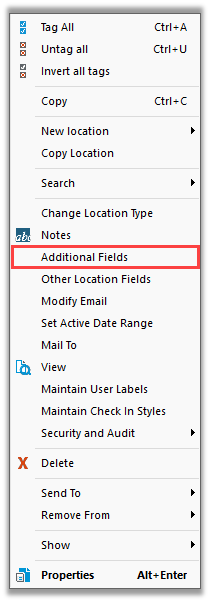
Right click on a Location (or list of tagged Locations) and select Additional Fields
-
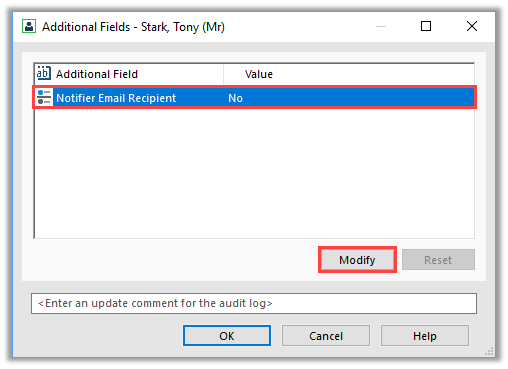
Highlight the Notifier Email Recipient Additional Field and click the Modify button to change the value from No to Yes
-
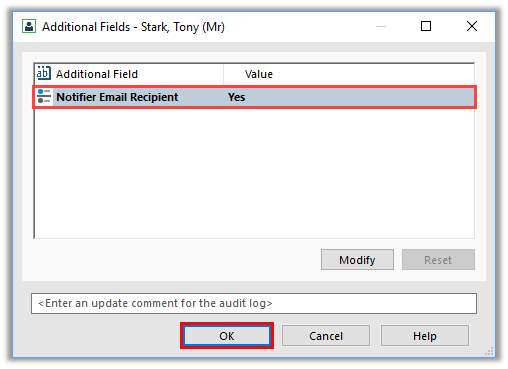
Once the Notifier Additional Field value is set to Yes, click the OK button to save the change on the Location(s)
INSTALLATION
The DocUCheck Service MSI will:
- Deploy the installation files
- Setup the temp folder
- Configure the application settings as specified by the user
To install the DocUCheck Service, follow these steps:
-
Create an appropriate folder to house the license file (.lic) on the server For Example: C:\FYBAddins\License You will be asked to enter this location later in the install process
-
Move the license file into the license folder
-
Run command prompt as an administrator and launch the docucheckservice-xxx.msi
-
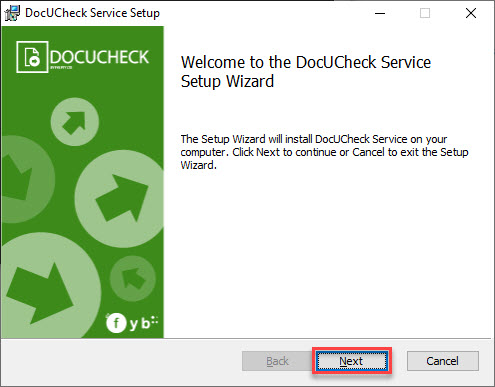
Click the Next button
-
On the Configuration Settings screen, enter the dataset ID, license path, and temp folder path. Click the Next button
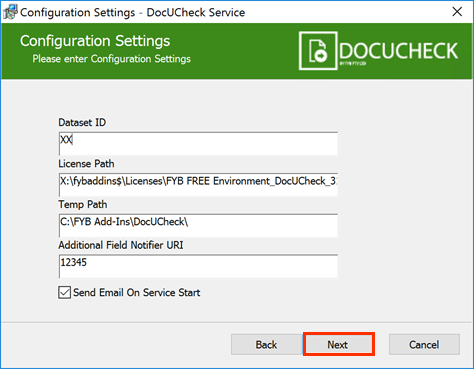
NAME DESCRIPTION Dataset ID The two-character dataset identifier License Path The local path of the DocUCheck license file, including ".lic" Temp Path The local path of the folder that the DocUCheck service is to use for temporary file storage. Additional Field Notifier URI The 'Notifier Email Recipient' additional field URI Send Email On Service Start If checked, the service will send an additional batch of reminder emails as soon as it starts. -
Enter the Email Settings then click Next
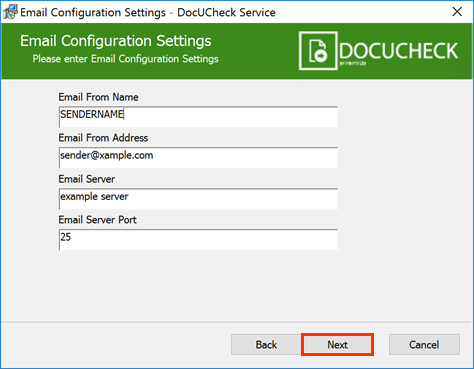
NAME DESCRIPTION Email From Name The name that appears as the sender of the email Email From Address The email address that appears as the sender of the email. Email Server The address of the email server Email Server Port The port of the email server -
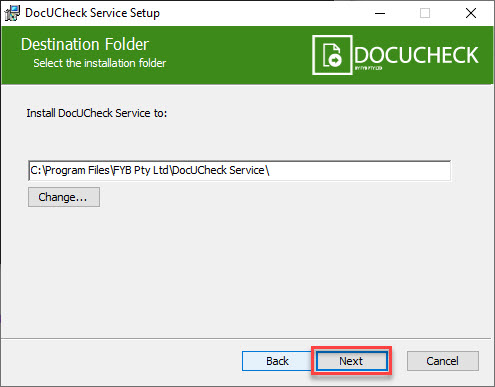
On the Destination Folder screen, select the installation folder and click the Next button
-
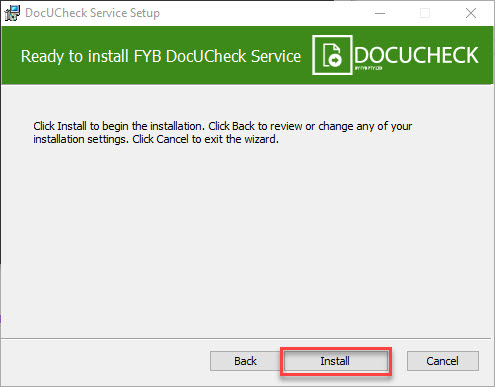
On the confirm installation window, click the Install button
-
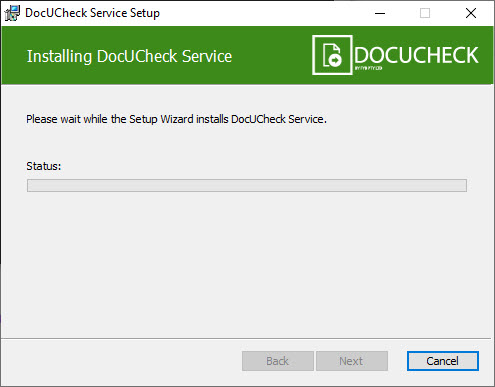
The installation will commence
-
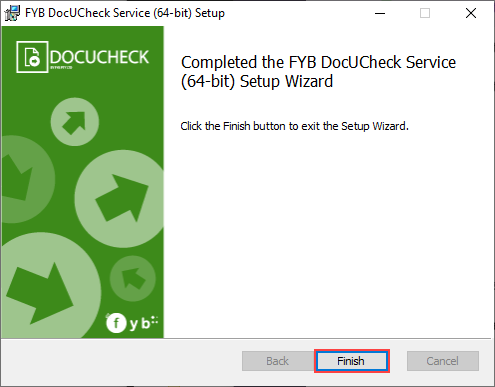
Once the installation is complete, click the Finish button
-
Navigate to the location the DocUCheck Service was installed to (default: C:\Program Files\FYB Pty Ltd\DocUCheck Service). Run the DocUCheckServiceConfig.exe as an admin
-
Configure settings to suit your environment as per the DOCUCHECK SERVICE SETTINGS section of this guide
-
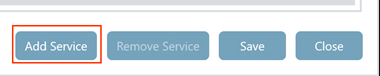
Once the settings have been configured, click the Add Service button
-
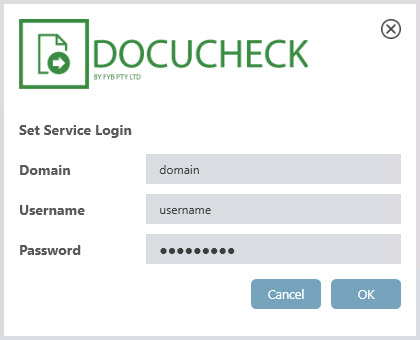
Enter the credentials for the service login account, and click the OK button
-
The account credentials will be validated
-
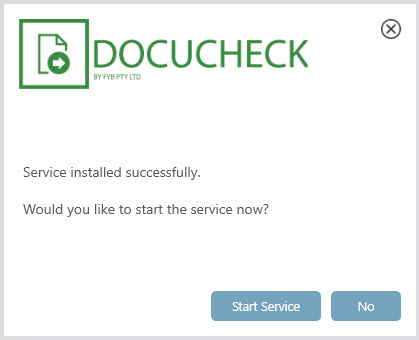
Once the service is successfully installed, you will be asked if you want to start the service
-
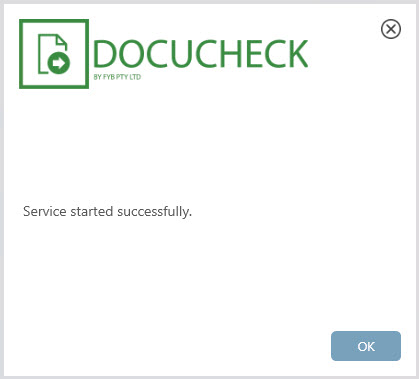
Once the service is started, a message will appear advising that the service has been started successfully
COMMAND LINE ARGUMENTS (OPTIONAL)
The follow command line arguments can be passed to the MSI if required.
| ARGUMENT | PURPOSE |
|---|---|
| DBID | Sets the Database ID that connects to Content Manager dataset to run the application |
| LICENSE_PATH | Sets the license that connects to the application |
| TEMP_PATH | Sets the temp path that connects to the application |
| UDF_NOTIFIER_URI | The 'Notifier Email Recipient' additional field URI |
| SEND_EMAIL_ON_SERVICE_START | If checked, the service will send an additional batch of reminder emails as soon as it starts. |
| EMAIL_FROM_NAME | The name that appears as the sender of the email |
| FROM_ADDRESS | The email address that appears as the sender of the email. |
| MAIL_HOST | The address of the email server |
| MAIL_PORT | The port of the email server |
DOCUCHECK SERVICE SETTINGS
-
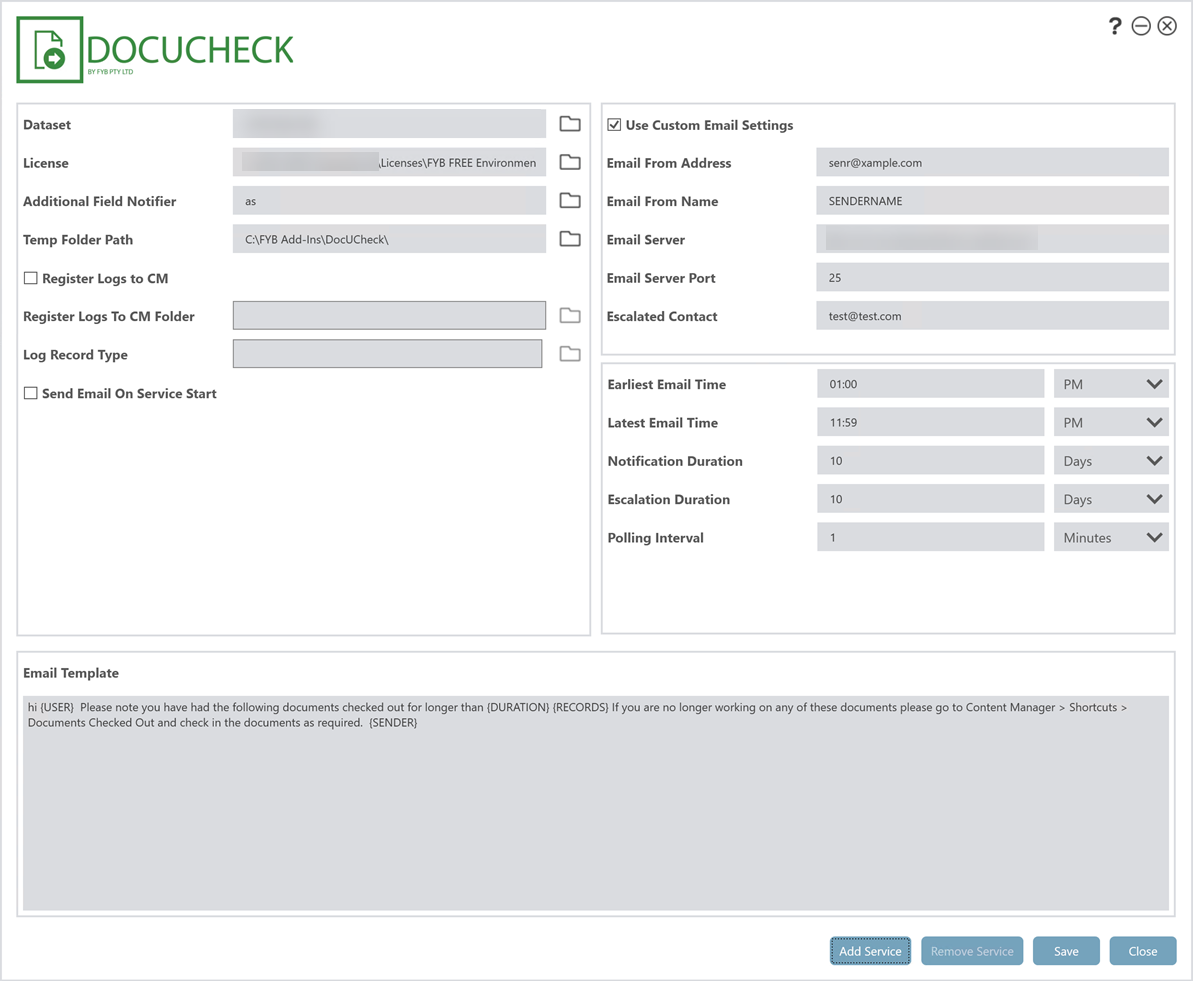
Run the DocUCheckServiceConfig.exe located in the folder the application was installed in. The DocUCheck Service Config window will display as shown below
NOTEDocUCheckServiceConfig.exe requires Windows administrator privileges to run.
-
Update the settings to suit your environment (details below)
-
Click the Save button to save any setting updates
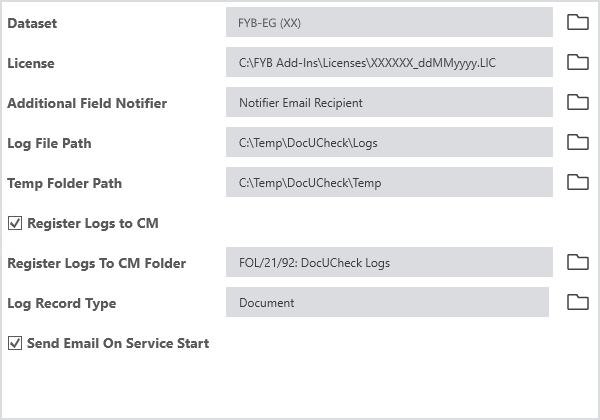
CONTENT MANAGER SETTINGS
| NAME | DESCRIPTION |
|---|---|
| Dataset | The Content Manager dataset that you wish DocUCheck to work with. This field is only enabled if the service is not currently installed. To change the dataset, first uninstall the service. You can then change the dataset and reinstall the service |
| License | The local directory path your license file on the workgroup server. |
| Additional Field Notifier | The 'Notifier Email Recipient' additional field |
| Temp File Path | The folder to temporarily store the tr5 files in |
| Log File Path | The folder to store the log files in |
| Register Logs to CM | If checked, logs will be stored in Content Manager. |
| Log Record Type | The record type used to save the logs in Content Manager. This field is only enabled if the Register Logs to Content Manager is checked. The Record Type must not have any mandatory fields other than container, author, and title. |
| Send Email On Service Start | If checked, the service will send an additional batch of reminder emails as soon as it starts. |
EMAIL SETTINGS
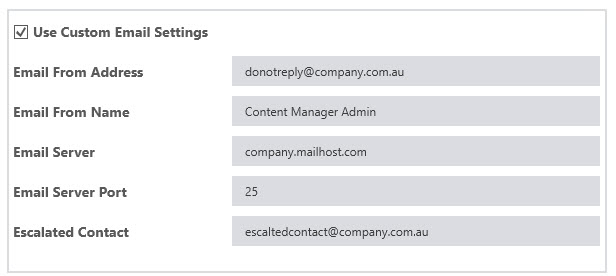
| NAME | DESCRIPTION |
|---|---|
| Use Custom Email Settings | If checked, the email settings will be set manually. If unchecked, the content manager email settings will automatically be retrieved by the configuration tool as well as the DocUCheck service each time it runs. This functionality requires the DocUCheck service to be installed on a Content Manager workgroup server. |
| Email From Address | The email address that appears as the sender of the email. |
| Email From Name | The name that appears as the sender of the email |
| Email Server | The address of the email server |
| Email Server Port | The port of the email server |
| Escalated Contact | The email address of the person(s) that will be notified when records are checked out past the escalated period selected. The escalated contact will receive a list of records and who currently has them checked out. |
TIMER BASED EMAIL SETTINGS
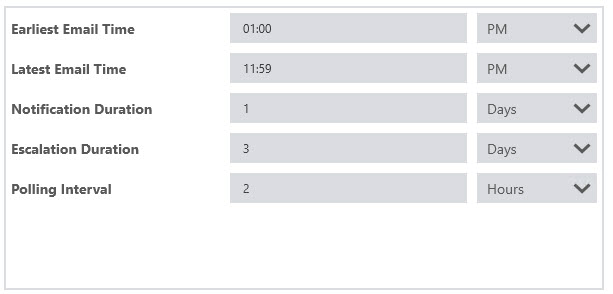
| NAME | DESCRIPTION |
|---|---|
| Earliest Email Time | The earliest time that a reminder email can be sent |
| Latest Email Time | The latest time a reminder email can be sent |
| Notification Duration | The length of time that a record is checked out before sending an email to the person it is checked out to. |
| Escalation Duration | The length of time that a record is checked out before sending an email to the escalated contact notifying of the extensive checked out time. |
| Polling Interval | The length of time between polling cycles. This will be the amount of time between emails sent |
| Daily Email Time | The time of day to send email reminders. This field is only available when the polling interval is set to Days. |
EMAIL TEMPLATE SETTINGS

| NAME | DESCRIPTION |
|---|---|
| Email Template | The body of the email that will be sent by the DocUCheck service. The email can include optional keywords (as detailed in the following table) that, if included will replace relevant information. Please note that the below tags are case sensitive and need to uppercase |
KEYWORDS
| NAME | DESCRIPTION |
|---|---|
| {USER} | The name of the email recipient |
| {DURATION} | The length of time that a record is checked out before sending an email to the person it is checked out |
| {RECORDS} | A list of the records that have been checked out by the email recipient for longer than the value specified in the Duration field. This tag will list the number and title of all records currently checked out to the user each on a separate line. |
| {SENDER} | The name specified in the field Email From Name |
SETTINGS BUTTONS
| BUTTON | DESCRIPTION |
|---|---|
 | Click this button to save the current settings and install the DocUCheck service. You will be prompted to enter the credentials for the service login account. If the service installs successfully you will be given the option to start the service. |
 | Click this button to Uninstall the DocUCheck service. |
 | Click this button to save the current settings. If the service is currently installed, you will be given the option to start or restart the service. |
 | Click this button to discard unsaved changes and close the DocUCheck config tool. |
INSTALLING FYB DOCUCHECK POP-UP
AUDIT POLICY
The DocUCheck Pop-Up relies on events being logged whenever programs open or close. This needs to be enabled in Audit Policy by setting Audit process tracking to Success. This can be set on a per machine basis, or through group policy
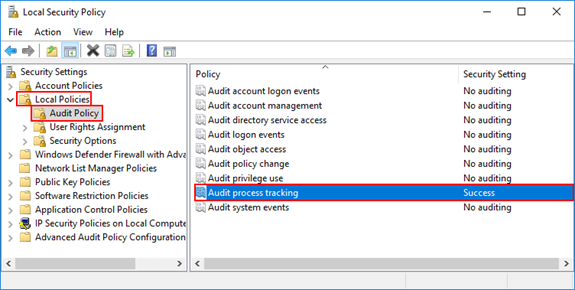
INSTALLATION
The docucheckpop-up MSI will:
- Deploy the installation files
- Setup the scheduled task
To install the DocUCheck Pop-Up, follow these steps:
-
Create an appropriate folder to house the license file (.lic) on the server.
-
Create a network share of this folder. For Example: \server\FYBAddins\License
-
Move the license file into the license folder
-
Run command prompt as an administrator and launch the docucheckpop-up-xxx.msi
-
Click the Next button
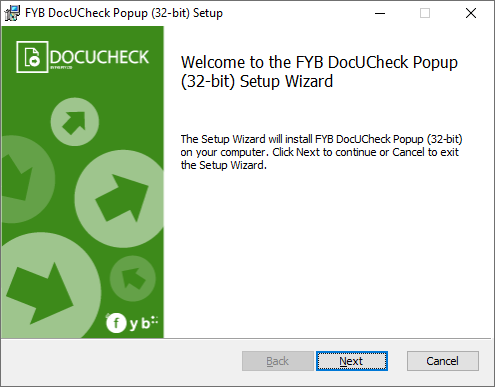
-
On the Configuration Settings screen, enter the below information. Click the Next button
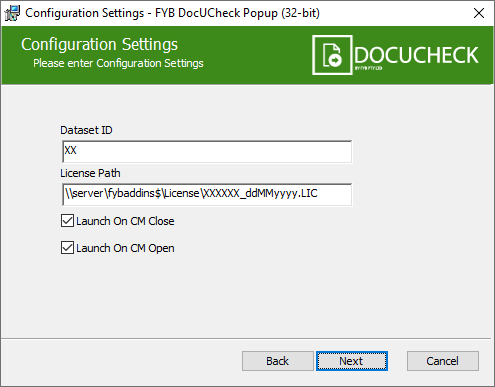
Field Value Dataset ID The two character dataset identifier (e.g. FD) License Path Shared path to the license file on the server, including the .lic file Launch On CM Close Toggle to show DocUCheck when closing CM Launch On CM Open Toggle to show DocUCheck when launching CM -
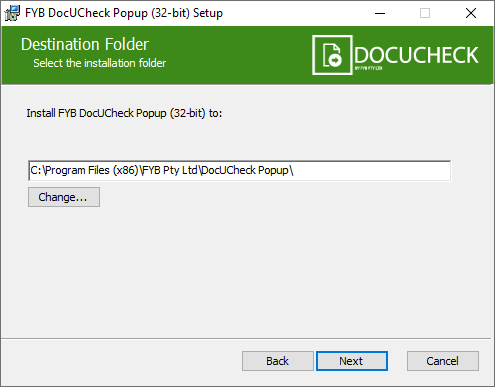
On the Destination Folder screen enter the installation folder for DocUCheck Pop-Up.
-
Click the Next button
-
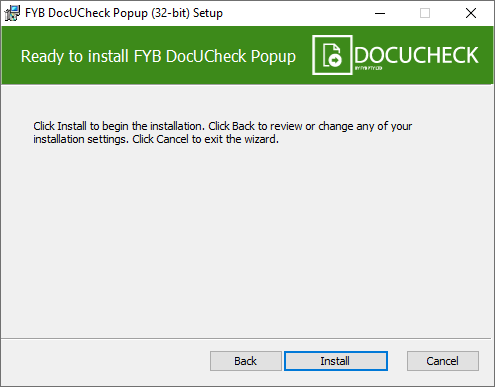
On the confirm installation screen, click the Install button
-
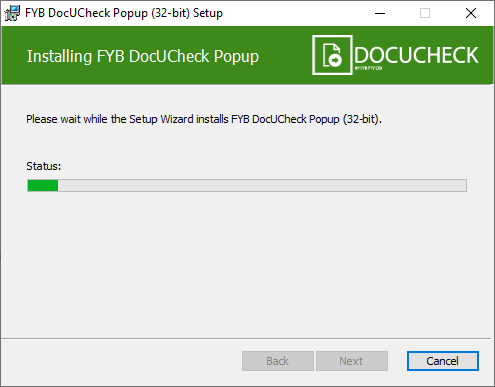
The Installation will commence
-
Once the installation is complete, click the Finish button
COMMAND LINE ARGUMENTS (OPTIONAL)
The follow command line arguments can be passed to the MSI if required.
| ARGUMENT | PURPOSE |
|---|---|
| DBID | Sets the Database ID that connects to Content Manager dataset to run the application |
| LICENSE_PATH | Sets the license that connects to the application |
| LAUNCH_ON_CM_CLOSE | '1' to show DocUCheck when closing CM |
| LAUNCH_ON_CM_OPEN | '1' to show DocUCheck when launching CM |
DOCUCHECK POP-UP SETTINGS
The DocuCheckConfig.exe can only be run by administrators
To modify the DocUCheck Pop-Up settings, complete the following steps:
-
Run the DocUCheckConfig.exe executable located in the chosen installation directory
-
Update the settings to suit your environment
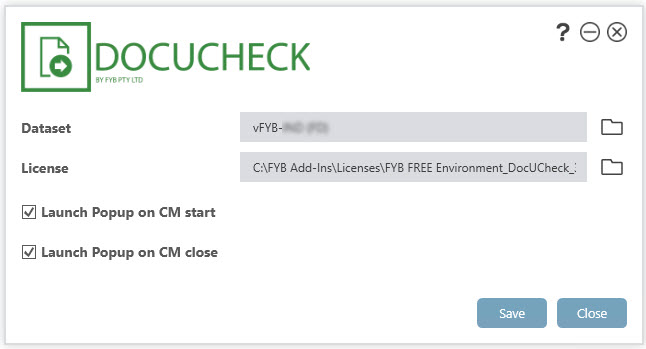
NAME DESCRIPTION Dataset The Content Manager dataset License The shared path to the license file on the workgroup server Launch Pop-Up on CM Start On checked, the DocUCheck Pop-Up will open with Content Manager opens. Launch Pop-Up on CM Close On checked, the DocUCheck Pop-Up will open with Content Manager is closed.
UNINSTALLING DOCUCHECK SERVICE USING THE INTERFACE
To uninstall the DocUCheck Service please follow the steps below:
-
Run the DocUCheckConfig.exe executable
-
Click the Uninstall button
NoteIf the Uninstall button is disabled, please skip to Step 6
-
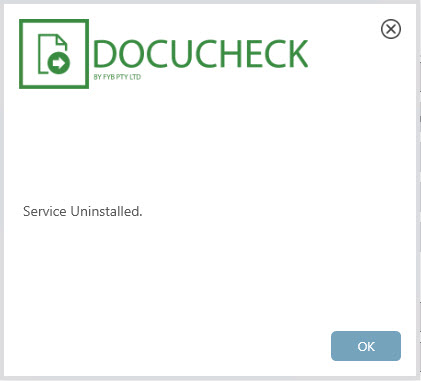
A message box will appear to say the service has been uninstalled,
-
Click the OK button
-
Close the DocUCheck config tool
-
Navigate to Windows Apps & features
-
Navigate to FYB DocUCheck Service
-
Click the Uninstall button

UNINSTALLING DOCUCHECK SERVICE MANUALLY
To uninstall the DocUCheck Service using the command prompt, please follow the steps below:
-
Open the control panel on the server the service is installed on
-
Locate FYB DocUCheck Service and select Uninstall
-
Run Command Prompt as an administrator
-
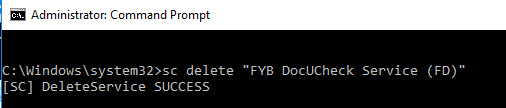
Type sc delete "FYB DocUCheck Service ([Dataset ID])"
-
The Service will now be uninstalled and deleted
UNINSTALLING DOCUCHECK POP-UP
-
Navigate to Windows Apps & features
-
Navigate to FYB DocUCheck Pop-Up
-
Click the Uninstall button
