
DocUControl Power Automate Guide
UPLOADING THE FLOW
You will need a Premium Microsoft Power Automate subscription to run this flow.
You will need to download the docucontrol-power-automate-flow.zip from the install files section before proceeding.
Note that this flow is an example flow only, you can use this as the basis for your Controlled Document workflow and tweak it to your needs.
-
Login to Microsoft Power Automate
-
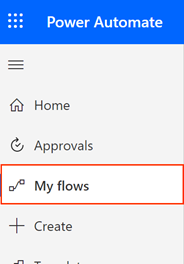
Click on My Flows in the left menu
-
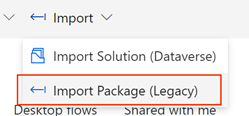
Click Import

-
Click Import Package (Legacy)
-
Click Upload

-
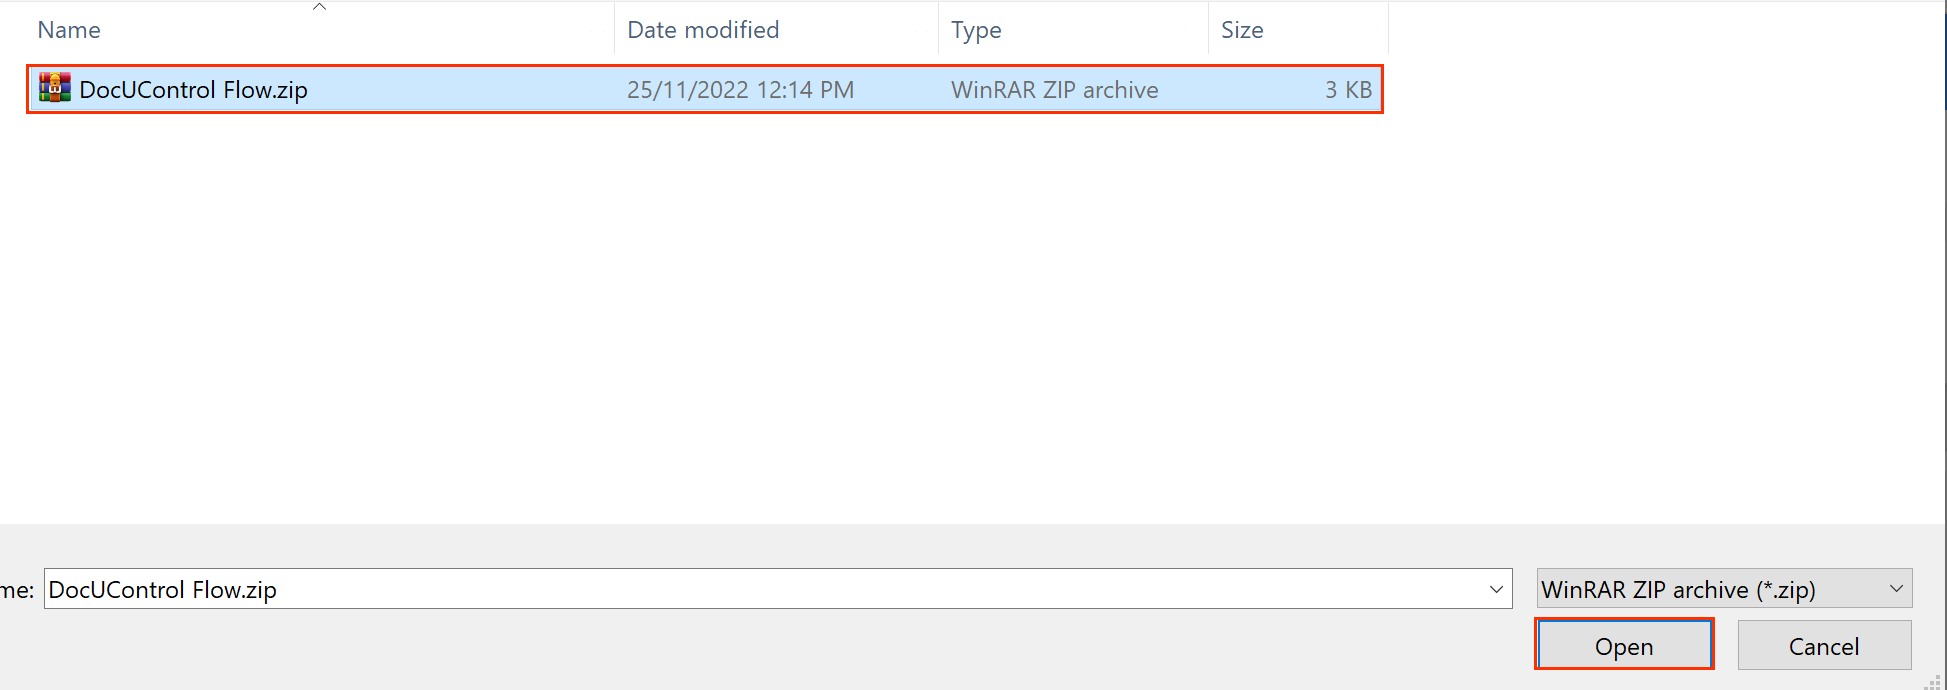
Locate and click on docucontrol-power-automate-flow.zip and click Open
-
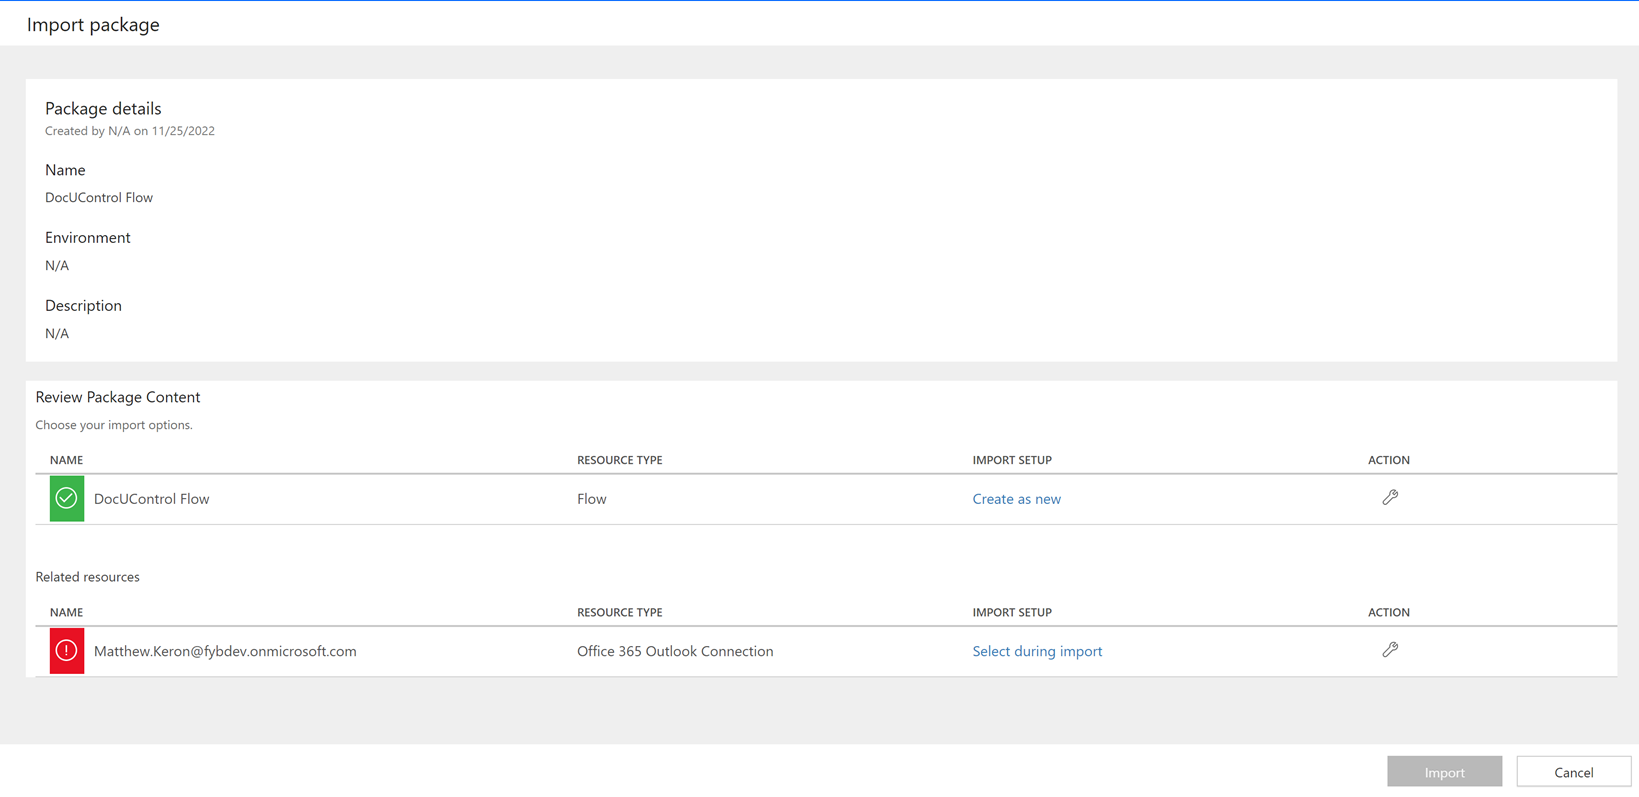
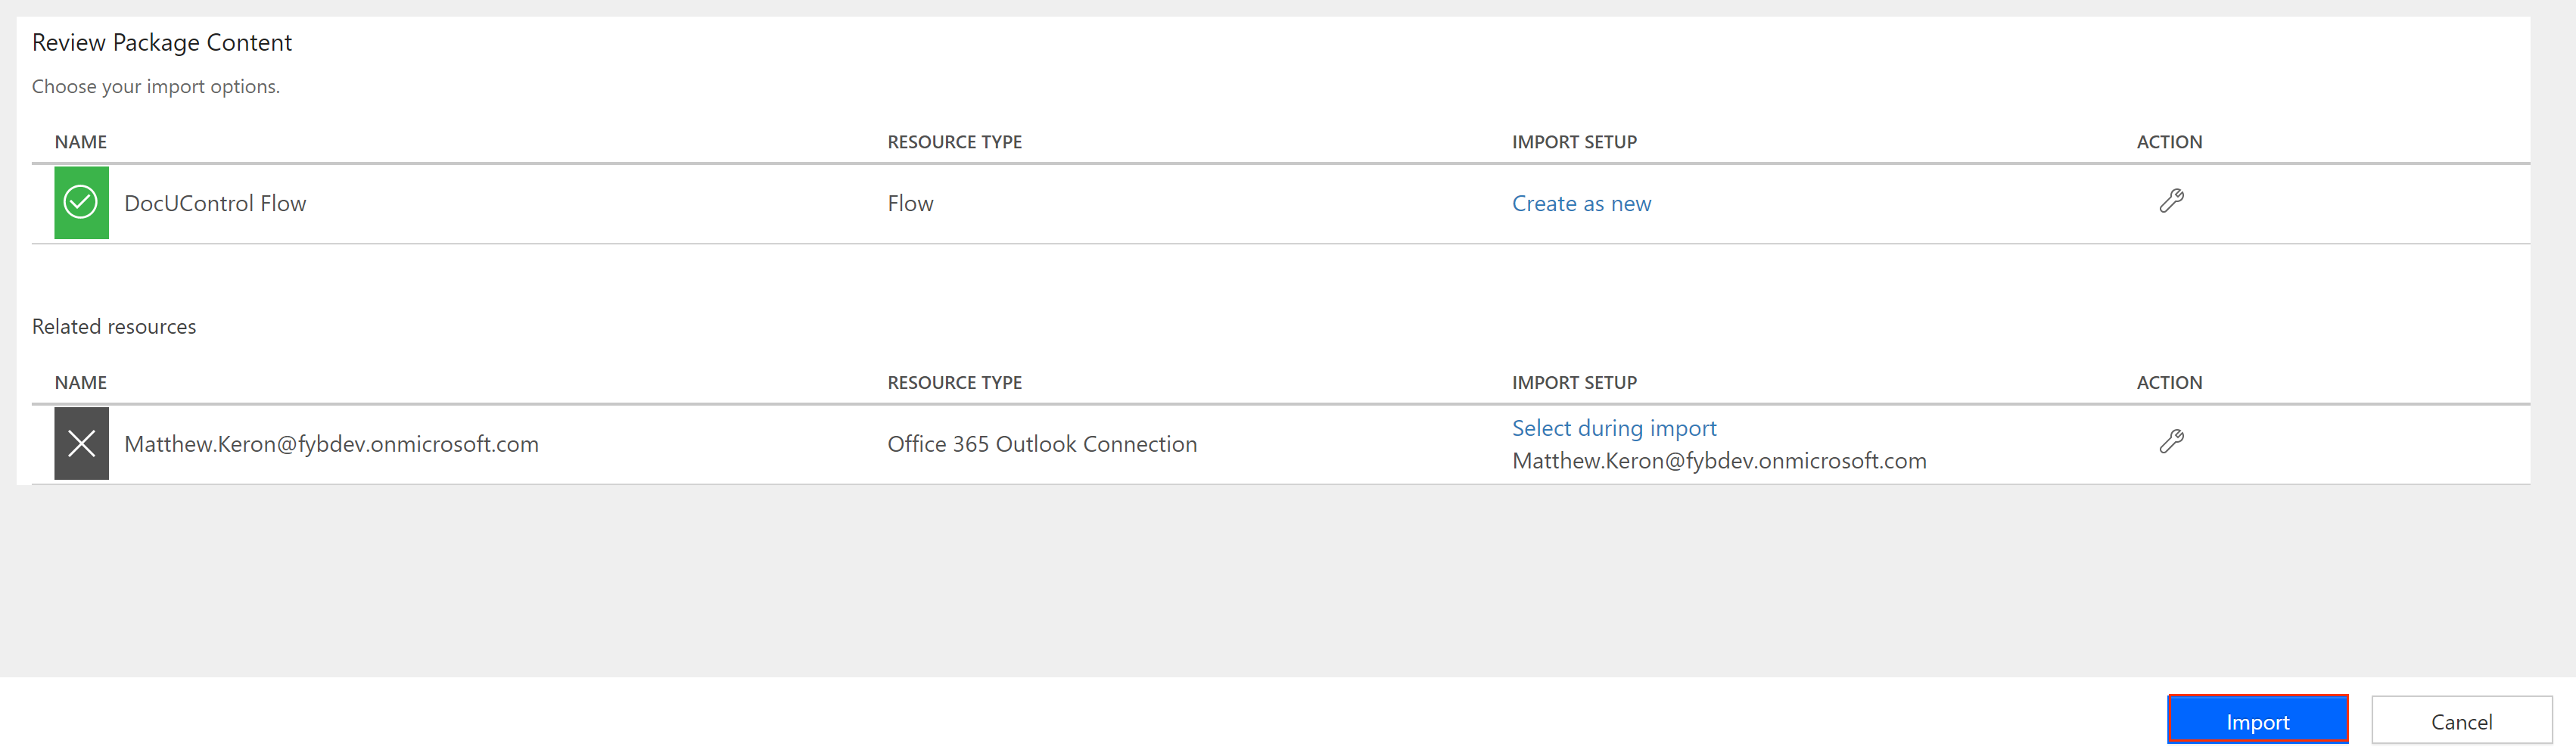
After the .zip file has been imported, you will be redirected to the screen below
-
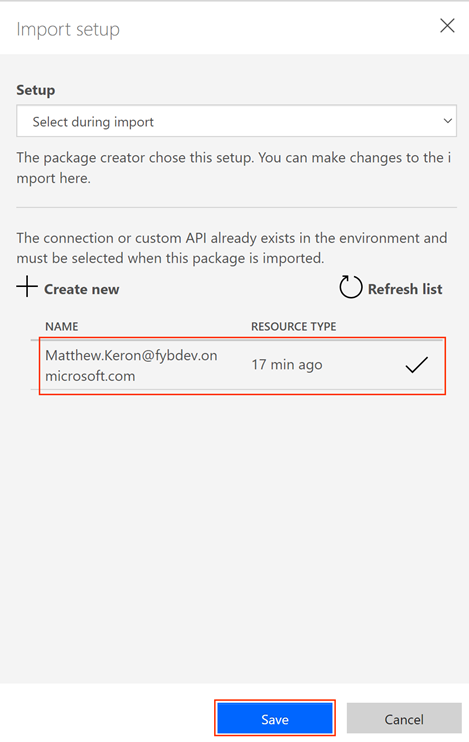
For the Office 365 Outlook Connection resource, click Select during import

-
Select an existing connection and click on the Save button
 Note
If there are no existing connections, select the Create New option and create a new Microsoft Outlook connection
-
Click on the Import button
-
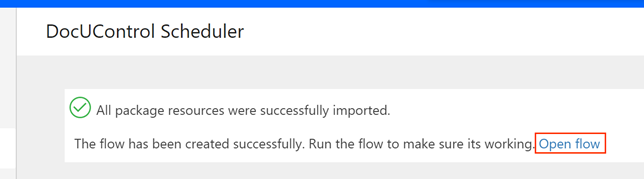
Click on the Open flow button
-
You will have access to the following fields from the newly created Record to use in your Action within the Flow
NAME DESCRIPTION nextReviewDate The Record's Next Review Date officerEmail The email address of the Record's Document Control Officer location policyOwnerEmail The email address of the Record's Policy Owner location recordNumber The Record's number 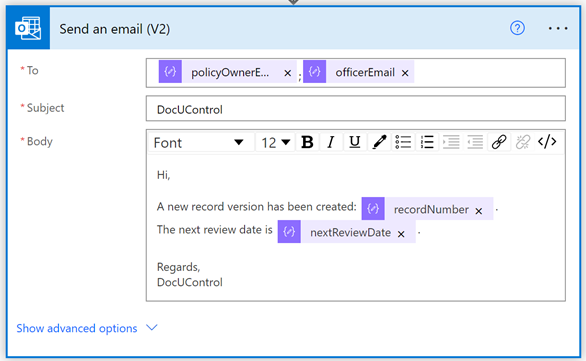
-
Click on the Save button

CONNECTING THE FLOW TO DOCUCONTROL
Once the flow is configured and saved, it will need to be connected with DocUControl.
-
Open the DocUControl Flow in Power Automate and copy the HTTP POST URL from the When a HTTP request is received action
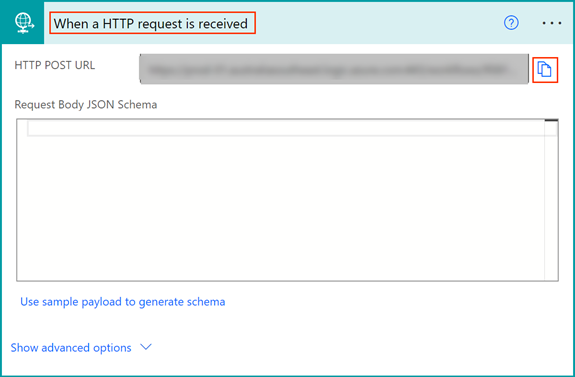
-
Navigate to the Document Review Tab in DocUControl's Admin Console
-
Enable the Power Automate Flow option under ATTACH WORKFLOW PROCESS
-
Paste in the URL copied in step 1 into the REVIEW FLOW URL field

-
Click on the Save button at the bottom of the page

-
The Power Automate flow will now be triggered when a new Record Version is created during the Document Review Scheduler process