DocUControl Installation Guide
DISCLAIMER
Any advice FYB provides in relation to setting up any FYB App, FYB Add-in, FYB Connector and or advice in relation to opening access to your on-premises or in the cloud systems will be general advice only. This means that the advice is of a general nature and will not take into account your network setup, network infrastructure or any security requirements that you may have or in fact need. It is highly advised that you seek advice from internal or external providers to ensure that they are comfortable with what is required prior to going ahead with any deployment, setup, or configuration for external access.
When installing a newer version of DocUControl over an existing install, the DocUControl App Pool settings will need to be updated as per the IIS CONFIGURATION section.
LICENSE DETAILS
Please contact FYB for a valid license if you are yet to obtain one for your Add-In.
INSTALLATION COMPONENTS
The following installation components are required to ensure the full functionality of the FYB DocUControl:
- FYB DocUControl web application - This is a server-side installation
- CM Launcher - This is a client-side installation (Optional)
INSTALLING FYB DOCUCONTROL
LICENSE
-
Create a folder to house the license file (.lic) on the IIS Server
-
Place the license file in this folder
NotePlease be aware you will be asked to enter this location during the installation
TRUSTED USER ACCOUNT
Add the account that will run the application pool as a Trusted User in Enterprise Studio. Please refer to your Enterprise Studio help file on adding trusted accounts. If using a system account (application pool identity, network service etc) you will be required to enter the details as DOMAIN\ServerName$. If using a dedicated Windows service account, you will be required to enter the details as DOMAIN\username.
INSTALLATION
Before running the MSI ensure that all prerequisites are complete. Including deploying the .NET 10 SDK and Hosting Bundle.
To deploy the Net Core SDK and Hosting Bundle to the server, follow these steps:
-
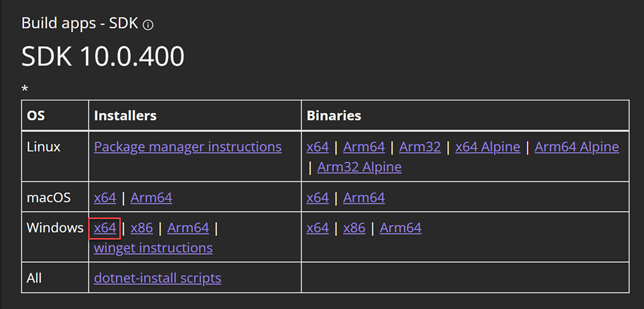
Install the latest .NET 10 SDK (x64) found here
-
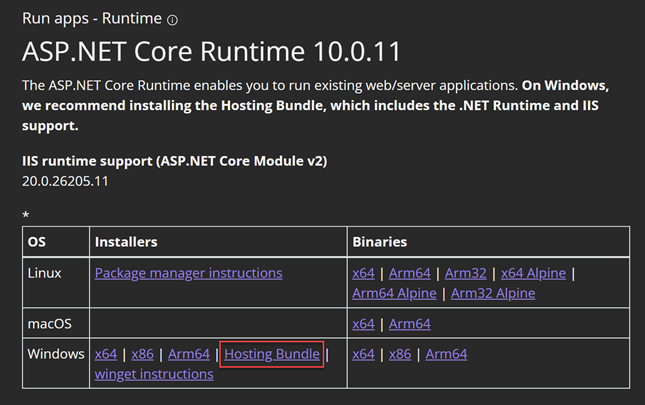
Install the latest ASP.NET Core 10 Runtime Hosting Bundle found here
-
Once both executables have been installed, complete a full server restart to allow for .NET 10 to bind to IIS. If a server restart is not possible an IIS reset can be completed with the following CMDs from an elevated command prompt.
- net stop was /y
- net start w3svc
- iisreset
NoteTo check that the SDK has been attached to the hosting bundle, open Command Prompt and type dotnet --info

The DocUControl MSI will:
- Deploy the installation files
- Setup the application pool and application in IIS
- Setup the temp folder
- Configure the DocUControl as specified by the user
To install the DocUControl Application, follow these steps:
-
Run command prompt as an administrator and launch the docucontrol.msi
-
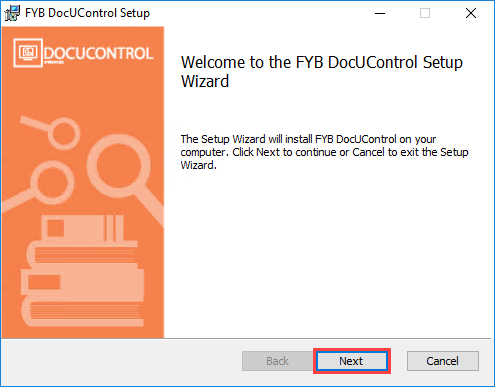
Click on the Next button
-
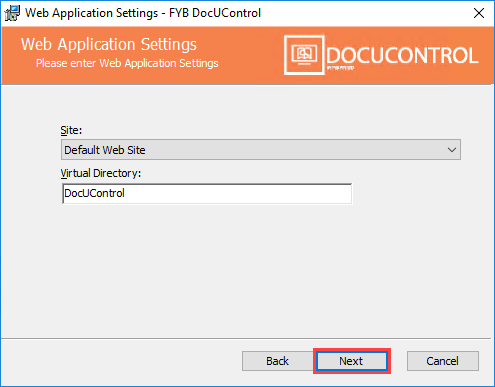
On the Web Application Settings screen select the HTTPS protected site to host the application and click on the Next button
NoteA HTTPS site must be selected. The virtual directory name must remain as DocUControl and it cannot be renamed.
IIS DirectoryThe application must be installed under the dedicated site as an application. It cannot be installed at the site level

-
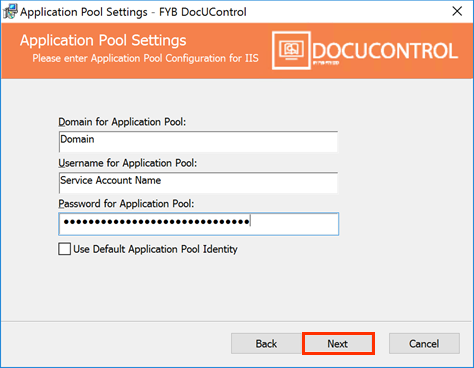
On the Application Pool Settings screen (below), enter the domain, username, and password for the Application Pool identity. Click on the Next button
-
On the Configuration Settings screen enter the required information. Further details are in the table below. Click on the Next button
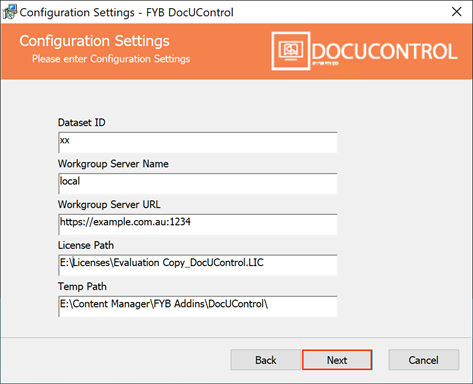
FIELD DESCRIPTION Dataset ID Content Manager two-character dataset identifier Workgroup Server Content Manager workgroup server name. This should generally be set to local Workgroup Server URL Content Manager workgroup server URL. License Path Local path to DocUControl license file Temp Path Local temporary directory used by the application to cache content manager documents. Please include the trailing slash, for example: C:\FYB Add-Ins\DocUControl\ -
If your environment is configured to only allow OpenId authentication (e.g. Azure AD or ADFS) for your Content Manager, you'll receive the following message:

-
Click OK to navigate to the Open Id settings screen and enter the required values.
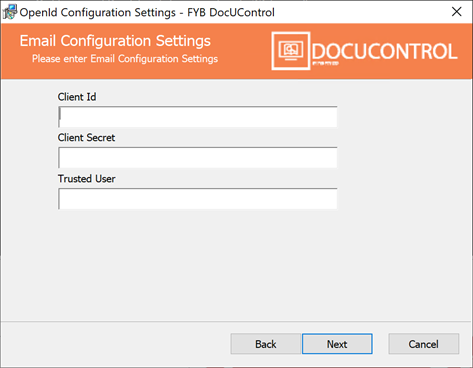
NAME DESCRIPTION Client Id The Client/App Id of the Open Id application used to secure Content Manager. For ADFS authentication, this will be the username of the Confidential Client app. Client Secret The Client/App Id of the Open Id application used to secure Content Manager. For ADFS authentication, this will be the password of the Confidential Client app. Trusted User The Network Login value of the Content Manager Confidential Client app location. For ADFS authentication, this will be the username of the Confidential Client app. -
On the Record Settings screen, enter the following fields:
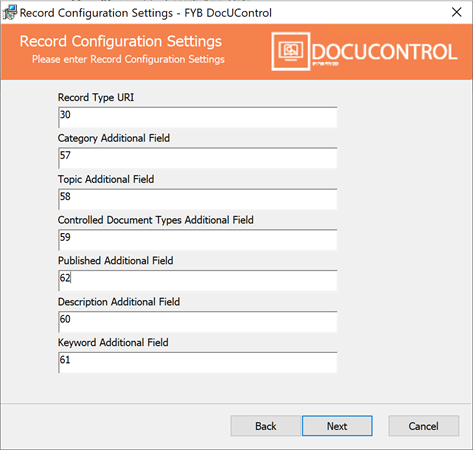
FIELD DESCRIPTION Record Type URI The Content Manager Record Type URI that the DocUControl will utilise. Category Additional Field The Category lookup set Additional Field URI Topic Additional Field The Topic lookup set Additional Field URI Controlled Document Types Additional Field The Controlled Document Types lookup set Additional Field URI Published Additional Field The Published Additional Field URI Description Additional Field The Description Additional Field URI Keyword Additional Field The Keyword Additional Field URI -
On the Document Review Settings screen, enter the following fields:
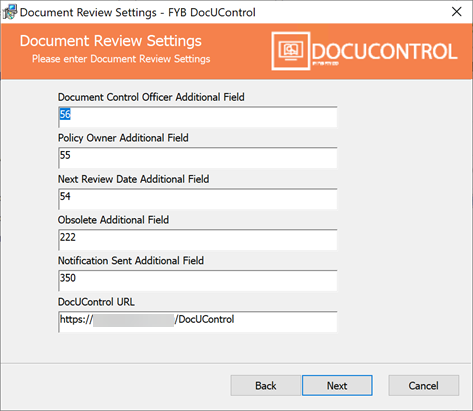
FIELD DESCRIPTION Document Control Officer Additional Field The Document Control Officer Additional Field URI Next Review Date Additional Field The Next Review Date Additional Field URI Obsolete Additional Field The Obsolete Additional Field URI Notification Additional Field The Notification Additional Field URI DocUControl URL The URL of DocUControl, used to generate CMLauncher Hyperlinks in emails -
On the Email Settings screen, enter the following fields
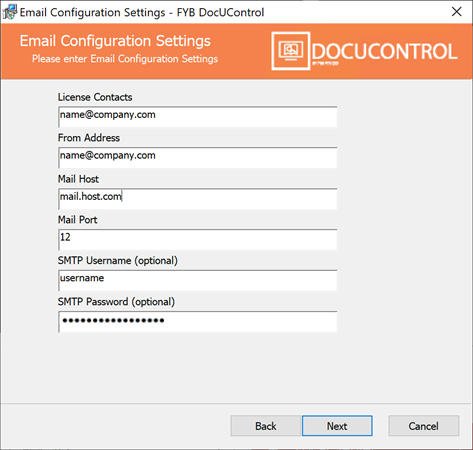
FIELD DESCRIPTION License Contacts Contacts that will receive a notification when the 3652CM license is about to expire. Multiple email addresses can be added if separated with a ; From Address The email address that all email notifications are sent from Mail Host The mail host that is used to send all email notifications from Mail Port The mail port SMTP username (optional) The username used to authenticate with your SMTP server SMTP password (optional) The password used to authenticate with your SMTP server -
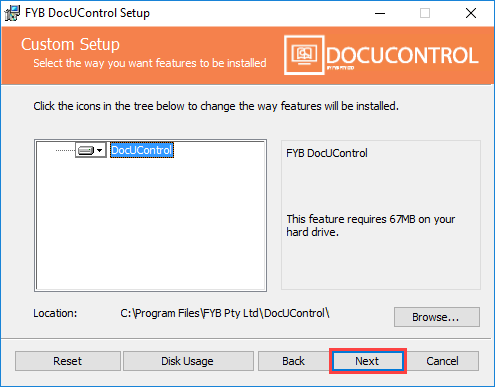
On the Custom Setup screen select the install location and click on the Next button
-
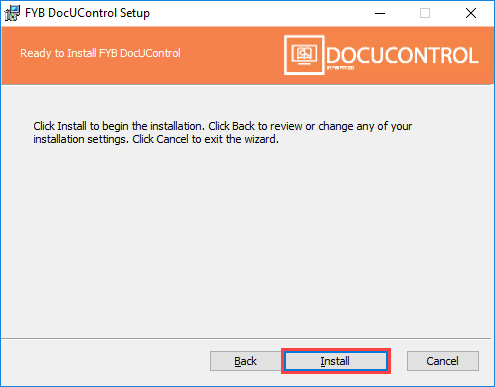
From the Confirm Installation window click the Install button
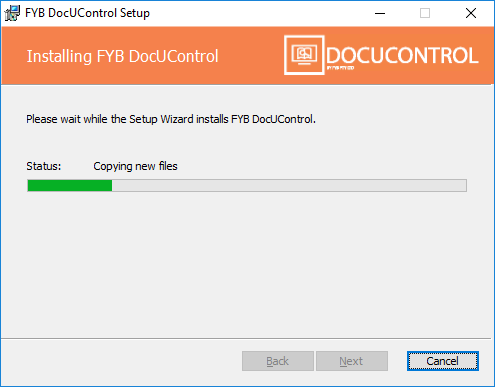
 13. The installation will commence
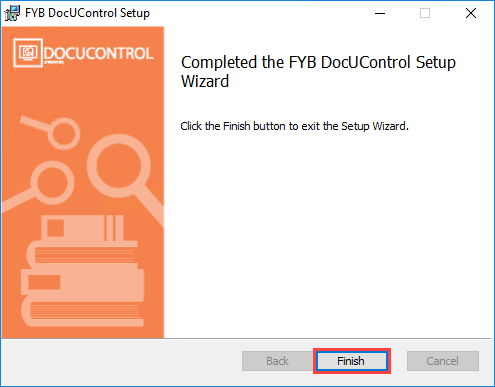
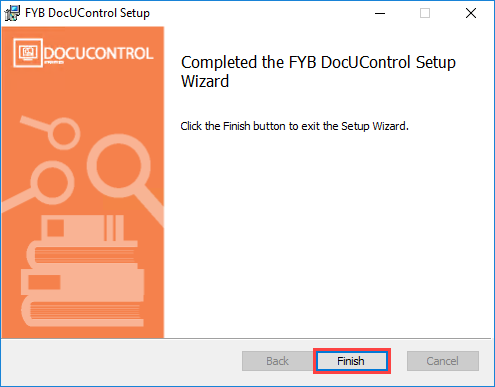
- Once the installation is complete click the Finish button
CONFIGURATION
IIS CONFIGURATION
-
After the installation process is complete, you will be able to locate the application installed within the site selected during installation
-
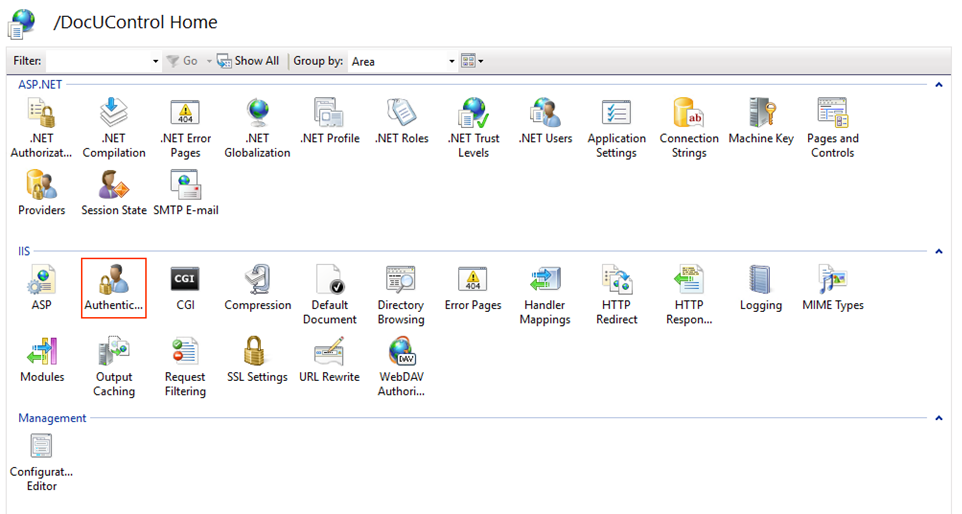
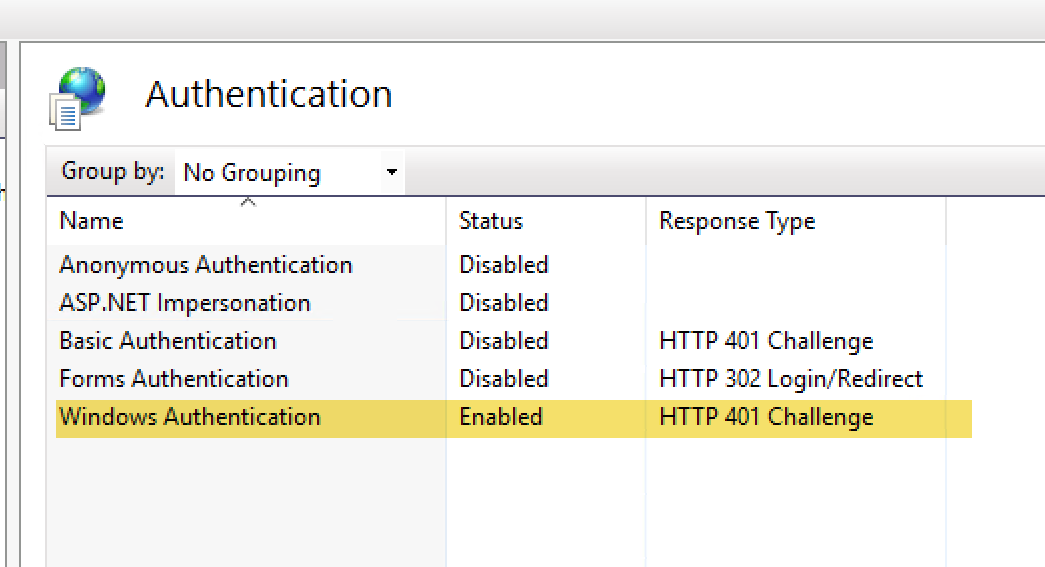
From the Features View double click on Authentication button and ensure that only Windows Authentication is enabled
-
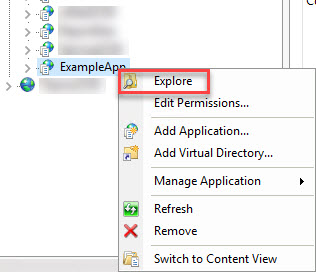
Right-click the application in IIS and select the explore option
-
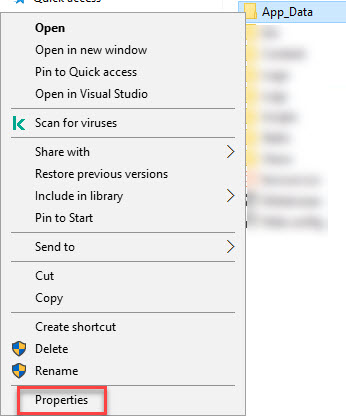
Right click the app data folder and select properties
-
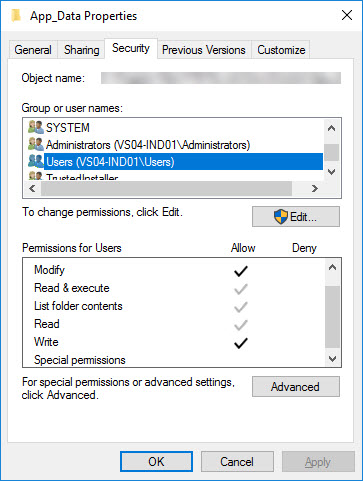
Navigate to the security tab and ensure users have read, write and modify permissions
-
Click on Application Pools

-
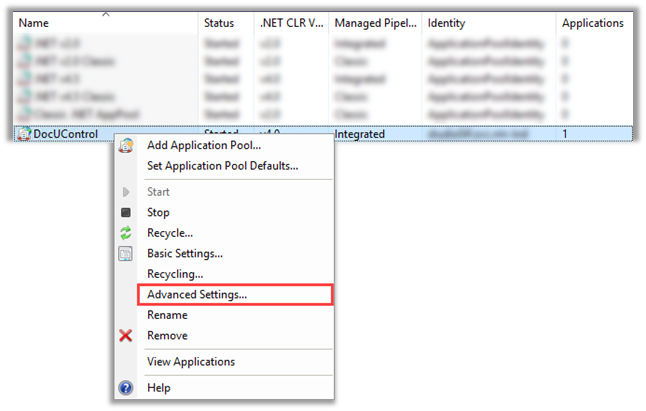
Within the application pool listing screen, right-click on DocUControl application pool and select the Advanced Settings option from the drop-down menu
-
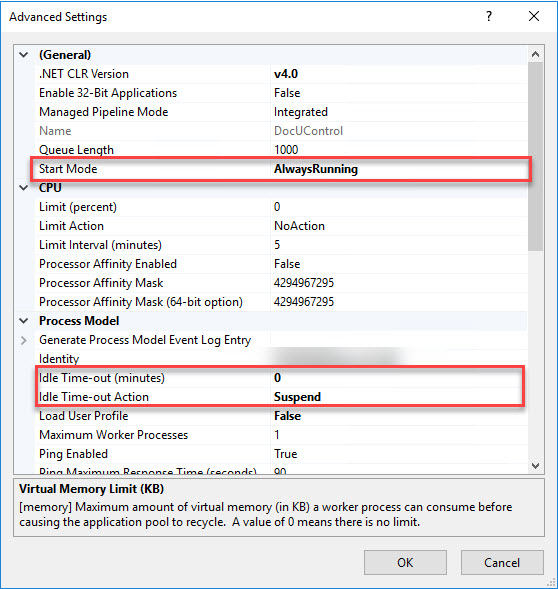
Within the Advanced Settings window, set Start Mode to AlwaysRunning, Idle Time-out Action to Suspend and Idle Time-out Action (minutes) to 0
-
Click on the OK button
-
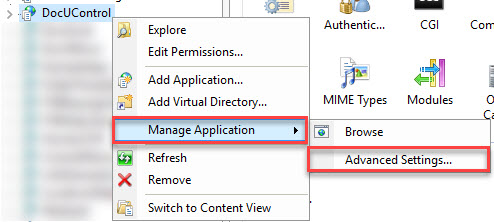
Select the DocUControl application in IIS and navigate to its Advanced Settings
-
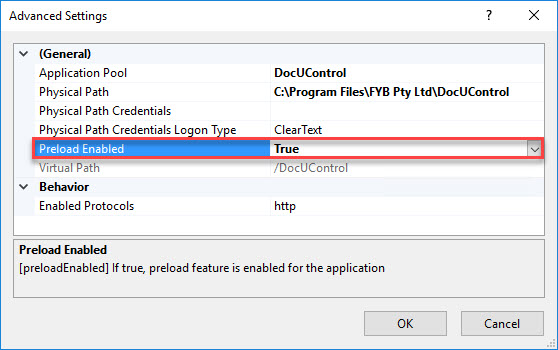
Set Preload Enabled to True and click on the OK button
CONTENT MANAGER CONFIGURATION
The following additional fields are mandatory and need to be on the Record Type that you will be using for the document control process.
All names of fields below are examples and can be set to your organisation's desired terminology.
DOCUMENT REVIEW FIELDS
| NAME | DATA FORMAT | DESCRIPTION |
|---|---|---|
| Next Review Date | Date | Determines the next review date of the document. This is used by the scheduler service to create new versions and determine when documents are overdue. |
| Policy Owner | Location | This is the location that will receive the overdue notification email. |
| Document Control Officer | Location | This is the location that will receive the next version notification email. |
| Obsolete | Boolean | If checked, the record will be skipped by the Document Review scheduler. |
| Is Draft | Boolean | This value is to be marked as True for Draft Document Records. Note: This field is only mandatory and relevant when using the Use Draft Relationship Drafting process option. |
INTERFACE FIELDS
| NAME | DESCRIPTION | DATA FORMAT |
|---|---|---|
| Category | These are the categories that will appear as selectable items in the Top Menu Navigation.  | String (lookup set) |
| Topic | This will be the first browsing tab   | String (lookup set) |
| Controlled Document Type | This will be the second browsing tab   | String (lookup set) |
| Description | This will be the description that appears under the title of documents.  | Text |
| Keywords | This allows users to quickly search for policy documents that match a certain keyword. Tick Include in the metadata schema when indexing records option when creating this field.  | Text |
| Published? | This allows the user to specify that a document is published by enabling the Published field. | Boolean |
| Acknowledgement Required? | This allows the user to specify that a document requires acknowledgement by enabling the Acknowledgement Required field. | Boolean |
| Notification Sent | Used for marking when a notification has been sent for a newly published Record. | Boolean |
DRAFT RELATIONSHIP CONFIGURATION (CM23.X)
This is only required when using the Use Draft Relationship option
-
On the Administration ribbon of Content Manager, click on the Edit Captions button

-
Select Objects > Record and click Search

-
Type Relation into the search bar, and select a Custom Relation that is not customized.
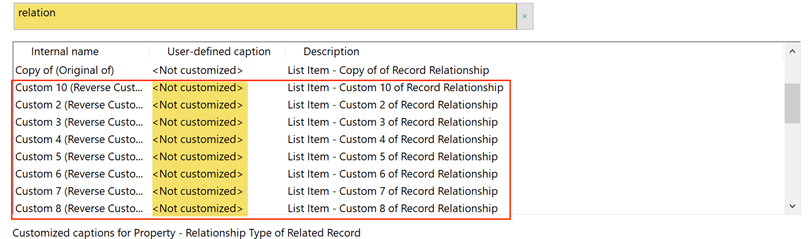
-
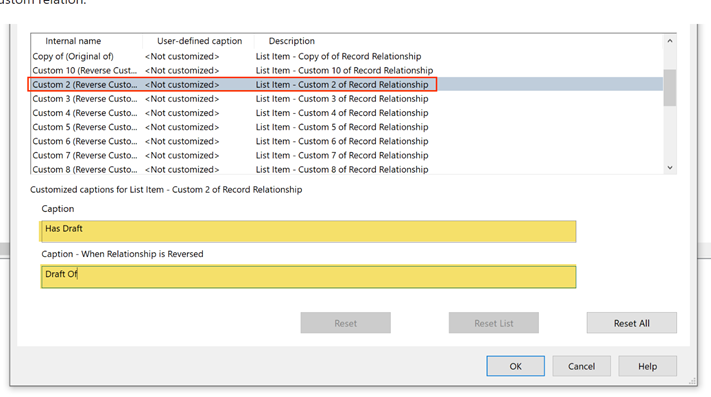
Specify Has Draft for both the caption and Draft Of reverse caption.
-
Click Ok
INSTALLING CM LAUNCHER (OPTIONAL)
Installing CMLauncher is optional. To launch documents in Content Manager from DocUControl without CMLauncher, enable the Content Manager Link Type option in the Admin Console
The FYB CM Launcher needs to be installed on each user’s machine. The CMLauncher is required by DocUControl to perform native functions on the user’s machine such as opening links to overdue documents. Please refer to the dedicated CM Launcher installation guide for further details: https://docs.fybsoftware.com.au/docs/cmlauncher-installation-guide-321
UNINSTALLING FYB DOCUCONTROL
To uninstall FYB DocUControl using the MSI please follow the steps below:
-
Double-click on DocUControl MSI

-
The DocUControl uninstallation window will appear
-
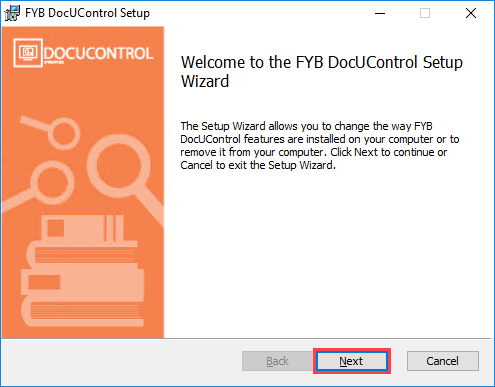
Click on the Next button
-
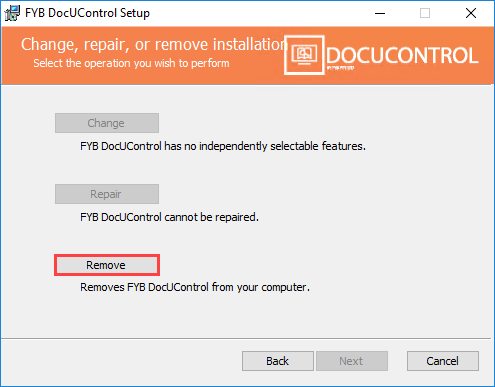
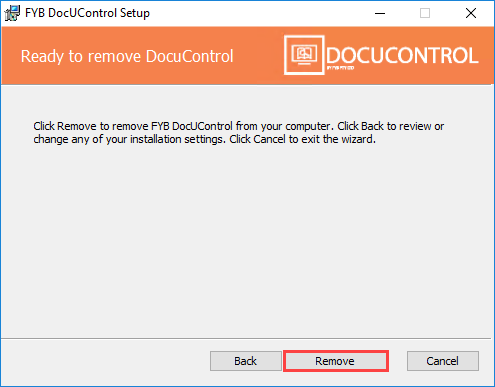
Click on the Remove button
-
On the next window click on the Remove button
-
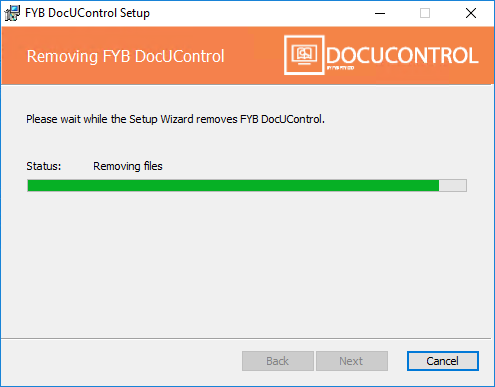
The application uninstallation process will commence
-
Click on the Finish button, the application is now removed from the system