Email Tagger Installation Guide
DISCLAIMER
Any advice FYB provide in relation to setting up any FYB App, FYB Add-in, FYB Connector and or advice in relation to opening access to your on-premise or in the cloud systems will be general advice only. This means that the advice is of a general nature and will not take into account your network setup, network infrastructure or any security requirements that you may have or in fact need. It is highly advised that you seek advice from internal or external providers to ensure that they are comfortable with what is required prior to going ahead with any deployment, setup or configuration for external access.
LICENSE DETAILS
Please contact FYB for a valid license if you are yet to obtain one for your Add-in.
INSTALLING THE EMAIL TAGGER ADD-IN
INSTALLATION
-
Create an FYB Add-ins folder on the appropriate server that contains Content Manager For Example: ‘X:\FYB Addins\
-
Right-click on the FYB Addins folder > Properties > click on the Sharing tab
-
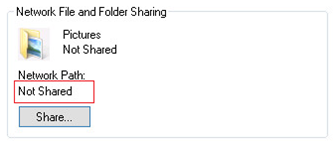
If the Network Path is set to ‘Not Shared’
-
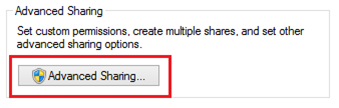
Click on the Advanced Sharing button
-
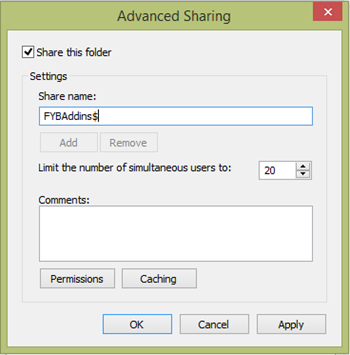
In the Advanced Sharing window, tick ‘Share this folder’ and remove the space between FYB and Addins, then add a ‘$’ sign which will keep the folder hidden
-
Click on the Permissions button
-
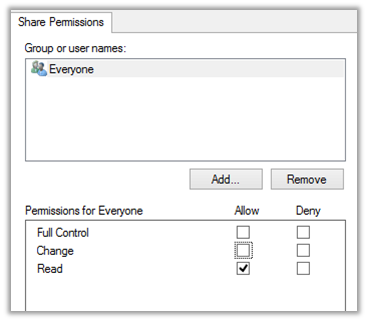
Give ‘Everyone’ the ‘Read’ permission
-
A Network Path will now be available (this path is needed during the settings setup)
-
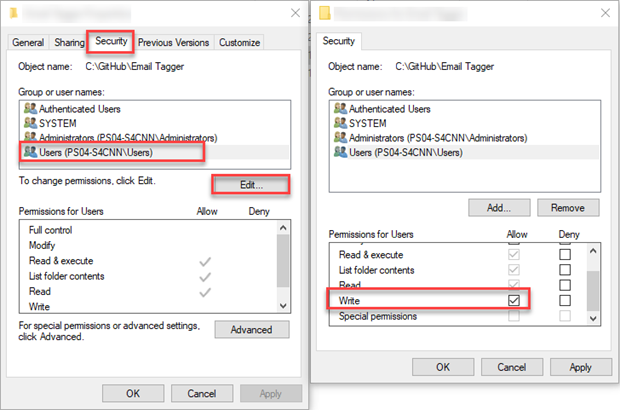
Right-click the FYB Add-ins folder and select Security > Users > Edit and ensure the Write permission is enabled
-
Inside the FYB Add-ins folder create an appropriate folder to house the license file (.lic). For Example: \server\FYBAddins$\License You will be asked to enter this location when configuring the license for the add-in
-
Move the license file into the license folder
-
Launch the EmailTagger-110-x86/64.msi from an elevated command prompt
-
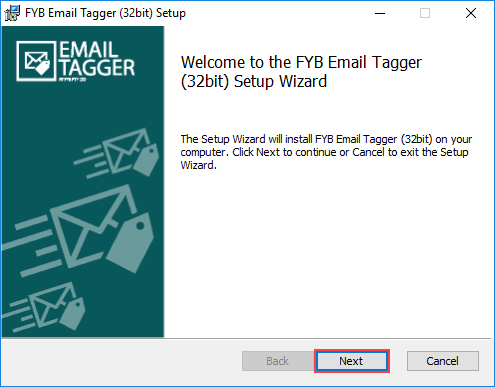
Click Next
-
On the Configuration Settings screen, enter the dataset ID, license path, and email tag prefix
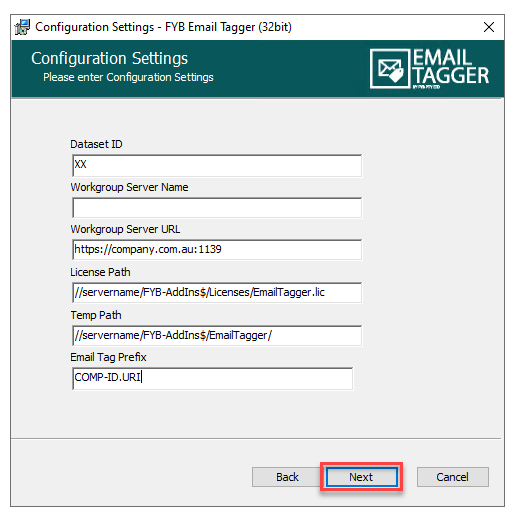
NAME DESCRIPTION Dataset ID The two alphanumeric character dataset identifier Workgroup Server Name The workgroup server name used to connect to the Content Manager dataset. Connection to the dataset can be completed with either the workgroup server name or URL Workgroup Server URL The workgroup server URL used to connect to the Content Manager dataset. Connection to the dataset can be completed with either the workgroup server name or URL License Path Shared network path of the license Email Tag Prefix The prefix to generate email tags.
This should be in the following format:
<inmailx Firm ID>-<dbid>.URI
For Example: FYB-XX.URI -
Click Next
-
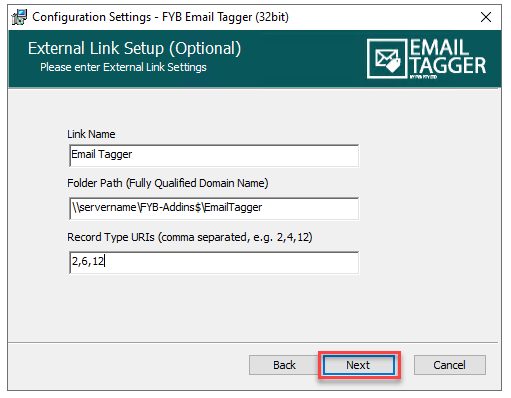
On the External Link screen, allows for the set up of the External Link via Email Tagger. This is optional and can be skipped.
| NAME | DESCRIPTION |
|---|---|
| Link Name | The name used for the external link within Content Manager |
| Folder Path | The shared path to your installation path |
| Record Type URIs | The record type URIs used within the external link, separated by commas ',' |
-
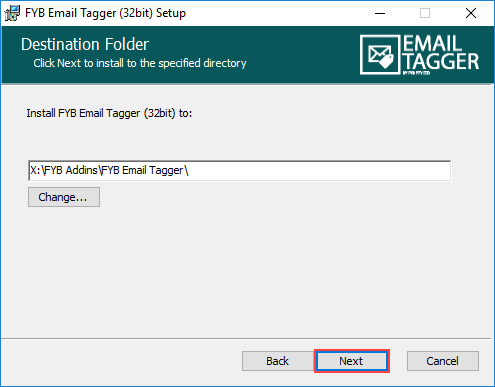
On the Destination Folder Setup screen select the install location.
NoteThe installation location must be inside the FYB Add-ins folder you created earlier in this guide.
-
Click Next
-
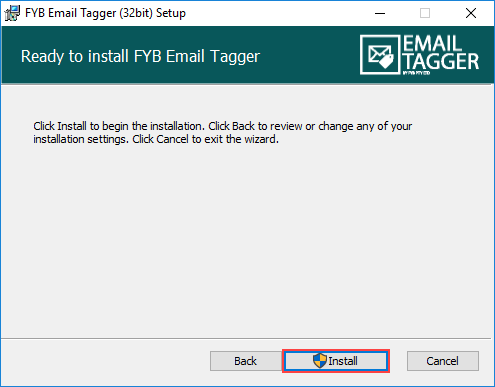
On the Confirm Installation window click Install
-
The installation will commence
-
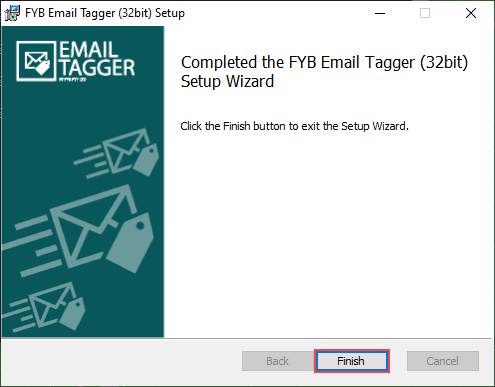
Once the installation is complete click Finish
CONFIGURATION
If the external links was created by the MSI, this step can be skipped
-
In Content Manager click on Tools > Administration > External Links

-
Right Click and select New executable

-
Enter the Link Name as FYB Email Tagger

-
Under ‘Folder or Subfolder’, enter the Network Location of the FYB Addins\ Email Tagger\ folder obtained in step 9 of the installation section

Please use the fully qualified domain name (FQDN) when adding the external links.
For Example: If the share has been set up as \\Server\fybaddins\EmailTagger
The FQDN is \\Server.domain.local\fybaddins\EmailTagger
You can obtain the FQDN from the server you are installing on by navigating to Computer > Properties
-
Under Executable File Name browse to the FYB Email Tagger folder and select EmailTagger.exe
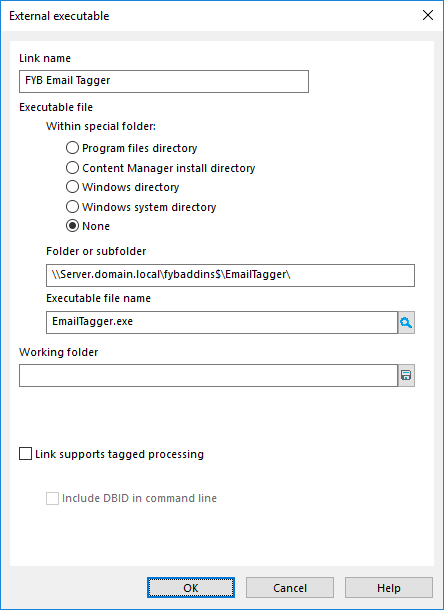
-
Click OK
-
Right click on the FYB Email Tagger external link > Properties
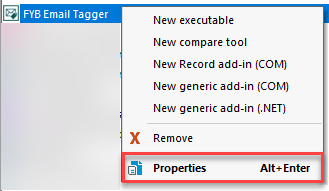
-
Click the “Used By” tab.

-
Select all the appropriate record types For each selected record type, enter the parameter field %URI%.
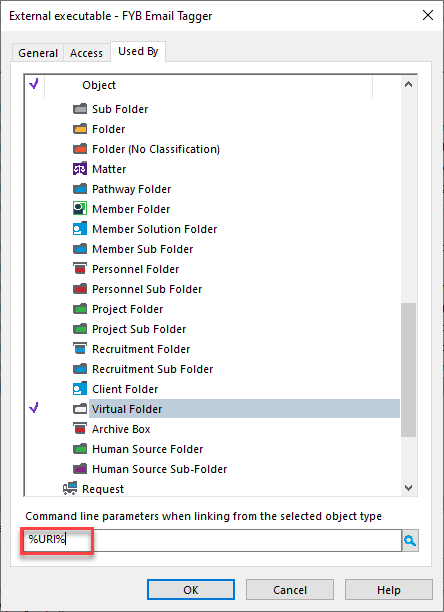
-
Click OK
-
Right Click and select New executable
-
Enter the Link Name as FYB Email Tagger Config

-
Under ‘Folder or Subfolder’, enter the Network Location of the FYB Addins\ Email Tagger\ folder obtained in step 9 of the installation section
Please use the fully qualified domain name (FQDN) when adding the external links.
For Example: If the share has been set up as \\Server\fybaddins\EmailTagger
The FQDN is \\Server.domain.local\fybaddins\EmailTagger
You can obtain the FQDN from the server you are installing on by navigating to Computer > Properties
-
Under Executable File Name browse to the FYB Email Tagger folder and select EmailTaggerConfig.exe
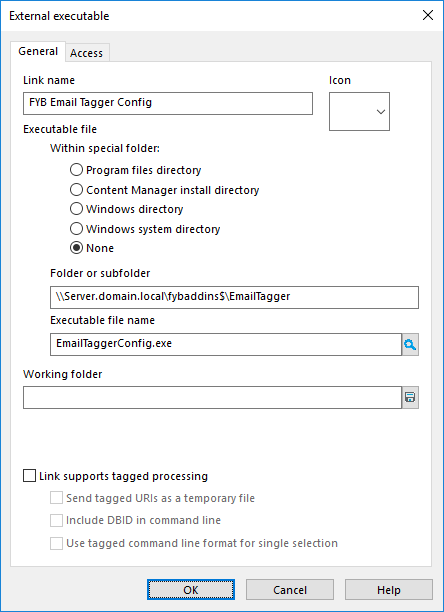
-
Click OK
-
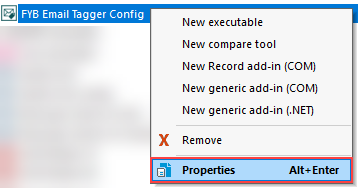
Right click on the FYB Email Tagger Config external link > Properties
-
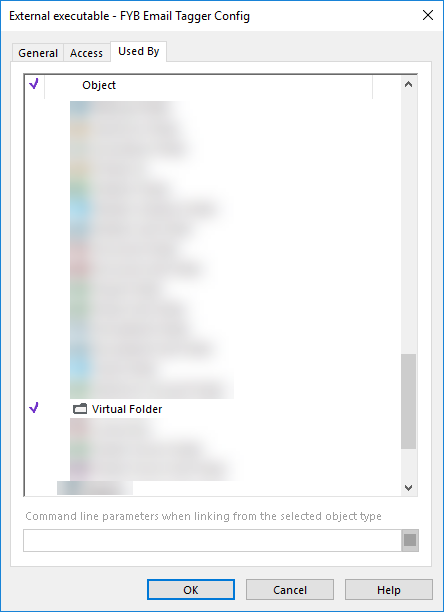
Click the “Used By” tab

-
Select all the same record types as selected for Email Tagger. No command line parameters are required
-
Click OK
-
The external link will now be accessible via the right click menu. It can also be optionally added to the Content Manager ribbon if required
UNINSTALLATION
MANUAL UNINSTALL
-
Open Content Manager and click on Tools > Administration > External Links
-
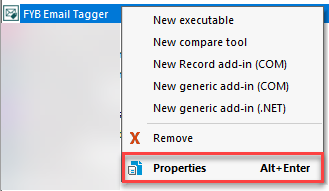
Right click the FYB Email Tagger external link > Properties
-
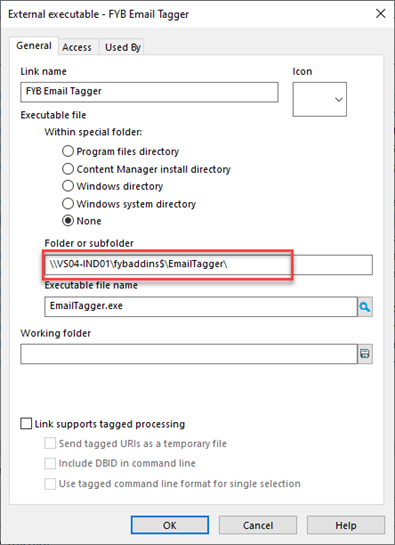
Copy the Folder path from the Folder or Subfolder field
-
Paste that into the file explorer to find where Email Tagger is currently installed

-
Delete the Email Tagger Folder including its contents
-
In Content Manager click on Tools > Administration > External Links
-
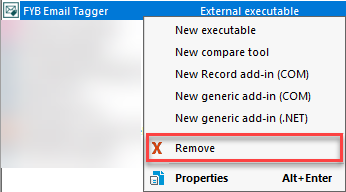
Right click the FYB Email Tagger external link > Remove > OK
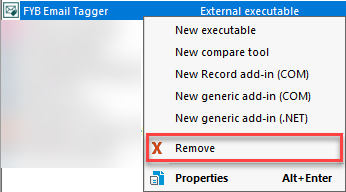
The external link will be removed from Content Manager
MSI UNINSTALL
To uninstall FYB Email Tagger using the MSI please follow the steps below:
-
Double click on EmailTagger-110-x86/64 MSI.

-
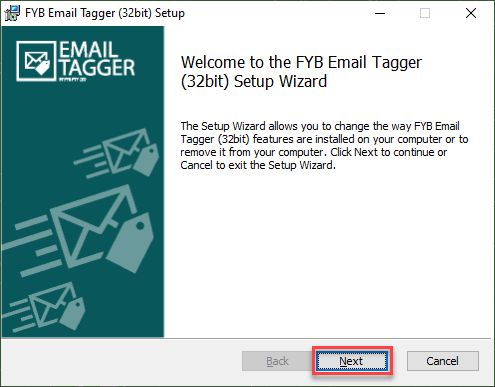
The Email Tagger uninstallation window should appear, click the Next button.
-
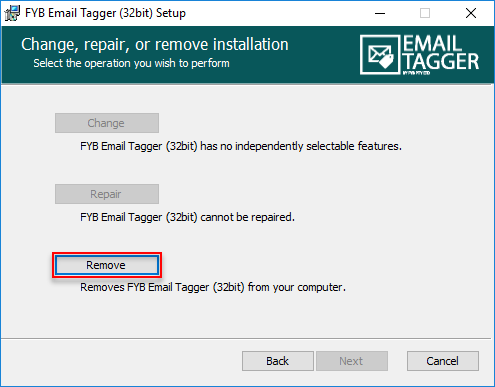
Click the remove button
-
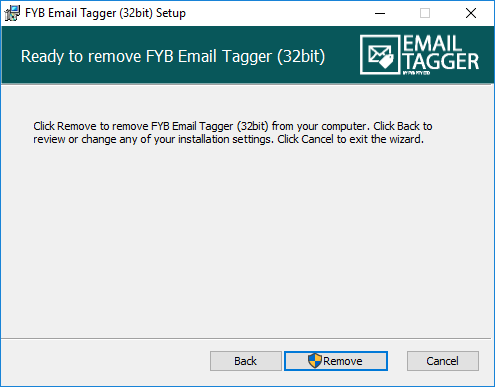
On the next window click the Remove button.
-
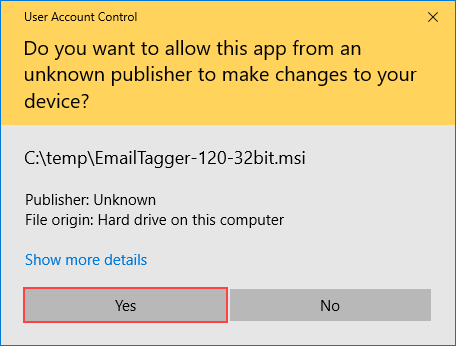
If a security alert appears, click Yes
-
The application uninstallation process will commence
-
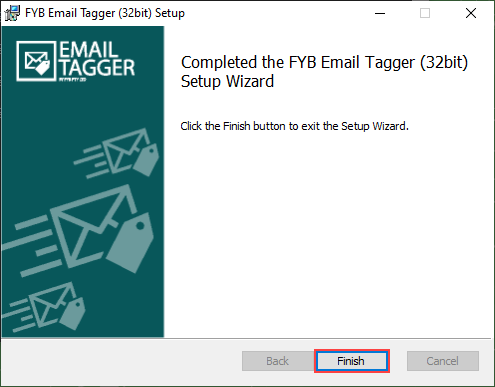
Click the Finish button, the application is now removed from the system.
-
In Content Manager click on Tools > Administration > External Links
-
Right click the FYB Email Tagger external link > Remove > OK