Mediazel Installation Guide
DISCLAIMER
Any advice FYB provide in relation to setting up any FYB App, FYB Add-in, FYB Connector and or advice in relation to opening access to your on-premises or in-the-cloud systems will be general advice only. This means that the advice is of a general nature and will not consider your network setup, network infrastructure or any security requirements that you may have or in fact need. It is highly advised that you seek advice from internal or external providers to ensure that they are comfortable with what is required prior to going ahead with any deployment, setup, or configuration for external access.
LICENSE DETAILS
Please contact FYB for a valid license if you are yet to obtain one for your App.
INSTALLATION COMPONENTS
The following installation components are required to ensure the full functionality of the FYB Mediazel:
- FYB Mediazel Web Application allows the display and upload of media items. This is a server-side installation
- FYB Mediazel Adobe Connector (optional) allows connection between the below Adobe products and Mediazel (This is a client-side deployment)
- InDesign (Id)
- Illustrator (Ai)
- Photoshop (Ps)
INSTALLING THE MEDIAZEL WEB APPLICATION
LICENSE
- Create a folder to house the license file (.lic) on the IIS Server
- Place the license file in this folder. You will be asked to enter this location during the installation
TRUSTED USER ACCOUNT
Add the account that will run the application pool as a Trusted User Account in Enterprise Studio.
Please refer to your Enterprise Studio help file on adding trusted accounts.
If using a system account (application pool identity, network service etc) you will be required to enter the details as DOMAIN\ServerName$.
If using a dedicated Windows service account, you will be required to enter the details as DOMAIN\username
INSTALLATION
Before running the MSI ensure that all prerequisites are complete. Including deploying the .NET 8 SDK and Hosting Bundle.
To deploy the Net Core SDK and Hosting Bundle to the server, follow these steps:
-
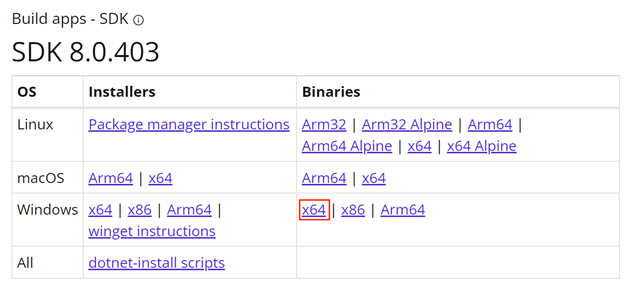
Install the latest .NET 8 SDK (x64) found here
-
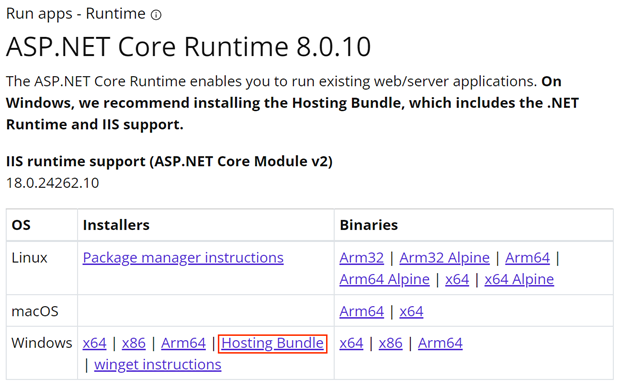
Install the latest ASP.NET Core 8 Runtime Hosting Bundle found here
-
Once both executables have been installed, complete a full server restart to allow for .NET 8 to bind to IIS. If a server restart is not possible an IIS reset can be completed with the following CMDs from an elevated command prompt.
- net stop was /y
- net start w3svc
- iisreset
NoteTo check that the SDK has been attached to the hosting bundle, open Command Prompt and type dotnet --info
 Note
If you're using the installer to create a new Media record type then it will need to be run using a Content Manager administrator account.
Installation can be completed by running the MSI or using the command line arguments to prefill most data.
To install Mediazel, follow these steps:
-
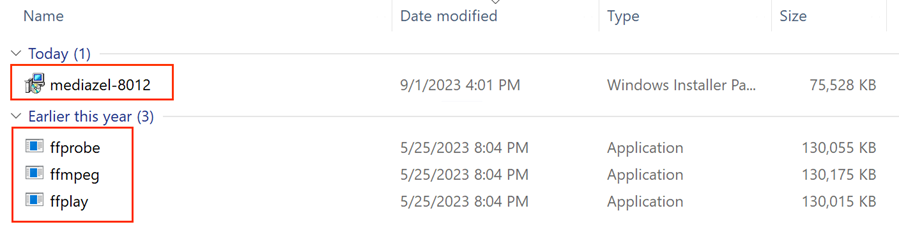
Unzip the ffmpeg.zip, ffplay.zip and ffprobe.zip files and place the extracted files in the same folder as the Mediazel msi
-
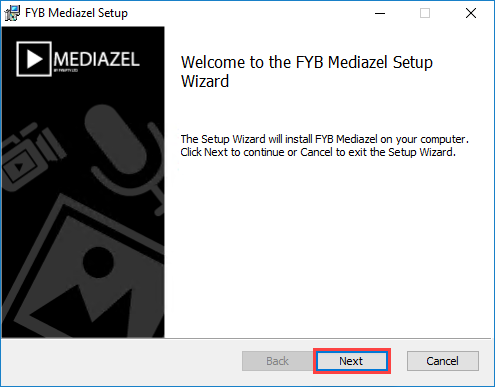
Run the command prompt as an administrator and launch the fybmediazel.msi and click on the Next button
-
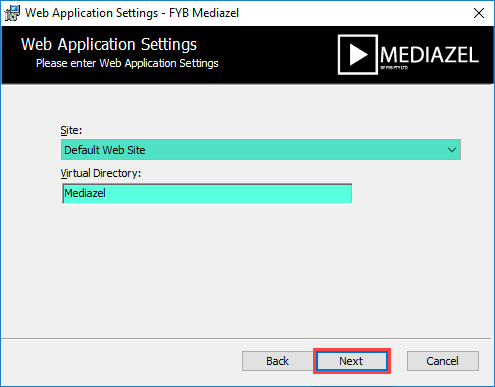
On the Web Application Settings screen select the HTTPS protected dedicated site to host the application and click on the Next button
NoteThe virtual directory name must remain as Mediazel and it cannot be renamed.
IIS DirectoryThe application must be installed under the dedicated site as an application. It cannot be installed at the site level

-
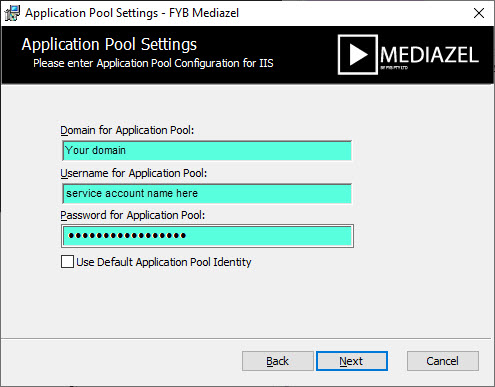
On the Application Pool Settings screen, enter the domain, username, and password for the Application Pool identity
-
Click on the Next button
 Note
The account running the app pool will need access to Content Manager. At a minimum, it can be set to a Knowledge Worker account.
-
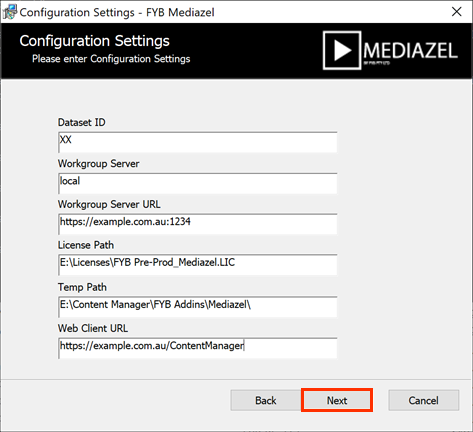
On the configuration settings screen provide the required setting and click on the Next button
 IMPORTANT
The workgroup server value should always be set to local.
NAME DESCRIPTION Dataset ID The two alphanumeric character dataset identifier, for example: FD Workgroup Server This must be set to local for CM impersonation to function correctly Workgroup Server URL This URL of the COntent Manager Workgroup Server Licence Path The path to your license file including the .lic file. e.g., C:FYB Add-Ins\Licenses\mediazel.lic Temp Path A location for Mediazel to write and store temp data. Please include the trailing slash, for example: D:\Mediazel\Temp\ Web Client URL The URL of your Content Manager web client -
If your environment is configured to only allow OpenId authentication (e.g. Azure AD or ADFS) for your Content Manager, you'll receive the following message:

-
Click OK to navigate to the Open Id settings screen and enter the required values.
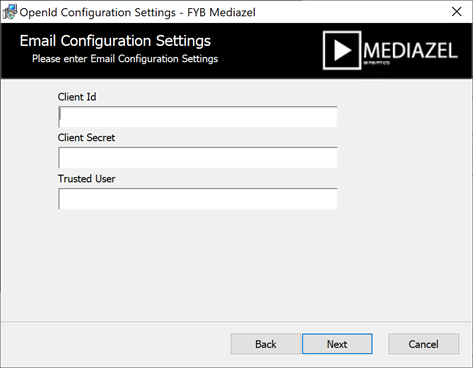 Note
If OpenID is not in use and you receive this page, these values should be left blank and can be skipped
NAME DESCRIPTION Client Id The Client/App Id of the Open Id application used to secure Content Manager. For ADFS authentication, this will be the username of the Confidential Client app. Client Secret The Client/App Secret of the Open Id application used to secure Content Manager. For ADFS authentication, this will be the password of the Confidential Client app. Trusted User The Network Login value of the Content Manager Confidential Client app location. For ADFS authentication, this will be the username of the Confidential Client app. -
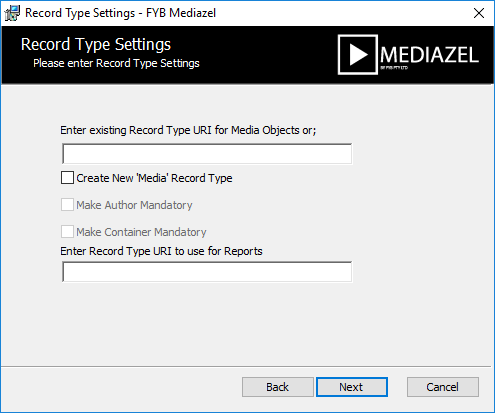
On the Record Type Settings Screen, if you already have an existing Record Type that you wish to use for Mediazel provide the URI into the URI field. Alternatively, select the Create New Record Type checkbox to create a new Record Type
-
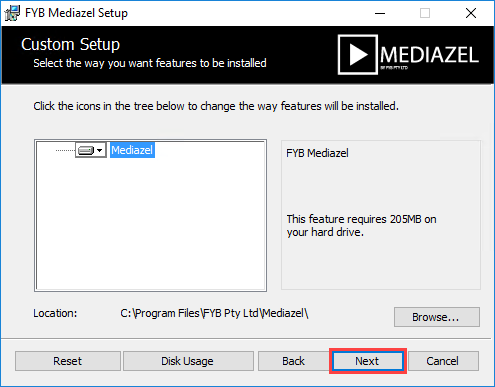
On the Custom Setup screen select the install location and click on the Next button
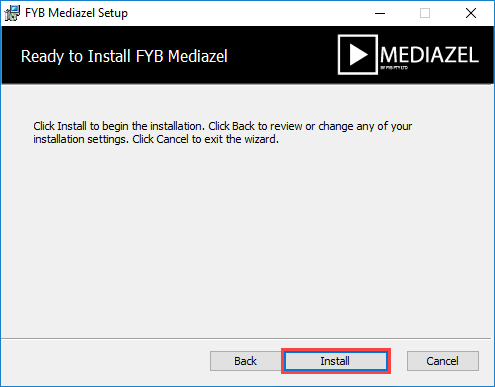
 10. From the Confirm Installation window click on the Install button
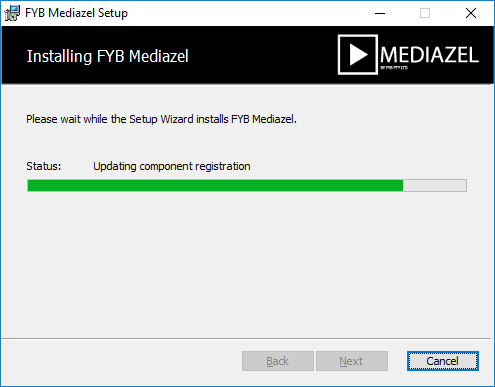
 12. The installation process will commence
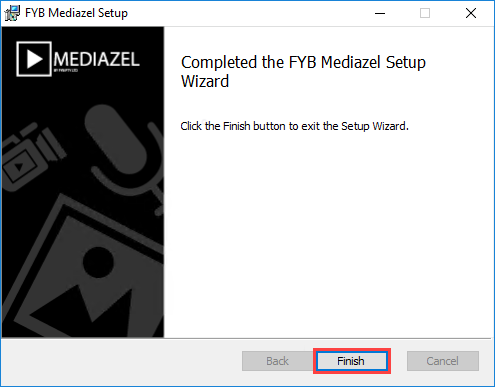
 12. Once the installation is complete click on the Finish button
COMMAND-LINE ARGUMENTS
Use "" around values that contain special characters (non-alphanumeric characters)
| ARGUMENT | PURPOSE |
|---|---|
| WEBSITE | The Website that Mediazel will be installed under |
| VIRTUAL_DIR_VAL | Needs to be set to MEDIAZEL |
| WEB_APP_POOL_IDENTITY_DOMAIN | Sets the App Pool domain for the application pool |
| WEB_APP_POOL_IDENTITY_NAME | Sets the App Pool username for the account running the application pool |
| WEB_APP_POOL_IDENTITY_PWD | Sets the App Pool password for the account running the application pool |
| DBID | Sets the Database ID that connects to the Content Manager dataset to run the application |
| WORKGROUP_SERVER | Sets the Workgroup Server Name that connects to the Content Manager dataset to run the application |
| WORKGROUP_SERVER_URL | This URL of the COntent Manager Workgroup Server |
| LICENSE_PATH | Sets the license that connects to the application |
| TEMP_PATH | Sets the temp path that connects to the application |
| WEB_CLIENT | The URL of your Content Manager web client |
| MEDIA_URI | The URI of the existing record type used for Mediazel |
| CREATE_RECORD_TYPE | '1' to create a new record type for Mediazel |
| AUTHOR_MANDATORY | '1' to make the Author field on the new record type mandatory |
| CONTAINER_MANDATORY | '1' to make the Container field on the new record type mandatory |
| REPORT_URI | The record type URI for creating reports in Mediazel |
| CLIENT_ID | The Client/App Id of the Open Id application used to secure Content Manager. For ADFS authentication, this will be the username of the Confidential Client app. |
| CLIENT_SECRET | The Client/App Id of the Open Id application used to secure Content Manager. For ADFS authentication, this will be the password of the Confidential Client app. |
| TRUSTED_USER | The Network Login value of the Content Manager Confidential Client app location. For ADFS authentication, this will be the username of the Confidential Client app |
FIELDS CREATED BY THE INSTALLER
The following additional fields are created in Content Manager automatically by the installer if they do not already exist.
The stock properties of Title and Container are mandatory for Mediazel functionality and must be present on the Media record type.
| Name | Format | Is Searchable | Maximum Length |
|---|---|---|---|
| 35mm focal length | Number | true | 255 |
| Album | String | true | 255 |
| Altitude | String | true | 255 |
| Artist | String | true | 255 |
| Audio Sample Rate (kHz) | Number | true | 255 |
| Bit Depth | Number | true | 255 |
| Bit Rate (kbps) | Number | true | 255 |
| Camera | String | true | 255 |
| Camera Model | String | true | 255 |
| Channels | Number | true | 255 |
| Colour Representation | String | true | 255 |
| Compressed Bits | Number | true | 255 |
| Compression | String | true | 255 |
| Contributing Artists | String | true | 255 |
| Data Rate (Kbps) | Number | true | 255 |
| Date Taken | 4 | true | 255 |
| Exposure Bias | String | true | 255 |
| Exposure Time | String | true | 255 |
| Exclude from Maps | Boolean | true | N/A |
| F-Stop | String | true | 255 |
| Flash | String | true | 255 |
| Flash Energy | String | true | 255 |
| Focal Length | String | true | 255 |
| Frame Height | Number | true | 255 |
| Frame Rate (fps) | Number | true | 255 |
| Frame Width | Number | true | 255 |
| Genre | String | true | 255 |
| Height | Number | true | 255 |
| Horizontal DPI | Number | true | 255 |
| Image ID | String | true | 255 |
| ISO Speed | Number | true | 255 |
| Item Type | String | true | 255 |
| Length | String | true | 255 |
| Max Aperture | Decimal | true | 12 |
| Media Format | String | true | 50 |
| Metering Mode | String | true | 50 |
| Resolution Unit | Number | true | 255 |
| Subject Distance | Number | true | 255 |
| Tags | Text | true | 65536 |
| Total Bitrate (kbps) | Number | true | 65536 |
| Vertical DPI | Number | true | 255 |
| Width | Number | true | 255 |
| Year | Number | true | 255 |
CONFIGURATION
After the installation process is complete, you will be able to locate the application installed within the site selected during installation.
-
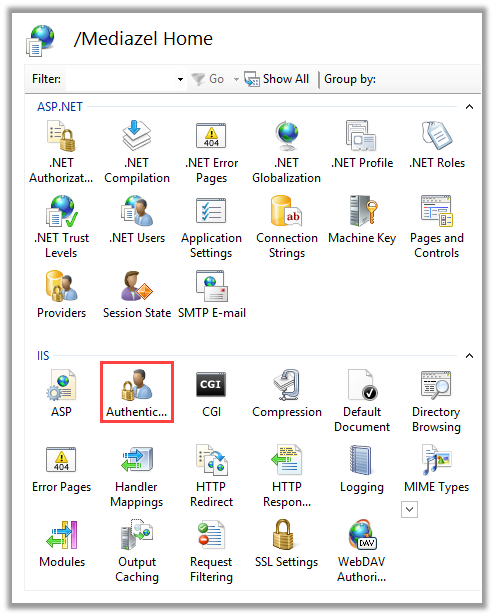
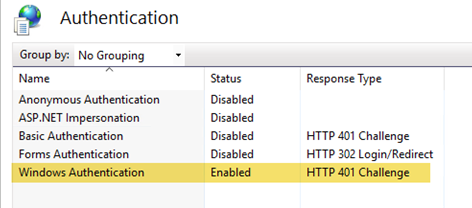
From the Features View double click on Authentication and ensure that only Windows Authentication is enabled
-
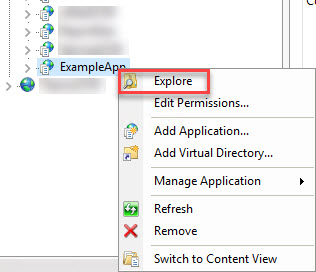
Right-click the application in IIS and select explore
-
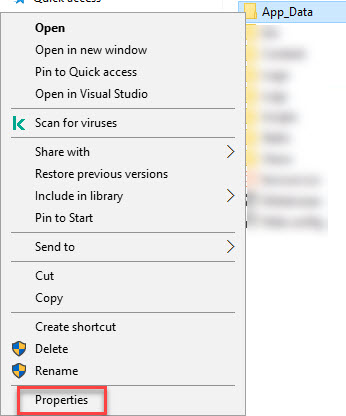
Right click the App_Data folder and select properties
-
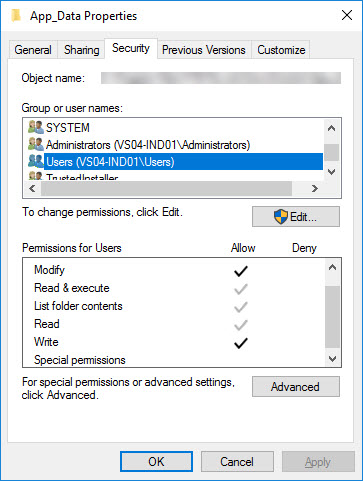
Navigate to the security tab and ensure users have read, write and modify permissions
-
Repeat step 4 for the Images folder within the Content folder
-
Click on Application Pools

-
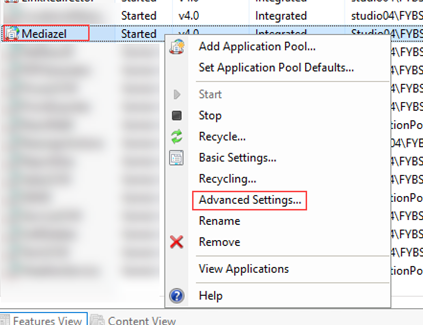
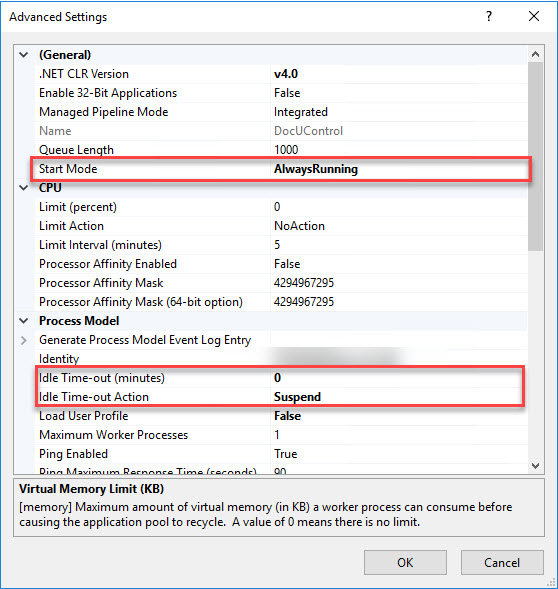
Within the application pool listing screen, right-click on Mediazel application pool and select the Advanced Settings option from the drop-down menu
-
Within the Advanced Settings window, set Start Mode to AlwaysRunning, Idle Time-out Action to Suspend and Idle Time-out Action (minutes) to 0
-
Click on the OK button
ADDITIONAL CONFIGURATION (OPTIONAL)
If all the above steps have been completed, then the Mediazel will be installed and fully functional. However, there are a few additional items that can be configured to enhance/improve its features.
GIS STARTING POINT FOR MAPS
You can set a default starting point for GPS Searches or when editing the GPS location of an existing item. This is done via User Options > GIS Settings
 Please ensure it uses the POINT(LATITUDE LONGITUDE) format otherwise the default location will appear blank and the map unusable.
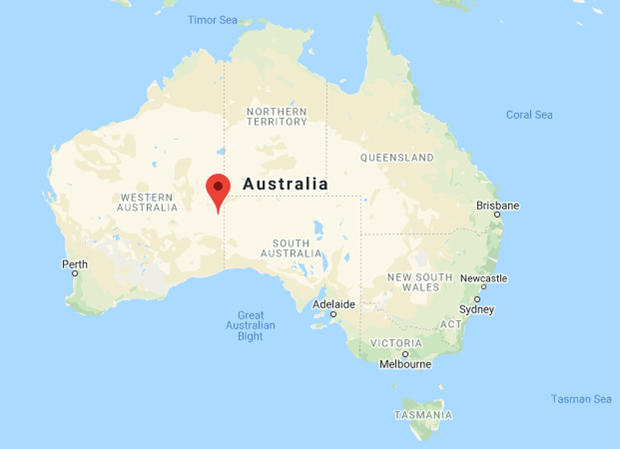
If the GPS coordinate is not set up, the default map of Australia will be used as the default coordinates.
ENABLING GOOGLE/MICROSOFT SERVICES
Use at your own risk. Before using the Google or Microsoft Cloud Vision / Speech to Text / Maps services please note that the files will need to be shared with Google/Microsoft Cloud for analysis. We (FYB Pty Ltd) will not be liable and nor do we hold any responsibility for any privacy breaches or data damages because of using this feature.
There is a 10 MB file upload limit when using Google Vision. This is a setting of Google and not a setting of Mediazel. If a file is greater than 10mb is uploaded with Goggle Vision then the upload can potentially fail.
Further information on these features can be found in the following articles:
GOOGLE VISION / SPEECH TO TEXT
The Google Vision API allows images to be automatically tagged by detecting the content of the image.
A valid Google Vision API JSON key file is required for this feature to function. To obtain the JSON key file please follow the instructions at the following URL: https://cloud.google.com/vision/docs/setup
The Google Speech-to-Text API allows audio to be converted into a text format and captured against the record in CM, this will aid with audio searching. This is optional and not required for the Mediazel to function.
A valid Google Speech to Text API JSON key file is required for this feature to function. For a guide on how to obtain the JSON key file, click here.
Both keys can be set up at the same time if required and one JSON key file uploaded to Mediazel
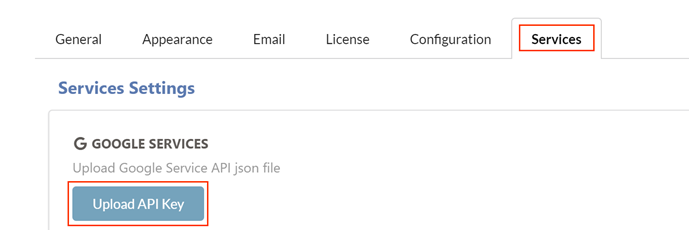
Once the API key has been obtained transfer this to a secure location. Navigate to the Admin section of the Mediazel, under the Services Tab and upload your API Key
GOOGLE MAPS API KEY
The Google Maps API Key allows full functionality of Mediazel’s GPS searching abilities.
A valid Google MAP API key file with Places enabled is required for this feature to function. Instructions on obtaining the key can be found here: https://developers.google.com/maps/documentation/embed/get-api-key#get-the-api-key
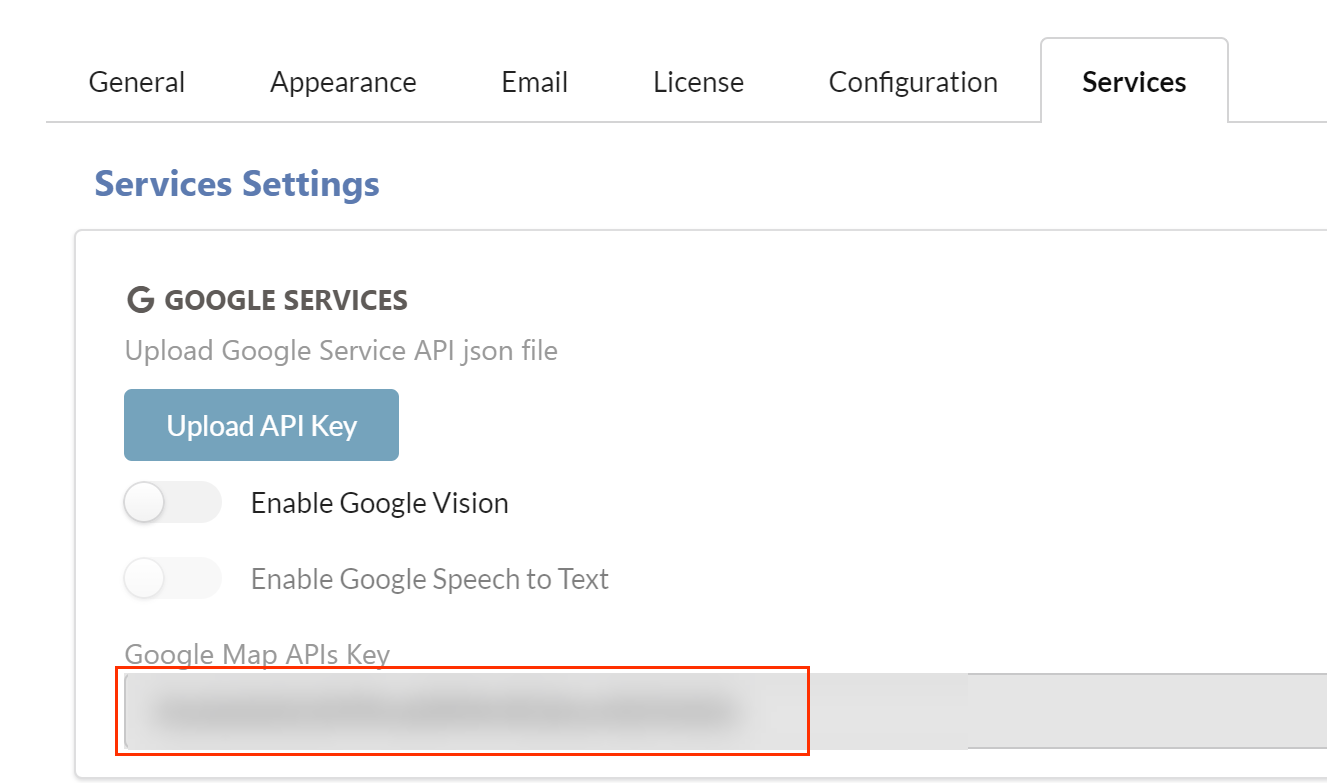
Once the API key has been obtained transfer this to a secure location. Navigate to the Admin section of the Mediazel and input your API Key
MICROSOFT SPEECH TO TEXT
The Microsoft Speech-to-Text API allows audio to be converted into a text format and captured against the record in CM, this will aid with audio searching.
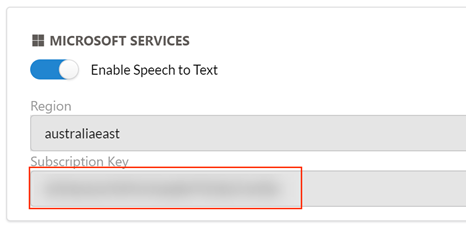
A valid Microsoft Speech to Text subscription key is required for this feature to function.
Once the subscription key has been obtained transfer this to a secure location. Navigate to the Admin section of the Mediazel and upload your subscription Key
INSTALLING THE MEDIAZEL ADOBE CONNECTOR
INSTALLATION
Once you've installed the Mediazel web application, you will be able to install the Mediazel Adobe connector. To install the Mediazel Adobe connector on a client machine, please follow the steps below:
Note this is an optional feature and not required for the Mediazel to function
Ensure all Adobe products are closed before deploying the connector
-
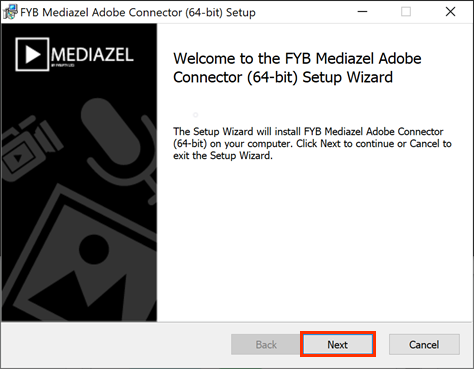
Run the command prompt as an administrator and launch the mediazel-adobe-xxx-64bit.msi and click the Next button
 Note
There is no 32-bit version of the Adobe connector (only a 64-bit version). This is because Adobe products are always 64-bit.
-
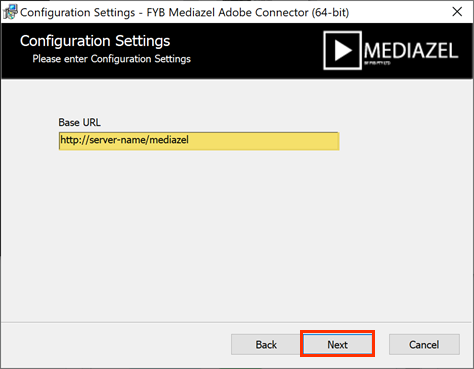
Enter the URL of the Mediazel web application ( example: https://server-name/mediazel) and click on the Next button
-
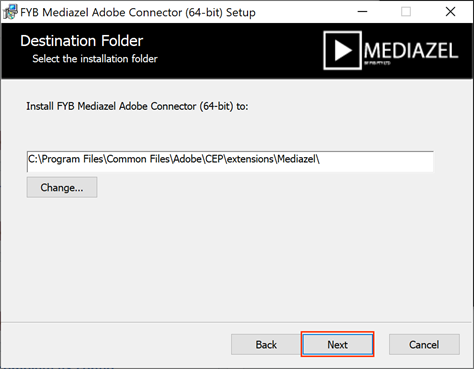
On the Destination Folder screen click on the Next button
NoteDo not change the program files path
-
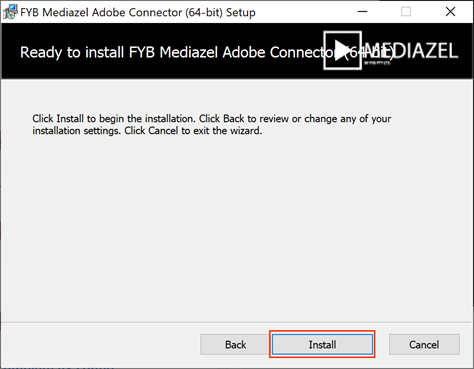
Click on the Install button
-
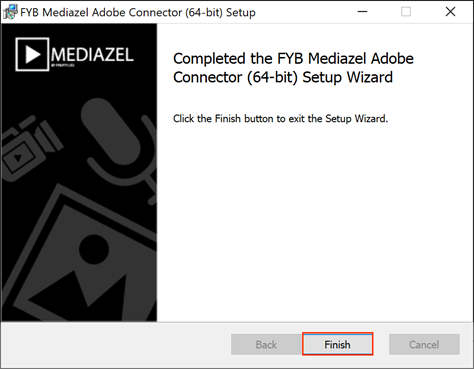
Once the installation is complete, click on the Finish button
INSTALLING CM LAUNCHER
The FYB CM Launcher needs to be installed on each user’s machine. The CM Launcher is required to perform native functions on the user’s machine such as viewing a record link directly in CM.
Please refer to the CMLauncher Installation Guide to install CMLauncher.
UNINSTALLATION
UNINSTALLING THE MEDIAZEL WEB APPLICATION
To uninstall Mediazel please follow the steps below:
- Navigate to Control Panel
 2. Click on uninstall a program option
 3. Locate FYB Mediazel in the list of Programs and feature
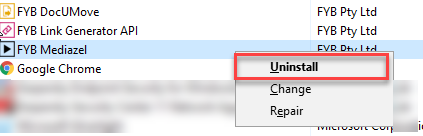
 4. Right-click on FYB Mediazel and click on the Uninstall button
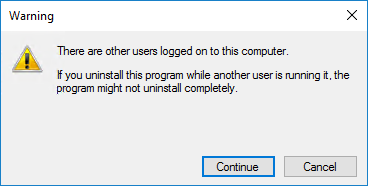
 5. If a warning Prompt appears, click on the Continue button
 6. Click on the Yes button
 7. The application will begin to uninstall
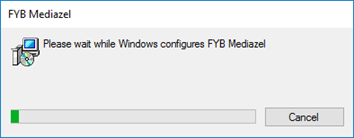 8. Once the uninstallation process is completed, Open IIS (Internet Information Services.)
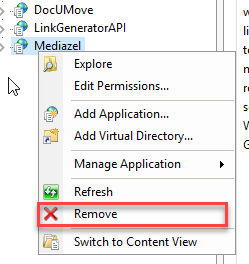
9. Locate Mediazel in IIS, right click and click on the Remove button
 10. When the prompt appears, click on the Yes button