
PDF Generator Installation Guide
DISCLAIMER
Any advice FYB provide in relation to setting up any FYB App, FYB Add-in, FYB Connector and or advice in relation to opening access to your on-premises or in the cloud systems will be general advice only. This means that the advice is of a general nature and will not take into account your network setup, network infrastructure or any security requirements that you may have or in fact need. It is highly advised that you seek advice from internal or external providers to ensure that they are comfortable with what is required prior to going ahead with any deployment, setup or configuration for external access.
LICENSE DETAILS
Please contact FYB for a valid license if you are yet to obtain one for your Connector.
INSTALLATION COMPONENTS
The following installation components are required to ensure full functionality of the FYB PDF Generator:
- FYB PDF Generator Add-In - this is a server-side deployment.
INSTALLING THE PDF GENERATOR ADD-IN
INSTALLATION
-
Create an FYB Add-ins folder on the appropriate server

-
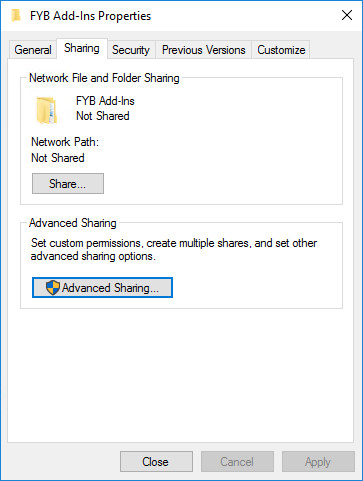
Right click on the FYB Add-ins folder > Properties and click on the Sharing tab
-
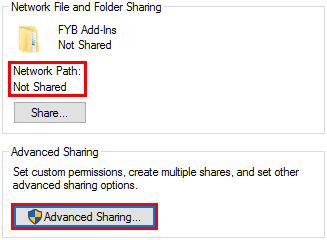
Click on the Advanced Sharing button
-
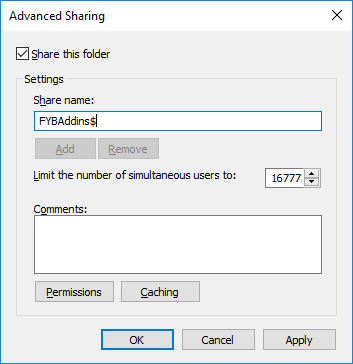
In the Advanced Sharing window, tick ‘Share this folder’ and remove the space between FYB and Add-ins, then add a ‘$’ sign which will keep the folder hidden
-
Click on the Permissions button
-
Give Everyone the Full Control permission

-
A Network Path will now be available
-
Create a subfolder inside the FYB Add-ins folder to house the license file (.lic) on the server

-
Place the license file in this folder. You will be asked to enter the shared path of this file during the installation
-
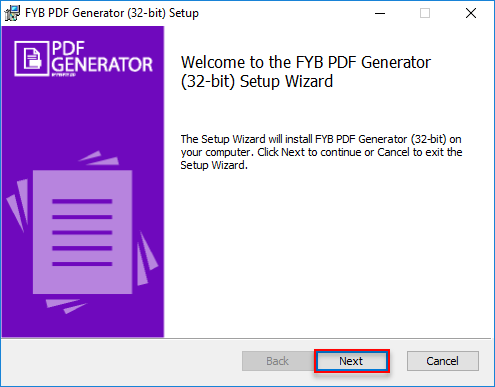
Launch the fybpdfgenerator-xxx-32bit/64bit.msi
-
Click on the Next button
-
On the Configuration Settings screen, enter the license path, temp path and select the PDF Format. To enable inMailX tags to be included in email subjects, enter the email tag prefix.
-
Click on the Next button
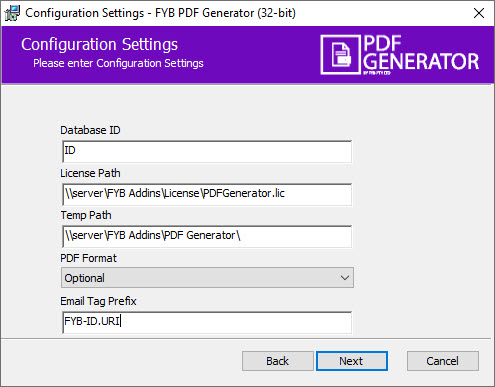
| NAME | DESCRIPTION |
|---|---|
| Database Id | Sets the Database ID that connects to Content Manager dataset to run the application |
| License | Shared network path of the license file |
| Temp Path | Shared network path of the temp path |
| PDF Format | The format of PDF files that will be generated |
| Email Tag Prefix | This is optional for users that have inMailX. This tag will be added to any email subject lines when using the send pdf via email option. This should be in the following format: INMAILX FIRM ID-DBID.URI (without spaces). For Example: FYB-FT.URI |
-
On the Configuration Settings (Continued) screen, set the finalisation settings and click on the Next button
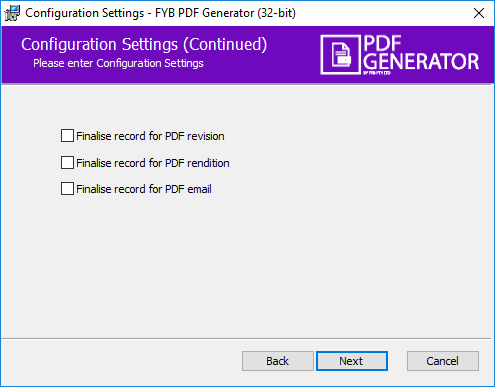
NAME DESCRIPTION Finalise record for PDF revision Record will be finalised after using the Generate PDF Revision option Finalise record for PDF rendition Record will be finalised after using the Generate PDF Rendition option Finalise record for PDF email Record will be finalised after using the Send PDF via Email option -
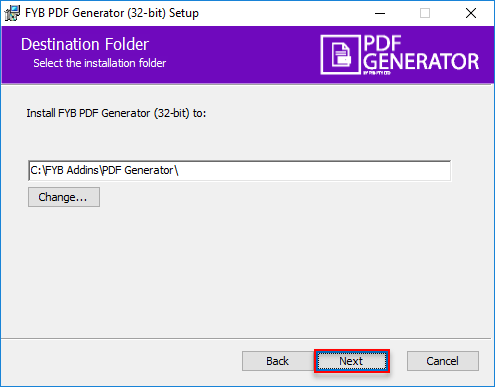
On the Destination Folder screen, make sure that you update the installation path to the FYB Add-ins folder created in Step 1, and click on the Next button
 Note
Ensure that the User group has read and write permission on the installation directory chosen above (PDF Generator folder).
-
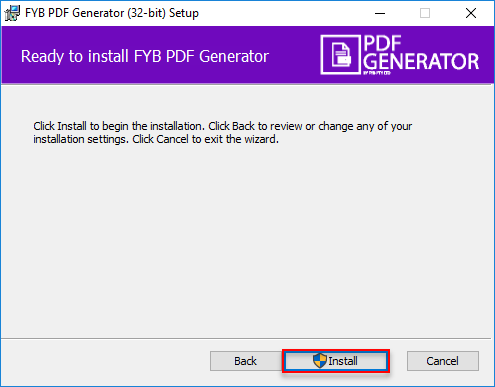
On the Confirm Installation window click on the Install button
-
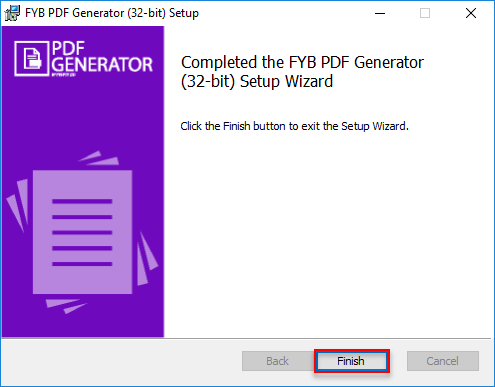
Once the installation is complete, click on the Finish button
COMMAND LINE ARGUMENTS (OPTIONAL)
The following command line arguments can be passed to the MSI if required.
| ARGUMENT | PURPOSE |
|---|---|
| DBID | Sets the Database ID that connects to Content Manager dataset to run the application |
| LICENSE_PATH | Sets the license that connects to the application. This needs to be the shared network path of the license file |
| TEMP_PATH | Shared network path of the temp folder location. |
| FORMAT | Sets the format of PDF files that will be generated |
| PREFIX | This is optional for users that have inMailX. This tag will be added to any email subject lines when using the send pdf via email option. This should be in the following format: INMAILX FIRM ID-DBID.URI (without spaces). For Example: FYB-FT.URI |
CONFIGURATION
EXTERNAL LINKS (CM 9.x)
PDF Generator will require the setup of five individual external links. Please repeat the below steps for all external links listed in the table below.
| LINK NAME | EXECUTABLE NAME | COMMAND LINE PARAMETERS |
|---|---|---|
| Generate PDF Rendition | FYBPDFGeneratorRendition.exe | %URI% |
| Generate PDF Revision | FYBPDFGeneratorRevision.exe | %URI% |
| Send PDF via Email | FYBPDFGeneratorEmail.exe | %URI% |
| Merge Documents to PDF | FYBPDFGeneratorMerge.exe | %URI% |
| PDF Generator Config | FYBPDFGeneratorConfig.exe | %URI% |
-
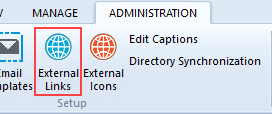
In Content Manager (Context) navigate to the Administration Ribbon and click on the External Links button
-
Within the External Links window perform a right-click and select New External Link from the drop-down menu

-
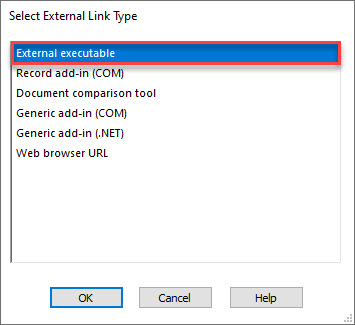
From the external link type list, select External Executable and click on the OK button
-
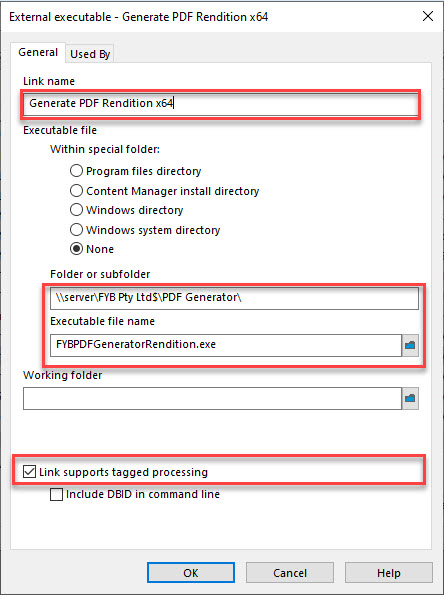
Under Link name, enter the link name from the table above.
-
Under Folder or Subfolder enter the Network Location of the FYB Addins > PDF Generator folder
-
Under Executable file name browse to the PDF Generator folder and select the executable name from the table above.

-
Check the Link Supports tagged processing
-
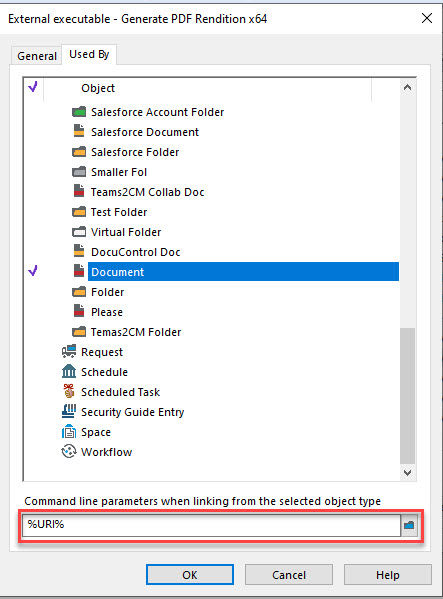
Select the Used By tab
-
Select all the appropriate record types
-
Enter the Command Line Parameters from the table above
-
Click on the OK button
-
Repeat the process for all five external links using the table above

EXTERNAL LINKS (CM 10x)
PDF Generator will require the setup of five individual external links. Please repeat the below steps for all external links listed in the table below.
| LINK NAME | EXECUTABLE NAME | COMMAND LINE PARAMETERS |
|---|---|---|
| Generate PDF Rendition | FYBPDFGeneratorRendition.exe | ^!Urilist^ |
| Generate PDF Revision | FYBPDFGeneratorRevision.exe | ^!Urilist^ |
| Send PDF via Email | FYBPDFGeneratorEmail.exe | ^!Urilist^ |
| Merge Documents to PDF | FYBPDFGeneratorMerge.exe | ^!Urilist^ |
| PDF Generator Config | FYBPDFGeneratorConfig.exe | ^!Urilist^ |
-
In Content Manager (Context) navigate to the Administration Ribbon and click on the External Links button
-
Within the External Links window perform a right-click and select New External Link from the drop-down menu
-
From the external link type list, select External Executable and click on the OK button
-
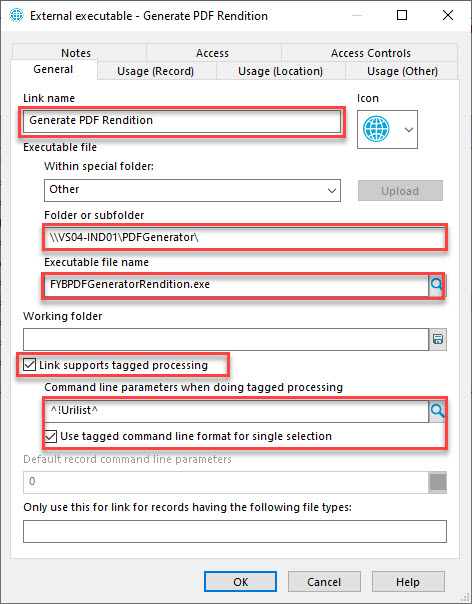
Under Link name, enter the link name from the table above
-
Under Folder or Subfolder enter the Network Location of the FYB Addins > PDF Generator folder
-
Under Executable file name browse to the PDF Generator folder and select the executable name from the table above
-
Check the Link Supports tagged processing
-
Enter the Command Line Parameters from the table above
-
Check Use tagged command line format for single selection
-
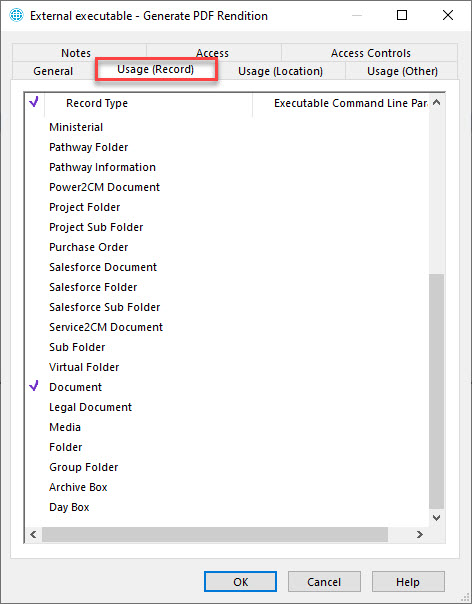
Select the Usage (Record) tab
-
Select all the appropriate record types
-
Click on the OK button
-
Repeat the process for all five external links using the table above
UNINSTALLING FYB PDF GENERATOR
PDF GENERATOR MSI
To uninstall FYB PDF Generator using the MSI please follow the steps below:
-
Double click on the fybpdfgenerator-31x-32bit/64bit.msi
-
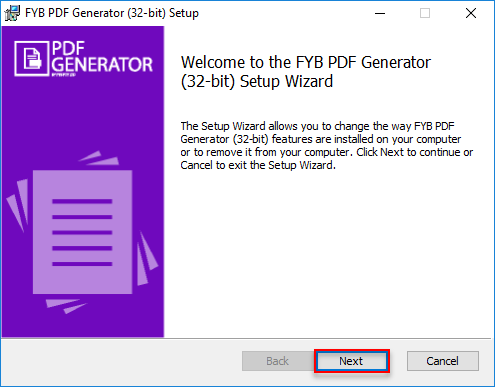
The PDF Generator uninstallation window will appear
-
Click on the Next button
-
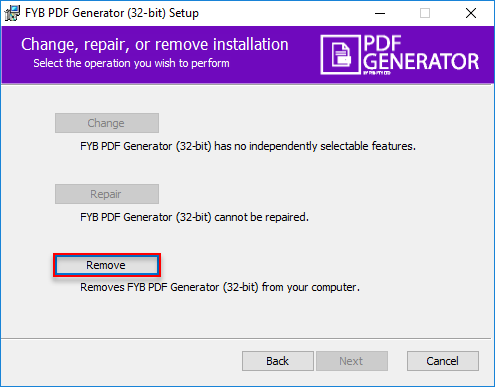
Click on the Remove button
-
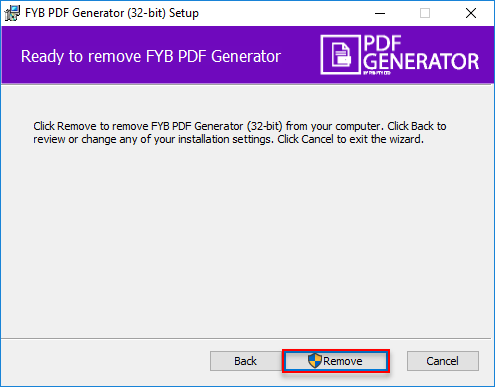
Click on the Remove button again in the next window displayed
-
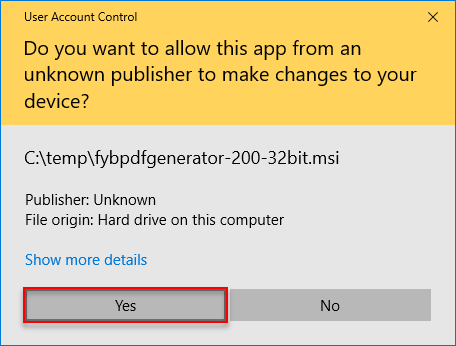
If a security prompt appears, click the Yes button
-
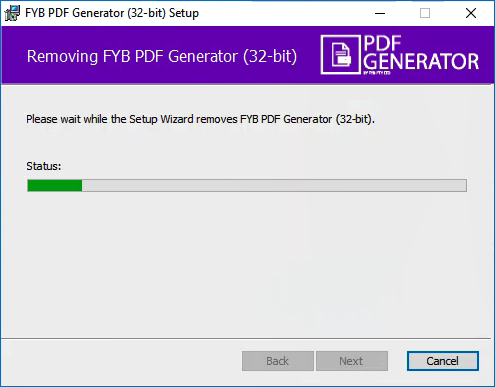
The application uninstallation process will commence
-
Click on the Finish button to remove the application from the system
PDF GENERATOR EXTERNAL LINK
-
Open Content Manager and navigate to the Administration Ribbon
-
Click on the External Links button
-
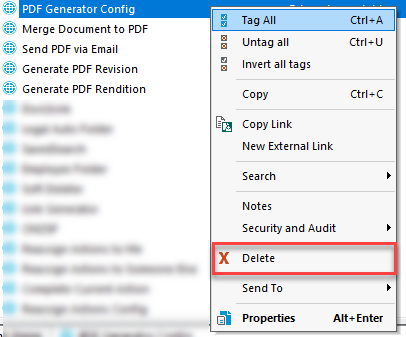
Right click the FYB PDF Generator external click > Remove > OK
-
Repeat the process for all five external links