
InfoInsert Installation Guide
DISCLAIMER
Any advice FYB provide in relation to setting up any FYB App, FYB Add-in, FYB Connector and or advice in relation to opening access to your on-premise or in the cloud systems will be general advice only. This means that the advice is of a general nature and will not take into account your network setup, network infrastructure or any security requirements that you may have or in fact need. It is highly advised that you seek advice from internal or external providers to ensure that they are comfortable with what is required prior to going ahead with any deployment, setup or configuration for external access.
LICENSE DETAILS
Please contact FYB for a valid license if you are yet to obtain one for your Add-in.
INSTALLATION COMPONENTS
The following installation components are required to ensure full functionality of FYB InfoInsert:
- FYB InfoInsert Add-in - This is a client-side deployment
INSTALLING FYB INFOINSERT
INSTALLATION
-
Create an FYB Add-ins folder on the Content Manager workgroup server

-
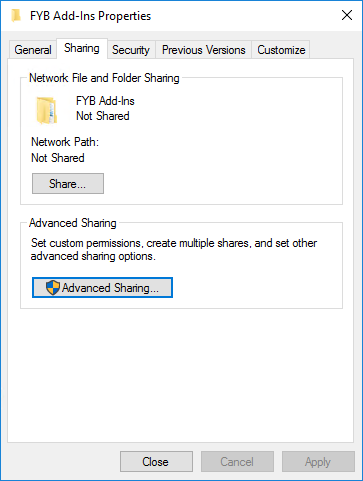
Right click on the FYB Add-ins folder > Properties > click on the Sharing tab
-
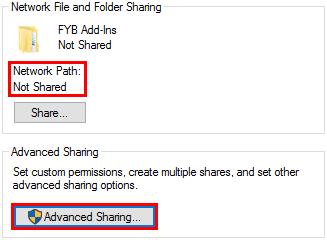
Click on the Advanced Sharing button
-
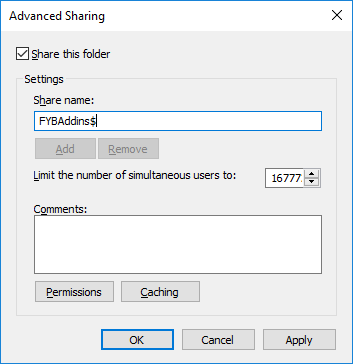
In the Advanced Sharing window, tick ‘Share this folder’ and remove the space between FYB and Addins, then add a ‘$’ sign which will keep the folder hidden
-
Click on the Permissions button
-
Give Everyone the Full Control permission

-
A Network Path will now be available
-
Create two subfolders inside the FYB Addins folder called License and Templates
-
Place your license file inside the License folder
-
Note down the shared path of the license file and the Templates folder. For example:
- \server-name\fybaddins$\Licenses\InfoInsert_23042099.lic
- \server-name\fybaddins$\Templates\
-
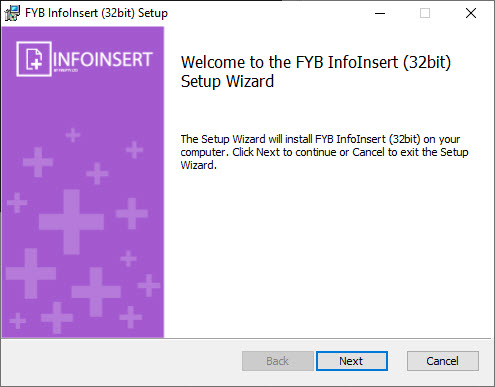
Launch the infoinsert-xxx-xxbit.msi
-
Click Next to begin the installation
-
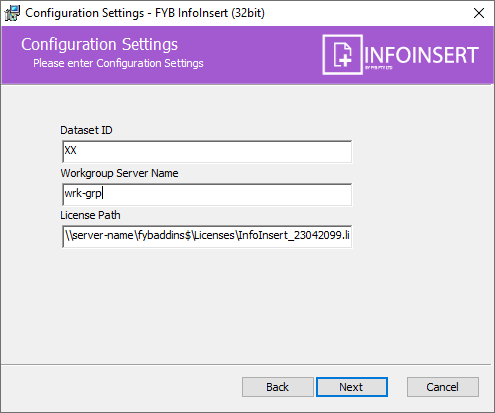
On the Configuration Settings screen, enter the dataset ID, workgroup server name, shared path for the license (including file name).
-
Click the Next Button
-
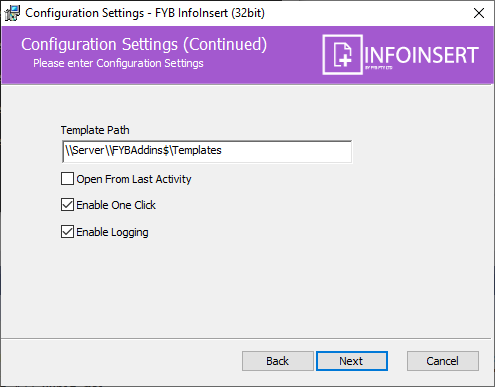
On the Configuration Settings (Continued) screen, input the shared path to the InfoInsert Templates folder created earlier. Enable or disable the remainder of the options as required
-
Click the Next button
-
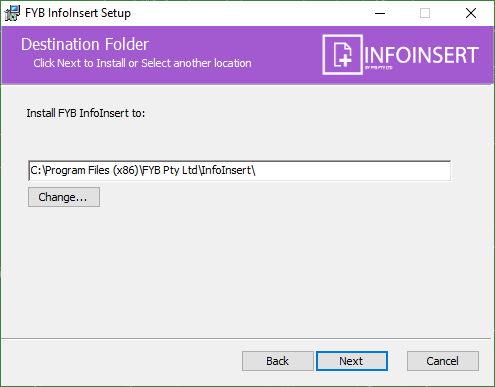
On the Destination Folder screen, select the install location
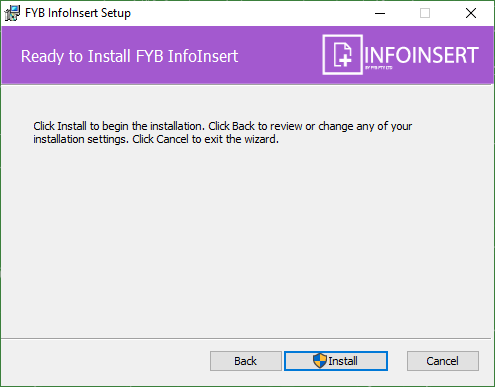
- On the Confirmation Installation window, click the Install button
-
The installation will commence
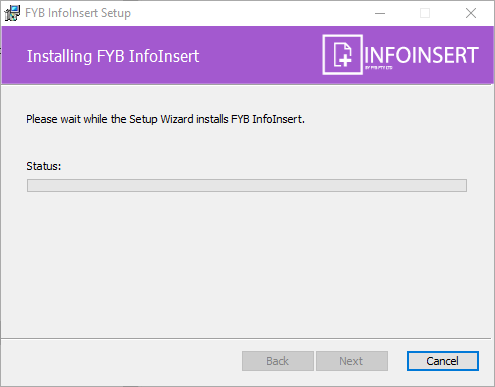
-
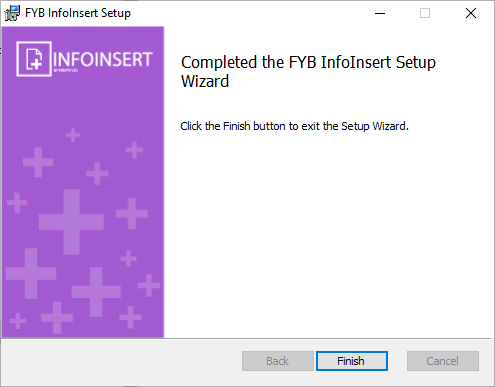
Click Finish to exit
COMMAND-LINE ARGUMENTS (OPTIONAL)
The following command-line arguments can be passed to the MSI if required.
| ARGUMENT | PURPOSE |
|---|---|
| DBID | Database ID for the Content Manager dataset you are connecting to |
| WORKGROUP | Content Manager workgroup server you are connecting to |
| LICENSE_PATH | Shared path to the license file on the Content Manager server |
| TEMPLATE_PATH | Shared path to the template folder on the Content Manager server |
| OPEN_LAST_ACTIVITY | Sets the ability to open the last activity completed by InfoInsert |
| ONE_CLICK | Sets the ability to set record metadata with one click within the application |
| ENABLE_LOGGING | Enable or disable logging for the add-in. All logging will be written to the user's app data folder > FYB Pty Ltd > InfoInsert > Logs |
MULTIPLE USERS ON THE SAME COMPUTER (OPTIONAL)
Only required if you have multiple users logging onto the same computer!
If you have multiple users that need to use the same machine/computer you will need to deploy the settings.json to all users app_data.
-
Take a copy of the settings.json file from a completed install. The file is located at %appdata%\Roaming\FYB Pty Ltd\InfoInsert\
-
Confirm the file contains the correct information like the below

-
Deploy the settings.json file to any other users as required. The file should be deployed to %appdata%\Roaming\FYB Pty Ltd\InfoInsert\
CONFIGURATION
- From the Add-in ribbon in Microsoft Word, four new options will appear: a. InfoInsert Display - Display Pane used to insert record metadata into the current document b. Templates - Allows Administrators to manage templates c. About - Displays basic information about the application d. Settings - Allow users to set License, Template path and other basic settings
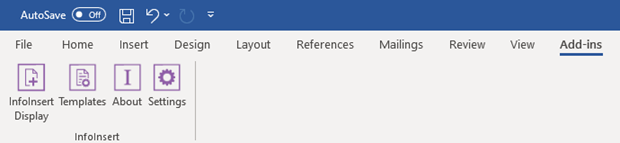
- Click on the icon to open the required InfoInsert pane
- The selected pane will be displayed on the right-hand side of Microsoft Word