
Instagram Pro Connector Installation Guide
CREATING A FACEBOOK DEVELOPER ACCOUNT
A Facebook developer account is required before installing the connector.
-
Navigate to Facebook Developer and click "Log in" in the top right corner

-
Follow the prompts to set up your developer account
SETTING UP THE FACEBOOK APP
A Facebook app is required to be set up before installing the connector
-
Navigate to Facebook Developer
-
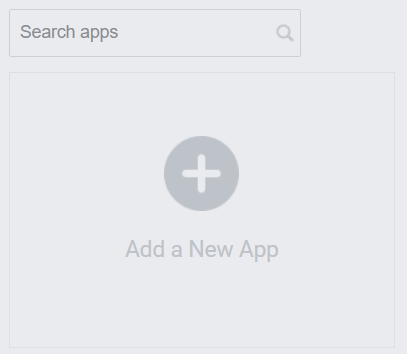
Click on the Add a New App button
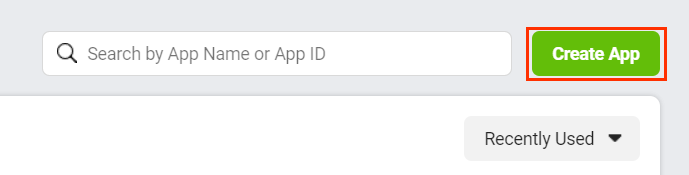
 You can alternatively click on the Create App button
-
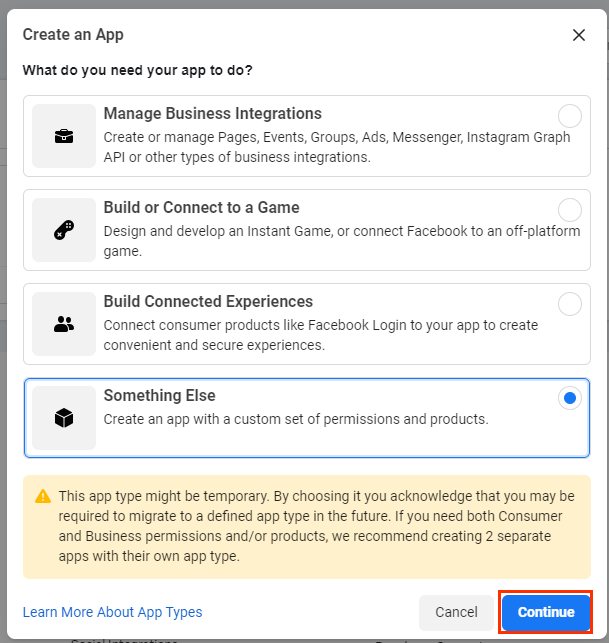
Select Something Else and click on the Continue button
-
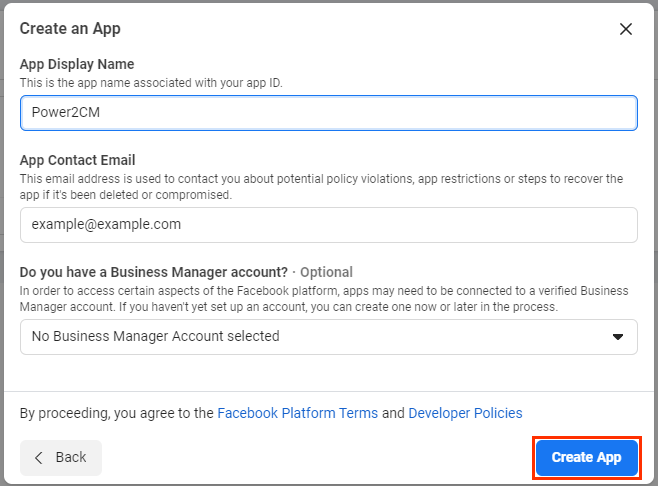
Enter the name for the app then click on the Create App ID button
 Note
You may be asked to do a security check
-
On the app page, select Facebook login and click on the Set Up button
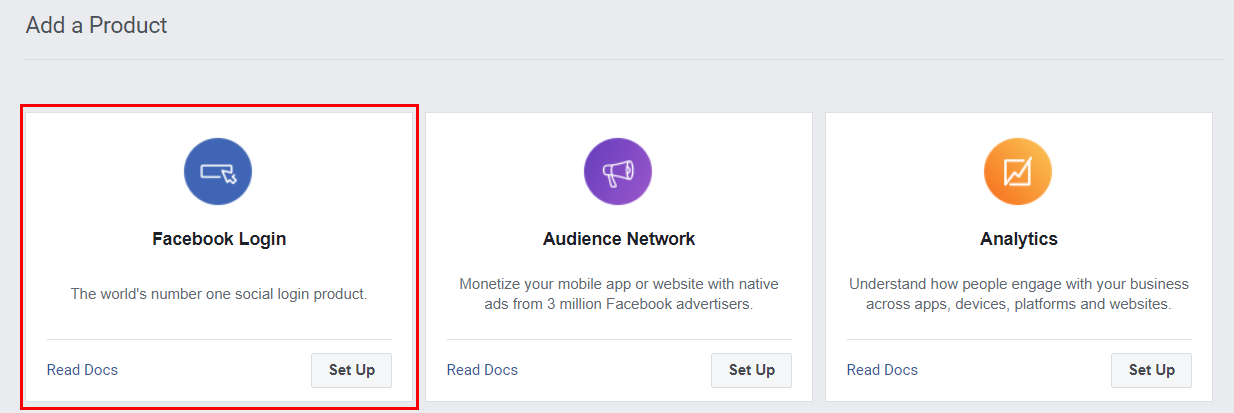 You can ignore this page
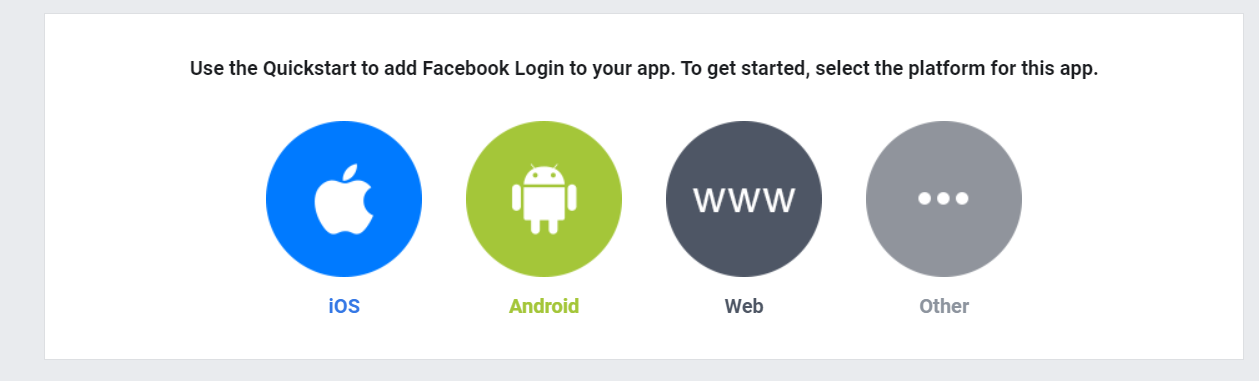
Your Facebook app is now ready to use.
This connector will only work with Instagram Professional accounts. A Facebook Page is required to be linked to the Instagram Professional Account
SETTING UP PERMISSIONS
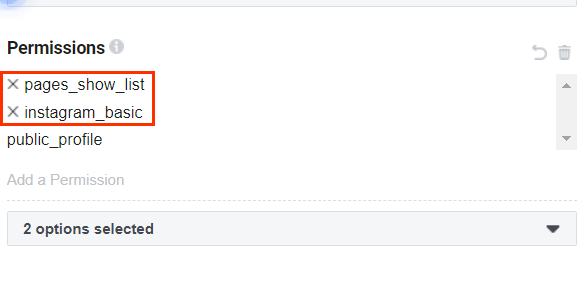
To use the Instagram Graph API you will need to add the following permissions to your Facebook app: pages_show_list and instagram_basic.
-
Navigate to Facebook Developer Explorer
-
Hover over Tools and click Graph API Explorer
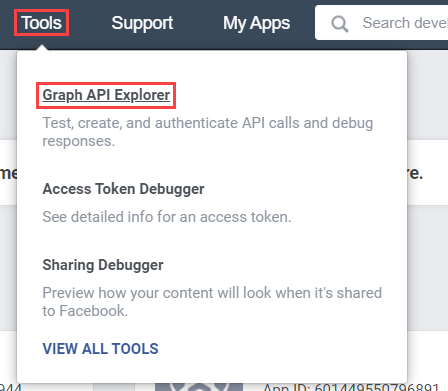
-
Select the Facebook App that was created in the SETTING UP THE FACEBOOK APP section of the Facebook Connector Installation Guide

-
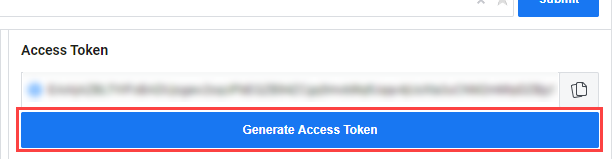
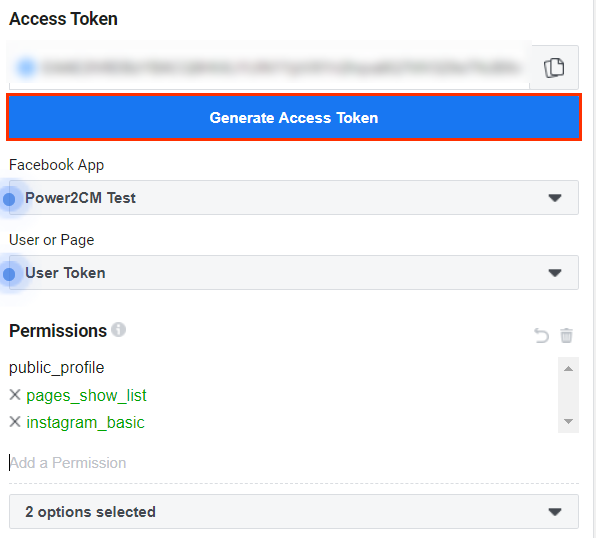
Click on the Generate Access Token button
 Note
You may be prompted to log in
-
Add the pages_show_list and instagram_basic permissions. This will allow the app to access the list of Facebook pages and linked Instagram accounts that the current user is the owner of
-
Click on the Generate Access Token button again to enable the permissions
-
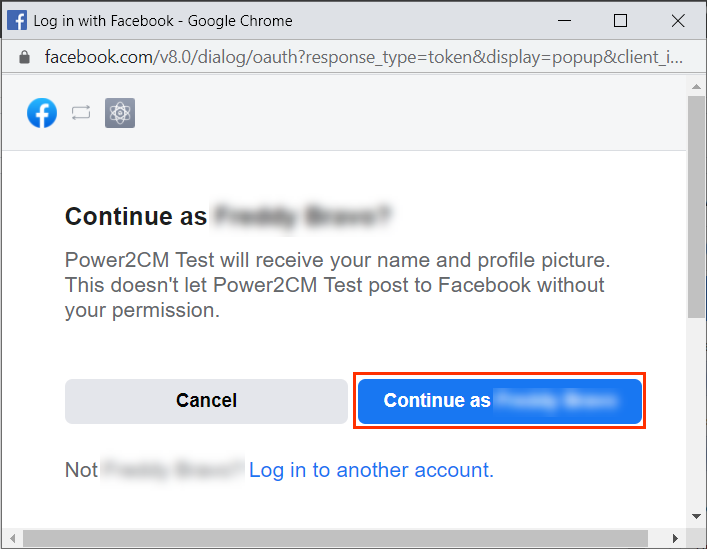
A browser window will open to grant permission for the App
-
Click on the Continue button
-
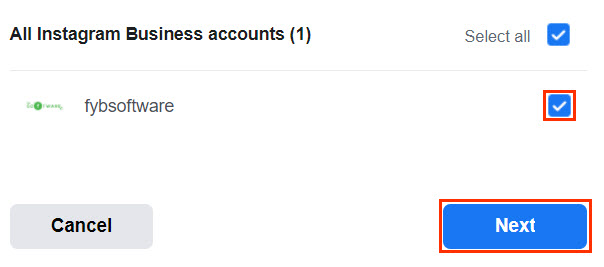
Select the Instagram professional account that you would like to archive posts from and click on the Next button
-
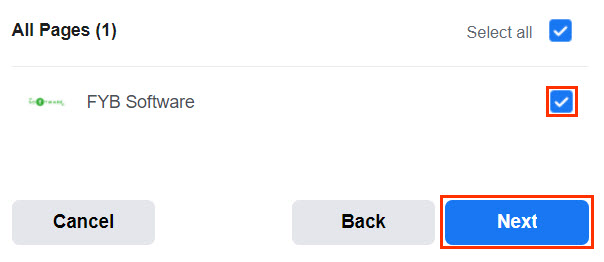
Select the Facebook Page that the Instagram business account selected in step 6 is connected to and click on the Next button
-
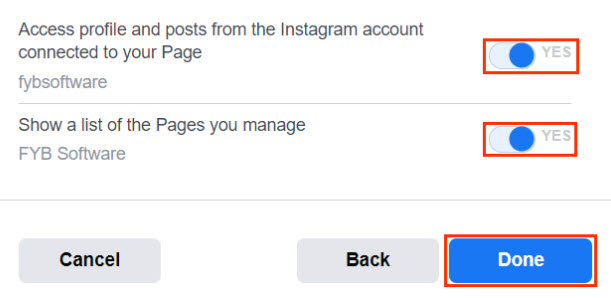
Ensure that both options are enabled and click on the Done button
You do not need to submit your app for review
- Click on the OK button
OBTAINING THE APP ID AND APP SECRET
-
Navigate to https://developers.facebook.com/apps/
-
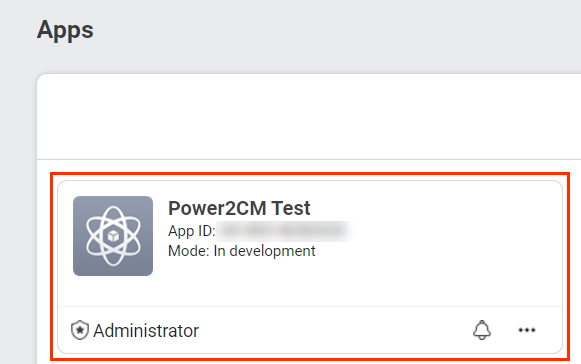
Select the Facebook app that was used in step 3 in the SETTING UP PERMISSIONS section
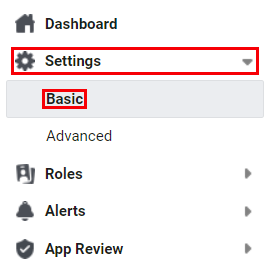
3 In the left menu, expand Settings and click on Basic
-
Copy the App ID and App Secret. These values will be needed when setting up the Instagram Pro connector

DEPLOYING TO POWER AUTOMATE
The section will show you how to deploy the Instagram Pro connector to Power Automate.
-
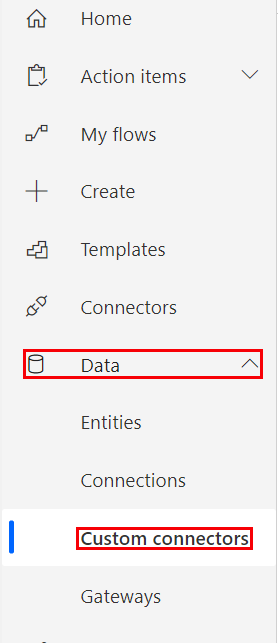
In Power Automate, Navigate to the left pane menu, click Data, followed by clicking Custom connectors
-
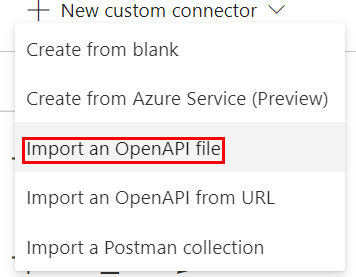
Click New Custom Connector and click Import an OpenAPI file
-
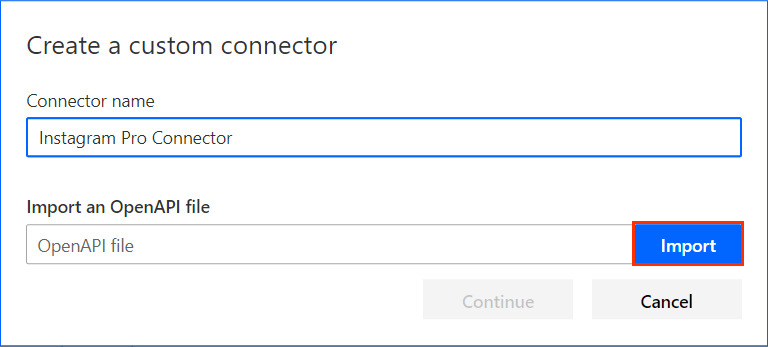
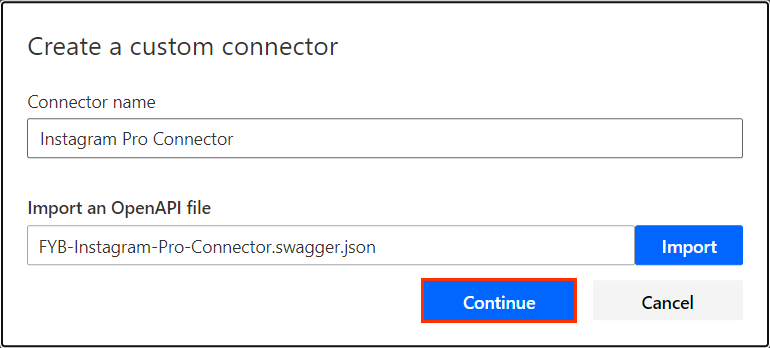
Add a name for the Instagram Pro Connector and click on the Import button
-
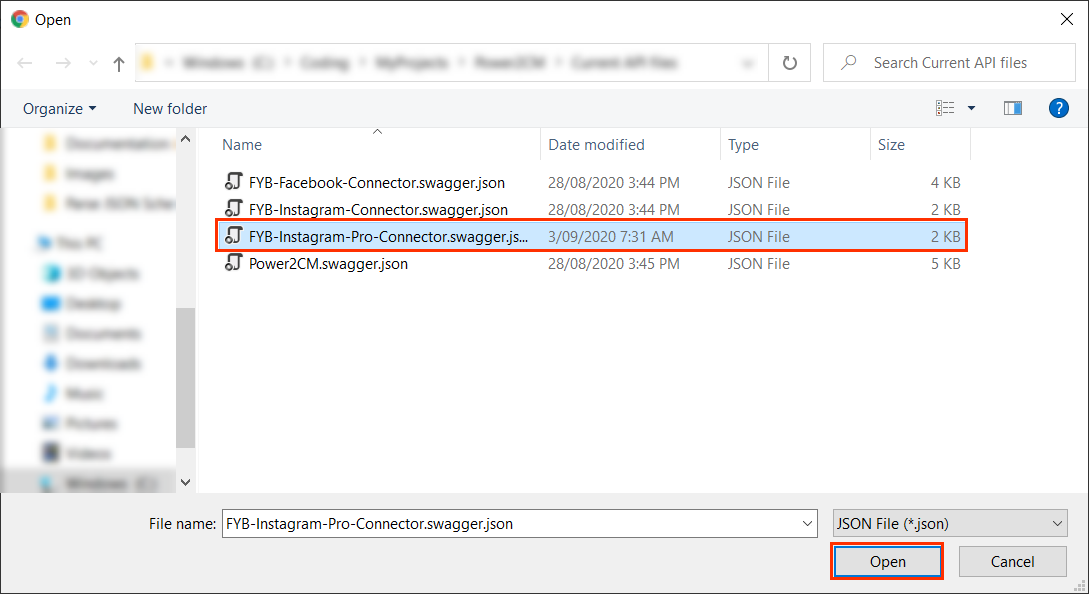
Locate the FYB-Instagram-Pro-Connector.swagger.json file and click on the Open button
-
Click on the Continue button
-
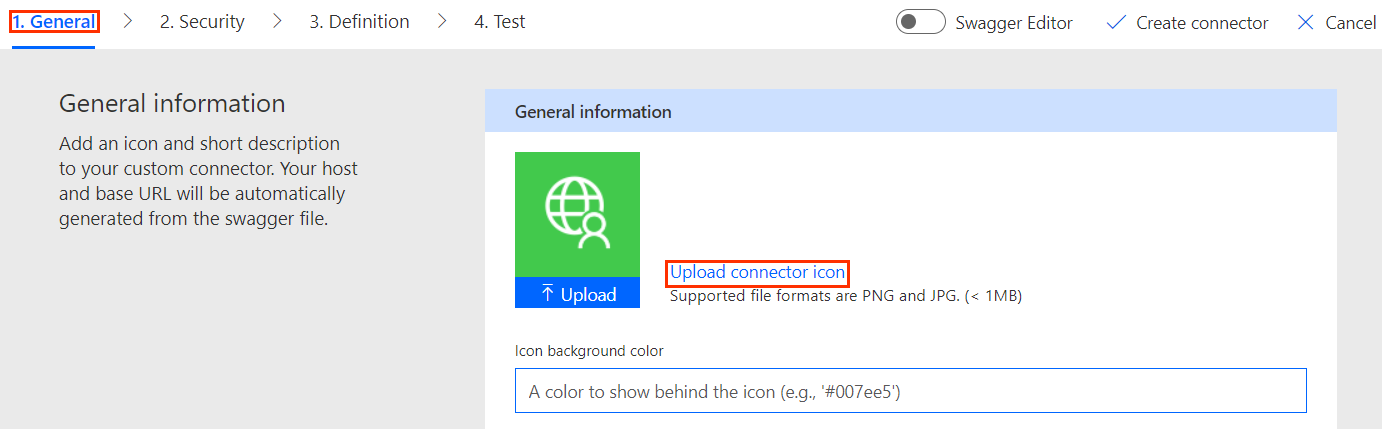
On the General tab, click on the Upload connector icon option
-
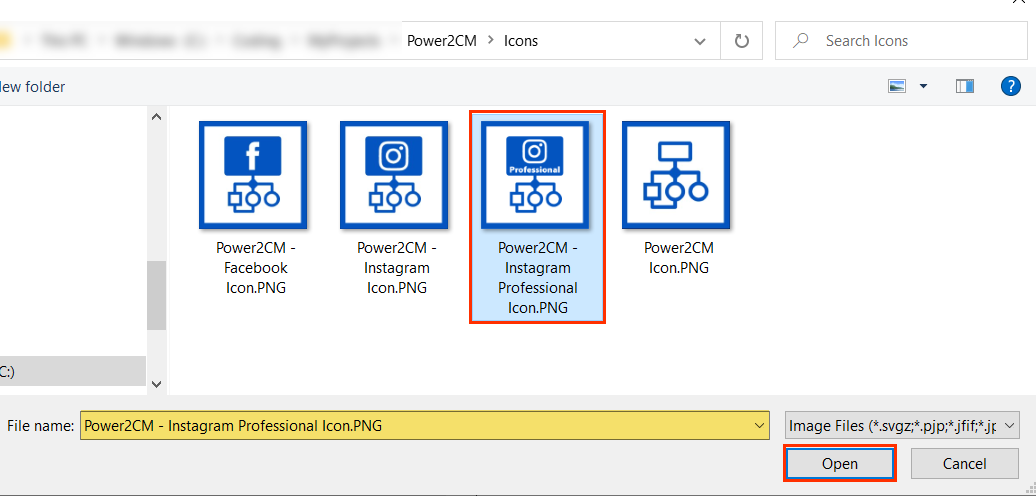
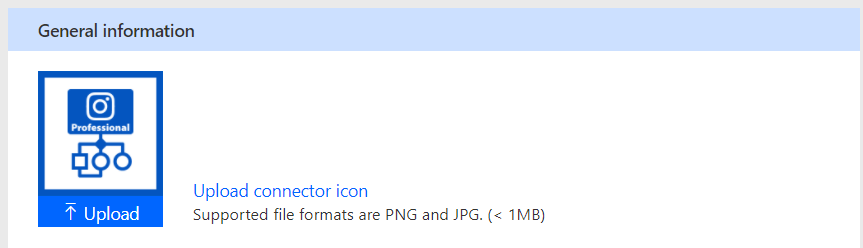
Navigate to the Icons folder, select the Power2CM - Instagram Professional Icon.PNG file and click on the Open button
-
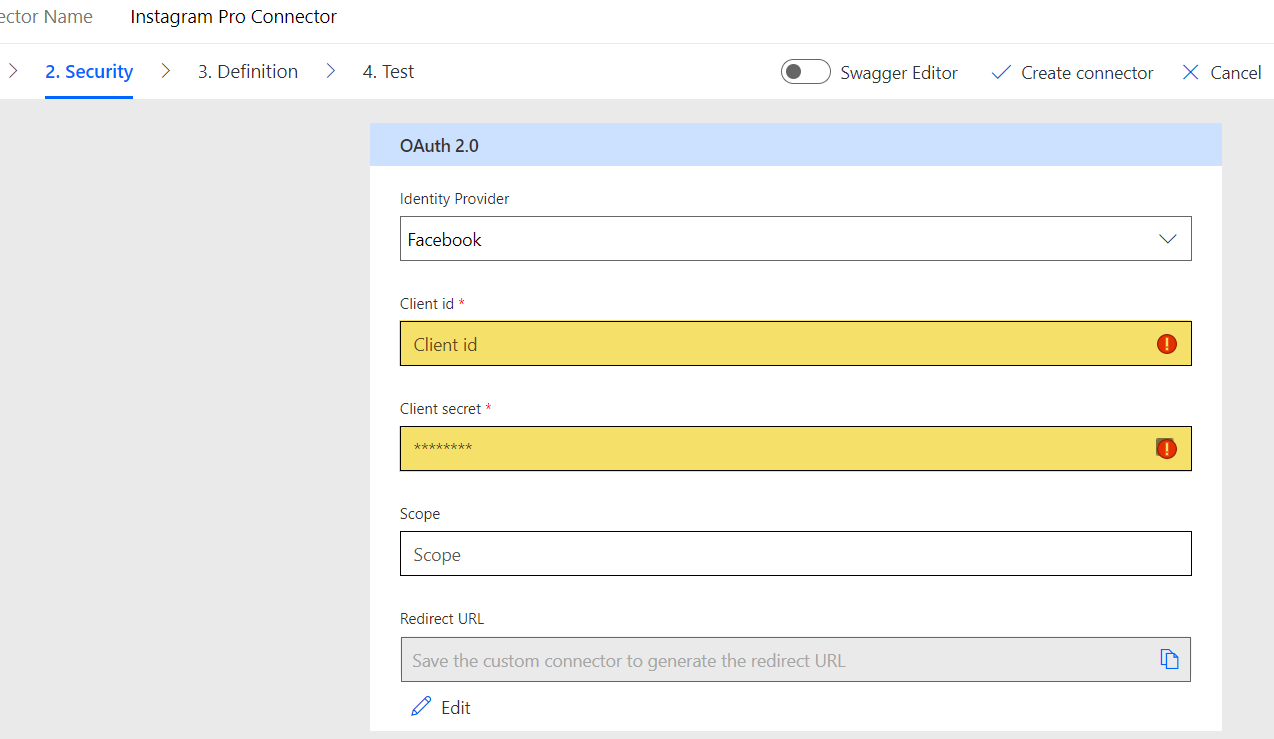
Navigate to the Security Tab and enter the App Id and App Secret (see step 4 of OBTAINING THE APP ID AND APP SECRET) into the Client ID and Client Secret fields respectively
-
Click on the Create connector button
 Note
You do not need to follow the steps below if you have already set up the Facebook Connector.
-
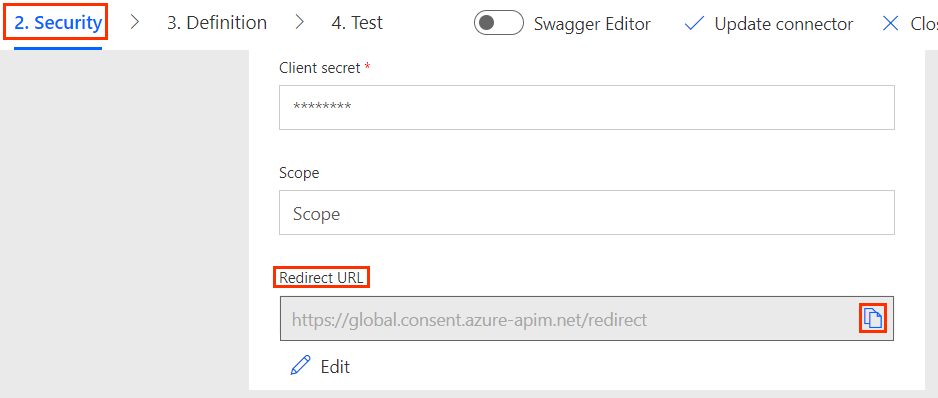
Once the connector has been created, in the Security tab, scroll down to and copy the Redirect URL
-
Navigate back to your Facebook app, click Facebook Login and click Settings

-
Scroll down to Valid OAuth Redirect URIs and paste the URL that was copied in Step 10
-
Click on the Save Changes button