
365|2CM Admin Guide
GENERAL
EXPORTING AND IMPORTING SETTINGS
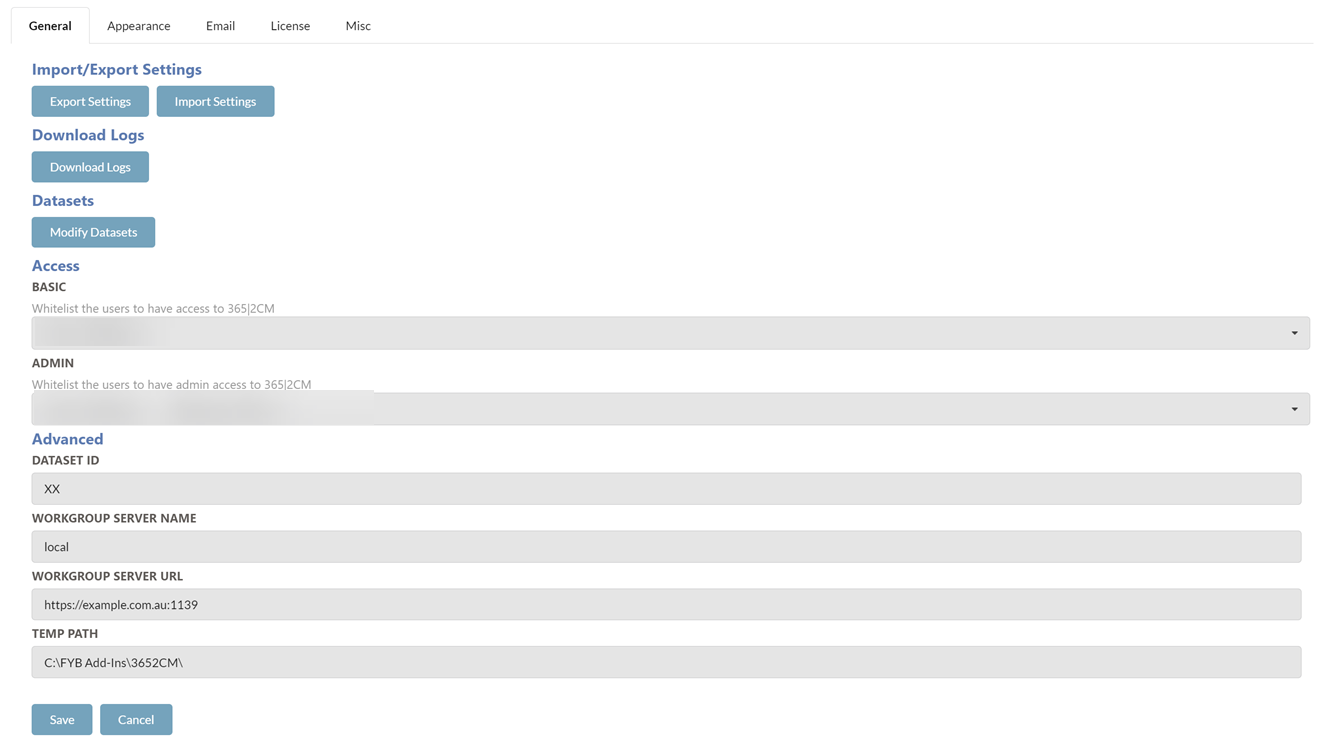
You can either export the current configuration settings or import existing settings using the buttons below.

EXPORT
To export 365|2CM's current settings, click the Export Settings button. This will automatically download the zip file containing the 365|2CM configuration files. These files can be imported back into 365|2CM when required.
IMPORT
To import existing settings, follow the steps below.
Only import JSON files that were previously taken from the 365|2CM's App_Data folder or exported from 365|2CM.
-
Click on the Import Settings button

-
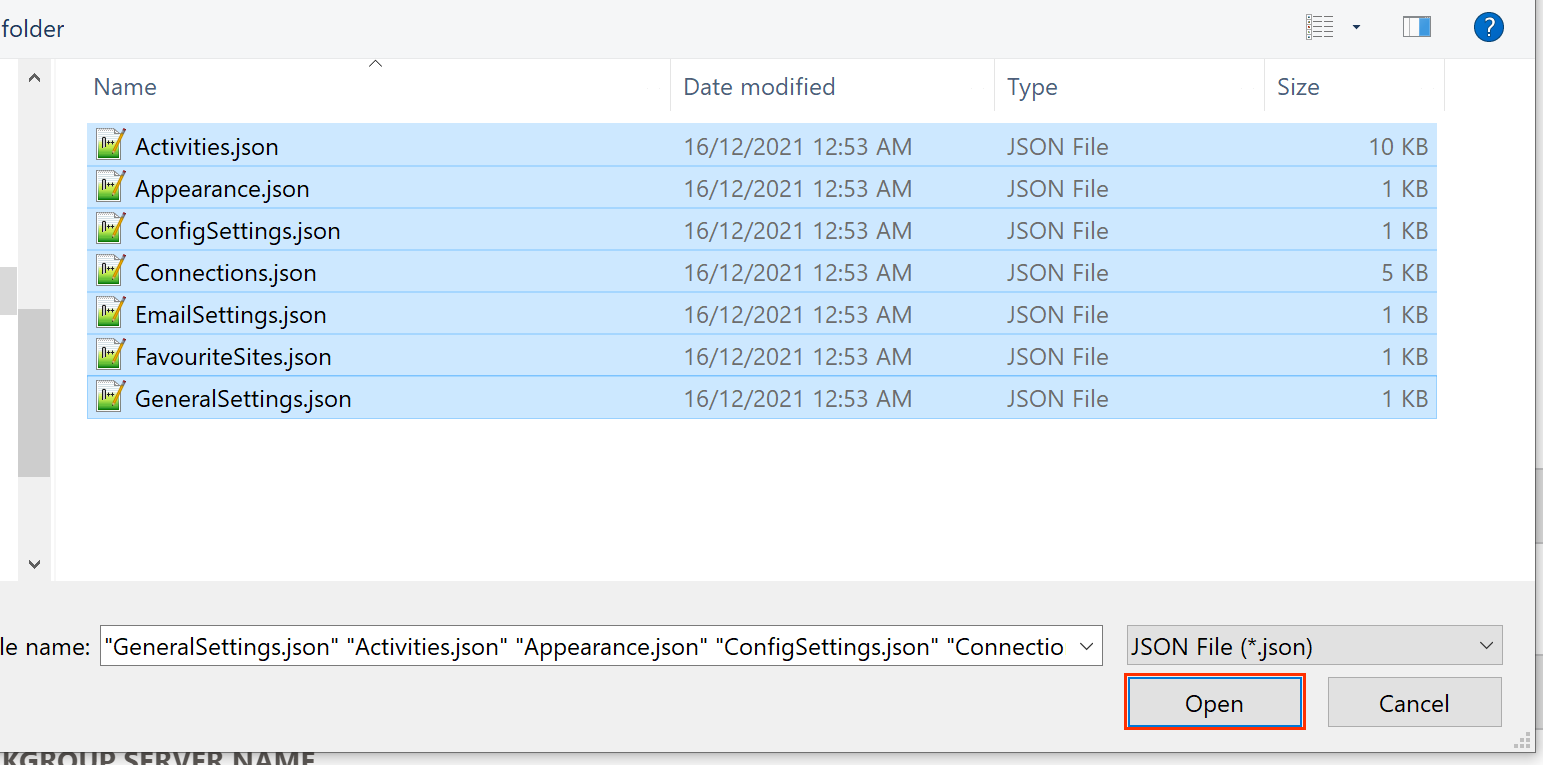
Select the settings files and click on the Open button
-
A success message will appear once the settings files have been updated and the admin page will reload shortly after to update the settings
DOWNLOAD LOGS
Download a zip file containing all the 365-2CM log files.
BASIC ACCESS
This field allows you to whitelist Content Manager users who are not an Administrator or Records managers to allow them access to 365-2CM.
ADMIN ACCESS
This field allows you to whitelist Content Manager users who are not an Administrator or Records managers to allow them access to 365-2CM's admin console
DATASET ID
The ID of the Content Manager dataset that 365-2CM is connecting to.
WORKGROUP SERVER NAME
The workgroup server name of your Content Manager workgroup server that 365-2CM is connecting to Changes to this field will require an App Pool restart.
WORKGROUP SERVER NAME
The workgroup server URL of your Content Manager workgroup server that 365-2CM is connecting to Changes to this field will require an App Pool restart.
TEMP PATH
The temp directory for 365-2CM, please include the trailing slash, for example: C:\FYB Add-Ins\3652CM. This directory will also contain the 365-2CM log files. Changes to this field will require an App Pool restart.
MULTI-DATASET SUPPORT
365|2CM supports connection to multiple Datasets, as long as they are hosted on the same server as the Dataset that was originally configured for 365|2CM,
ADD A DATASET
-
Click the Modify Datasets button
-
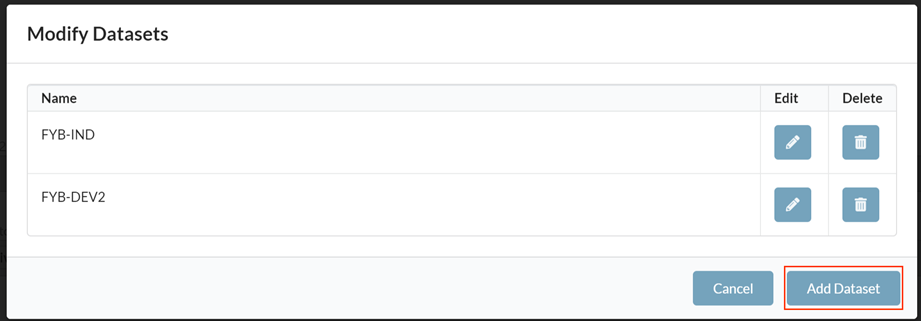
Click the Add Dataset button
-
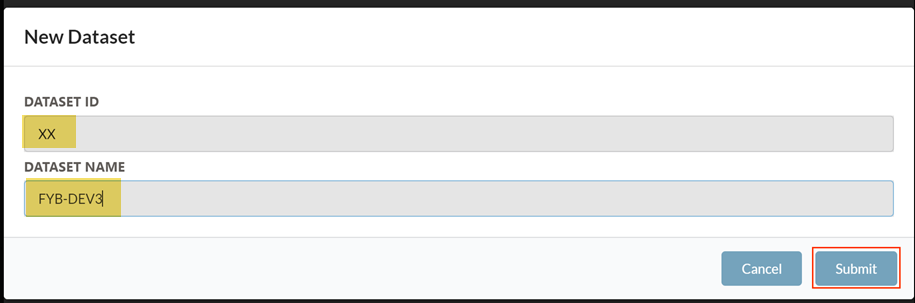
Enter the Dataset ID and the Dataset Name
-
Click Submit
-
The new Dataset will be added and the page will reload.
-
The new dataset will be selectable from the Dataset Dropdown

DELETE A DATASET
-
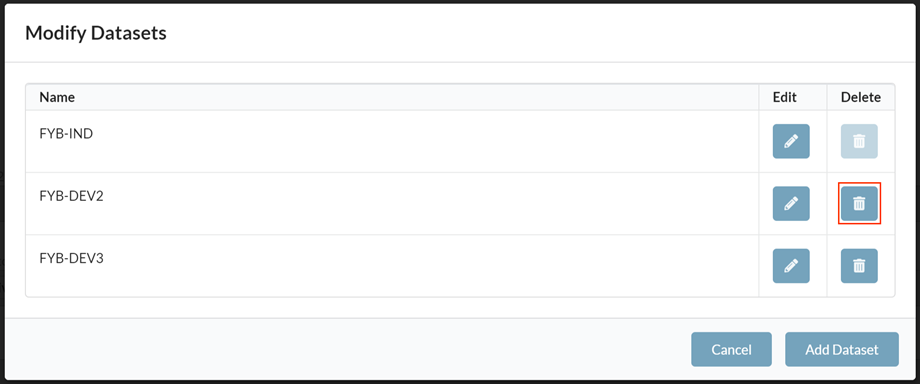
Click the Modify Datasets button
-
Click the Delete Dataset button
NoteThe Default dataset cannot be deleted
EDIT A DATASET
-
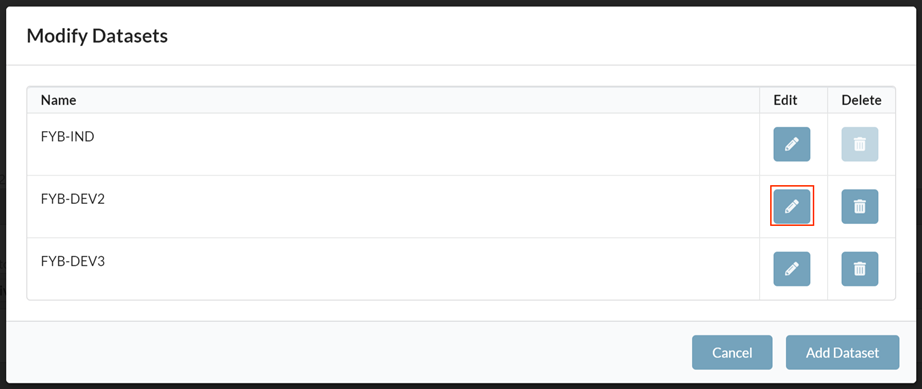
Click the Modify Datasets button
-
Click the Edit Dataset button
-
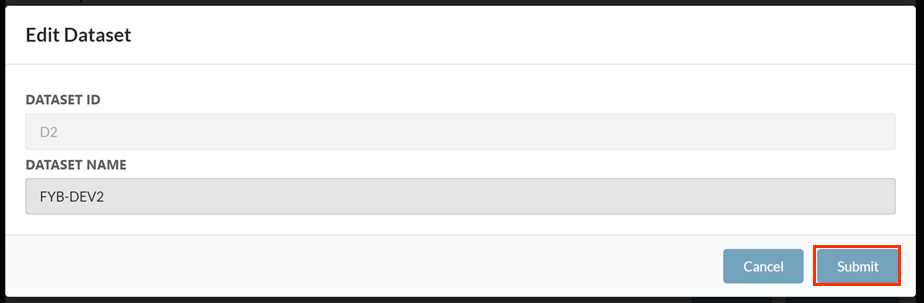
Edit the Dataset Name
-
Click Submit
APPEARANCE
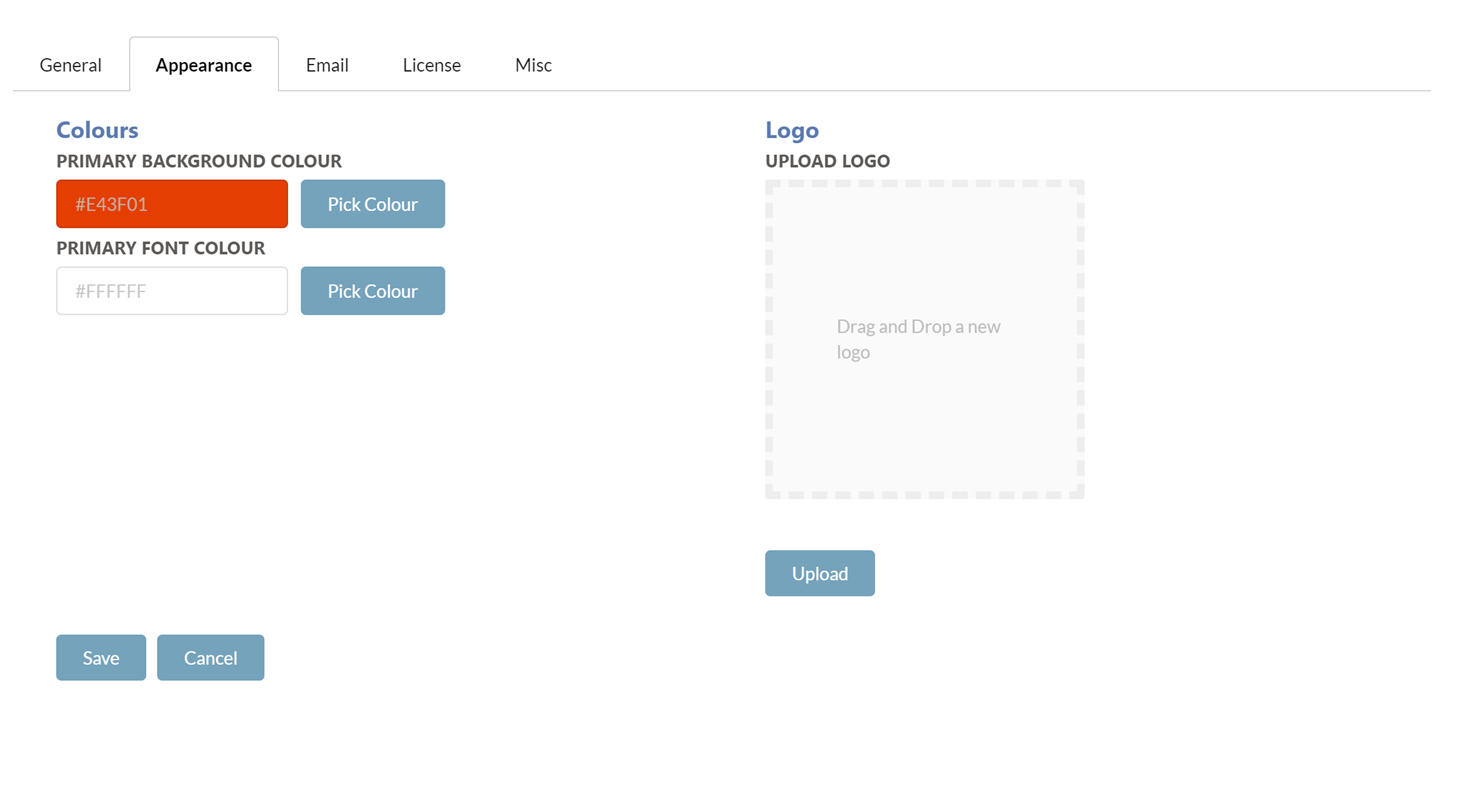
PRIMARY BACKGROUND COLOUR
Controls the colour of the header and footers for the application.
PRIMARY FONT COLOUR
Controls the font colour of the header and footers for the application
LOGO
Sets the logo for the application
EMAIL SETTINGS
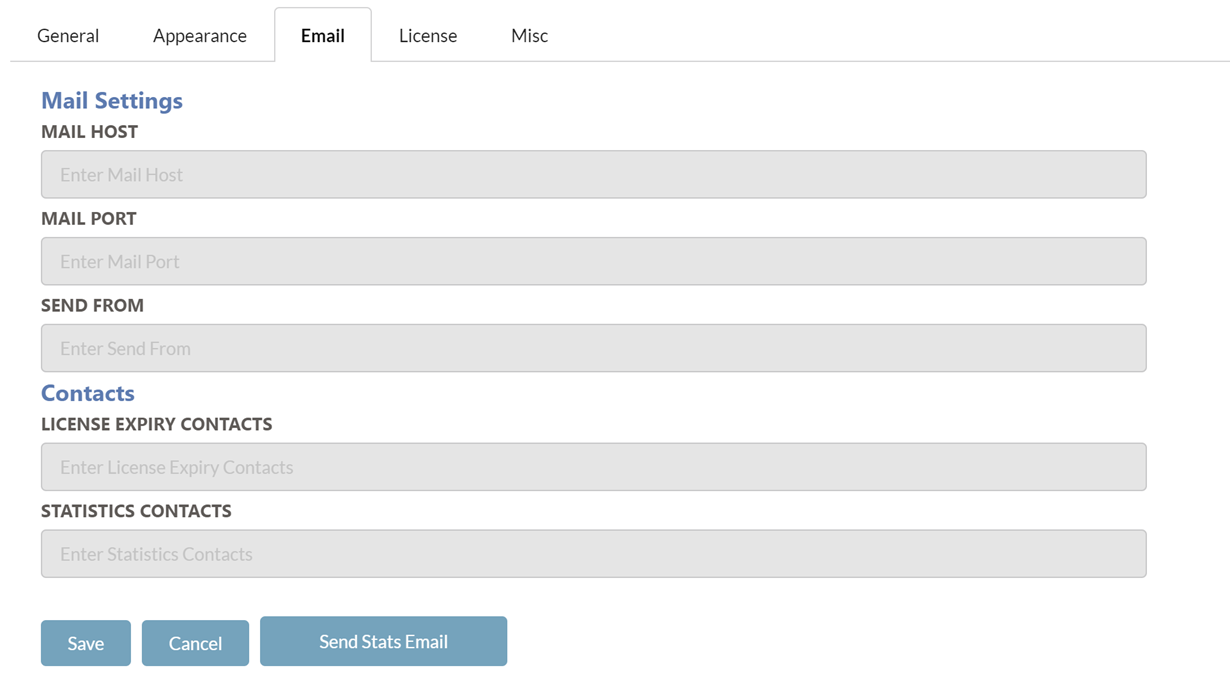
MAIL HOST
The mail host is used to send all email notifications from.
MAIL PORT
The mail port to allow for email notifications to be sent.
SEND FROM
The email address that all email notifications are sent from.
LICENSE EXPIRY CONTACTS
Provide the email addresses of the users who shall receive an email notification when the 365-2CM license is due to expire. Multiple contacts can be added by adding a ';' between each contact. (e.g. name@company.com.au; secondname@company.com.au).
STATISTICS CONTACTS
Provide the email addresses of the users that shall receive an email of the monthly usage statistics for 365-2CM
SEND STATS EMAIL
Instantly send the monthly usage statistics for 365-2CM to the email addresses listed in the STATISTICS CONTACTS
LICENSE
Please see the dedicated License Update guide for more details on this section.
MISC
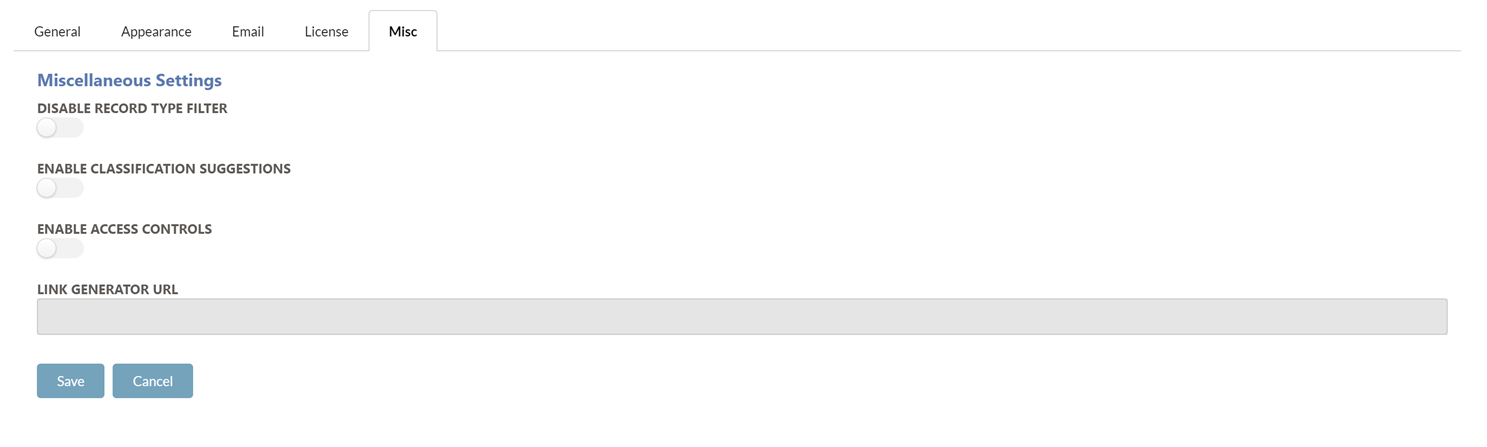
DISABLE RECORD TYPE FILTER
Enabling this option will allow all active record types from Content Manager to be available in any record type drop-down in 365-2CM.
ENABLE CLASSIFICATION SUGGESTIONS
If enabled 3652CM will suggest a list of classifications to use based on the names of Files and Folders in a Sharepoint Document Library when creating a New Container
ENABLE ACCESS CONTROLS
If enabled, 365|2CM administrators can set the CM access controls on documents and folders to the members of the Sharepoint site.
LINK GENERATOR URL
Specify the Link Generator base URL. This will be used to generate URL files in place of the transferred documents in Sharepoint. For example: http://baseurl/linkgeneratorapi/
SENT TO CM SHAREPOINT FIELD (OPTIONAL)
365|2CM has the ability to add the record number of a transferred document to a field on SharePoint. This helps administrators to see exactly which records have been transferred and which have not. A Sent to CM field has to be created on SharePoint for this feature to work.
-
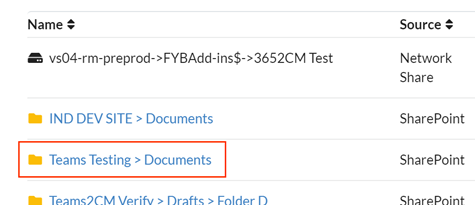
Navigate to the Sharepoint Library for the newly created connection. This can also be achieved by clicking on the Connection's name on the home page of 365|2CM
-
Click on Add Column

-
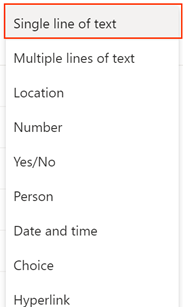
Click Single Line of Text
-
Specify the settings below.
Field Value Name Sent to CM Type Single Line of Text NoteThe column name must be named Sent to CM and cannot be anything different.
-
Click on the Save button
-
Now whenever the archiving process is run, documents in Sharepoint will have their Sent to CM value set to the Record Number of the transferred document
