
Locations Manager Installation Guide
DISCLAIMER
Any advice FYB provide in relation to setting up any FYB App, FYB Add-in, FYB Connector and or advice in relation to opening access to your on-premise or in the cloud systems will be general advice only. This means that the advice is of a general nature and will not take into account your network setup, network infrastructure or any security requirements that you may have or in fact need. It is highly advised that you seek advice from internal or external providers to ensure that they are comfortable with what is required prior to going ahead with any deployment, setup or configuration for external access.
LICENSE DETAILS
Please contact FYB for a valid license if you are yet to obtain one for your Connector.
INSTALLING FYB LOCATIONS MANAGER
LICENSE
- Create a folder to house the license file (.lic) on the IIS Server
- Place the license file in this folder Note: You will be asked to enter this location during the installation
TRUSTED USER ACCOUNT
Add the account that will run the application pool as a Trusted User Account in Enterprise Studio Please refer to your Enterprise Studio help file on adding trusted accounts. If using a system account (application pool identity, network service etc) you will be required to enter the details as DOMAIN\ServerName$ If using a dedicated windows service account, you will be required to enter the details as DOMAIN\username
INSTALLATION
The FYB Locations Manager MSI will:
- Deploy the installation files
- Setup the application pool and application in IIS
- Setup the temp folder
- Configure the application settings as specified by the user
To install the Locations Manager, follow these steps:
-
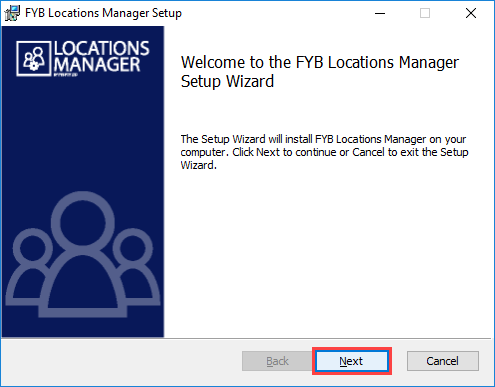
Run command prompt as an administrator and launch the fyblocationsmanager.msi and click the Next button
-
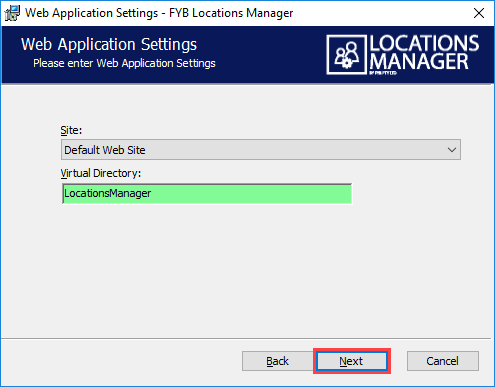
On the Web Application Settings screen, select a Site to host the application and enter a name for the virtual directory
NoteYou can use an existing virtual directory or create a new one with the installer
-
Click the Next button
-
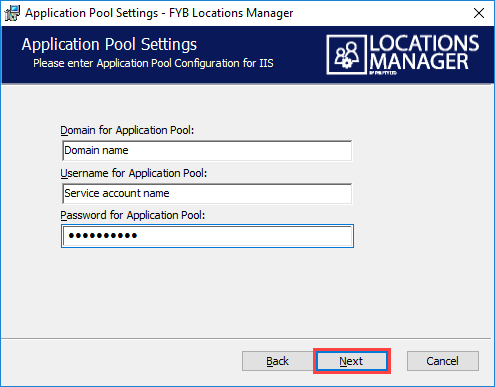
On the Application Pool Settings screen, enter the domain, username, and password for the Application Pool identity
-
Click the Next button
-
Enter your Configuration Settings as per below
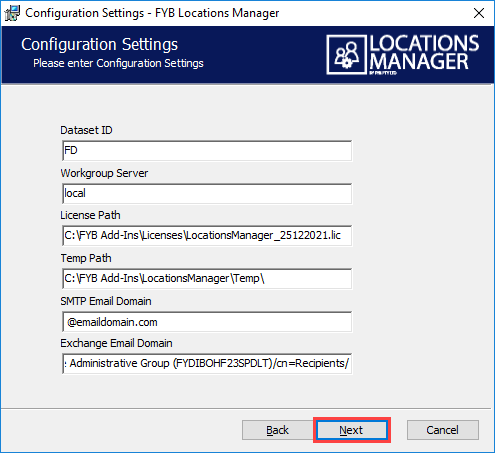
NAME DESCRIPTION Dataset ID The two-digit dataset identifier of the Content Manager dataset you wish to connect to. Workgroup server Name of the Content Manager workgroup server you wish to connect to. License Path Local path of the license file including the ".lic" filename. Temp Temp data directory for the application. SMTP Email Domain The domain name part of your organization's internal email addresses. For example @fyb.com.au Exchange Email Domain The exchange format string that is used internally when sending emails. To obtain this field you may need to check some existing internal locations in Content Manager. The string would be similar to: /o=First Organization/ou=Exchange Administrative Group(FYDIBOHF23SPDLT)/cn=Recipients) -
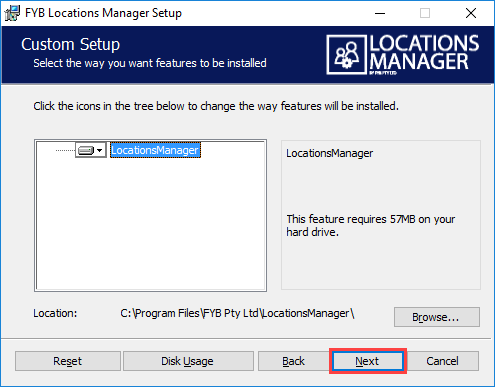
On the Custom Setup screen select the install location and Click the Next button
-
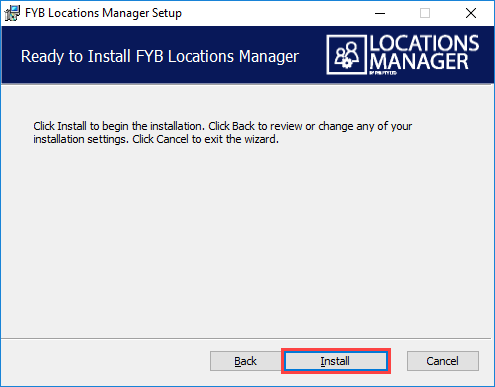
From the Confirm Installation window click the Install button
-
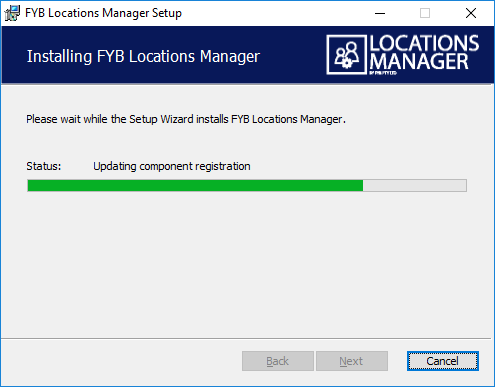
The installation process will commence
-
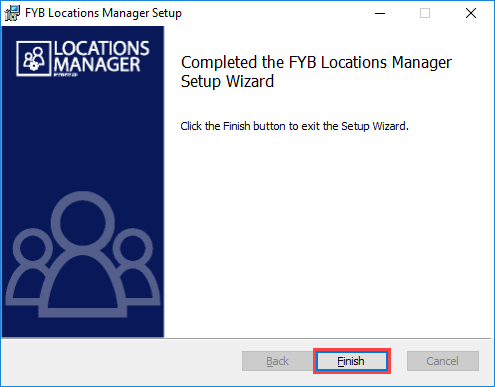
Once the installation is complete click the Finish button
CONFIGURATION
CHECKING IIS CONFIGURATION
After the installation process is complete, you will be able to locate the application installed within the site selected during installation.

-
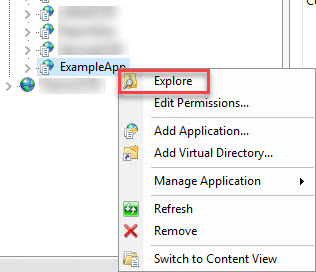
Right click the application in IIS and click the explore option
-
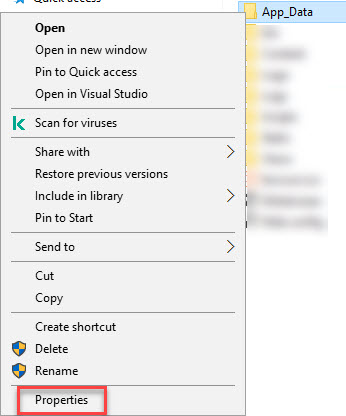
Right click the app data folder and click the properties option
-
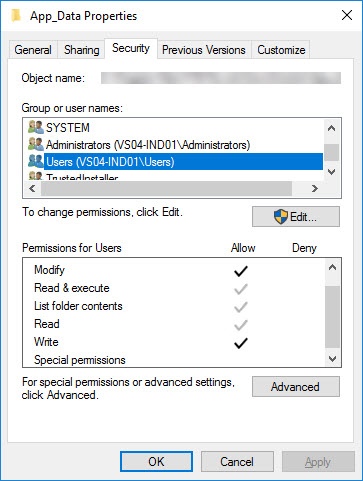
Navigate to the security tab and ensure users have read, write and modify permissions.
-
Repeat these steps for the Logo folder
-
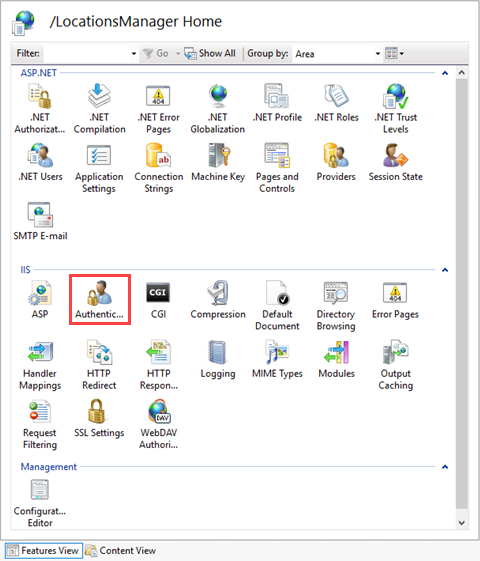
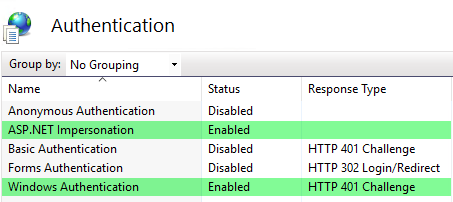
From the Features View, navigate to Authentication
-
Ensure that Anonymous Authentication is disabled and Windows Authentication and ASP.NET Impersonation are enabled
SETUP DATABASE CONNECTION STRING
Locations Manager will require read-only access to the Content Manager database. This is due to some of the very large location searches it has to complete are much faster at the database layer.
The connection string for the database will need to be set via the Admin Console on the web interface. Navigate to Locations Manager in a browser and press the Admin button in the top right.
Navigate to the MISC tab and input the database connection string into the Connection String field.

The account used for the connection will require read access to the TSLOCATION and TSLOCEADDR tables. If you have specified Integrated Security=true in the connection string then the account running the Locations Manager app pool will be used for the connection. Alternatively, you can specify the credentials in the connection string.
UNINSTALLATION
To uninstall the Locations Manager manually please follow the steps below:
-
Navigate to the Control Panel

-
Click on uninstall a program

-
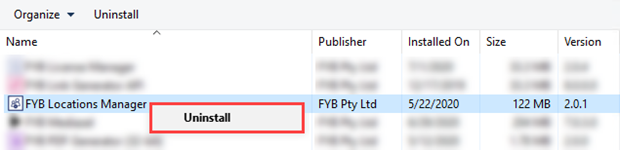
Right click FYB Locations Manager in the list of programs and features and select Uninstall
-
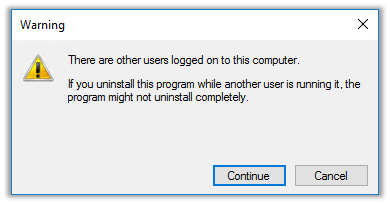
If a warning Prompt appears, click on the Continue button
-
Click the Yes button

-
The uninstallation process will commence.
-
Open IIS once the uninstallation process is completed.
-
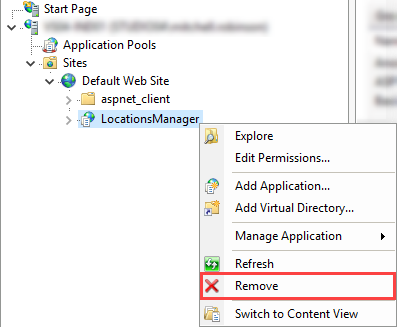
Locate Locations Manager in IIS
-
Right click and click the Remove button
-
When the prompt appears, click the Yes button
