
Web Client Enhancement Suite Installation Guide
DISCLAIMER
Any advice FYB provides in relation to setting up any FYB App, FYB Add-in, FYB Connector and or advice in relation to opening access to your on-premise or in the cloud systems will be general advice only. This means that the advice is of a general nature and will not take into account your network setup, network infrastructure or any security requirements that you may have or in fact need. It is highly advised that you seek advice from internal or external providers to ensure that they are comfortable with what is required prior to going ahead with any deployment, setup or configuration for external access.
LICENSE DETAILS
Please contact FYB for a valid license if you are yet to obtain one for your Add-in.
INSTALLATION COMPONENTS
The following installation components are required to ensure full functionality of the FYB Web Client add-ins:
- FYB WebClient Enhancement Suite API - this is a server-side installation
INSTALLING FYB WEB CLIENT ENHANCEMENT SUITE
LICENSE
-
Create a folder to house the license file(s) (.lic) on the IIS Server
-
Place the license file(s) in this folder
infoNote: You will be asked to enter this location during the installation
TRUSTED USER ACCOUNT
Add the account that will run the application pool as a Trusted User Account in Enterprise Studio. Please refer to your Enterprise Studio help file on adding trusted accounts. If using a system account (application pool identity, network service etc) you will be required to enter the details as DOMAIN\ServerName$ . If using a dedicated windows service account, you will be required to enter the details as DOMAIN\username.
INSTALLATION
The FYB WebClient Enhancement Suite MSI will:
- Deploy the installation files
- Setup the application pool and application in IIS
- Setup the temp folder
- Configure the FYB Webclient Enhancement Suite as specified by the user
To install the FYB Webclient Enhancement Suite follow these steps:
-
Run command prompt as an administrator and launch the FYBWebClientEnhancement Suite.msi
-
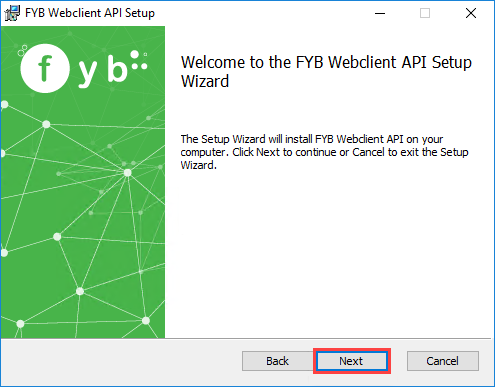
Click on the Next button
-
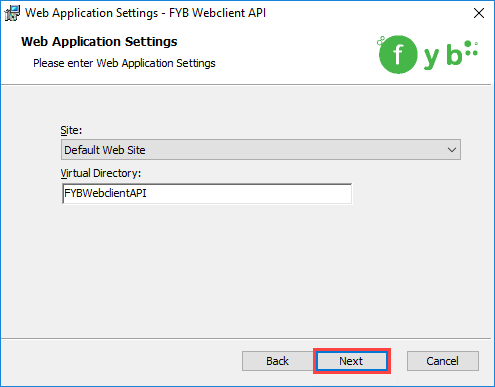
On the Web Application Settings screen, select a Site to host the application and enter a name for the Virtual Directory
-
Click on the Next button
 Note
You can use an existing virtual directory or create a new one with the installer
-
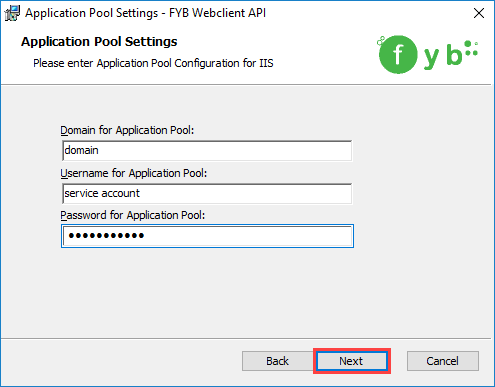
On the Application Pool Settings screen, enter the domain, username, and password for the Application Pool identity.
-
Click on the Next button
-
On the Configuration Settings screen, enter the dataset ID, workgroup server, license paths, and temp folder path.
-
Click on the Next button
LicensingIf utilising all applications of the enhancement suite, only the enhancement suite path needs to be populated with an "Enhancement Suite" license. If utilizing individual applications only (i.e. Soft Deleter and Link Generator) each individual product license should be populated on the approriate license path.
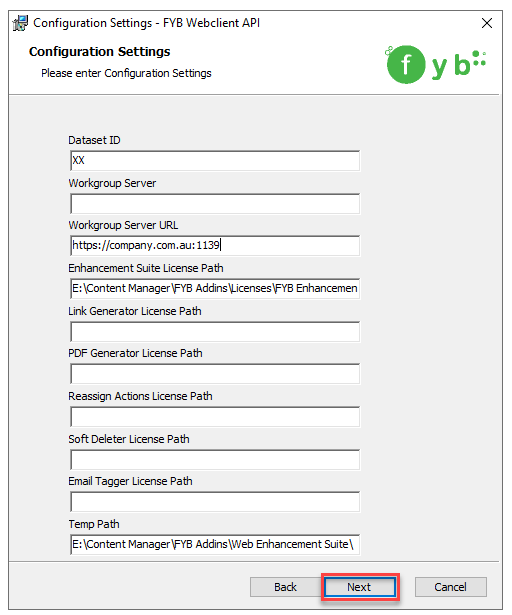
NAME FUNCTIONALITY Dataset ID The ID of the Content Manager Dataset to connect to Workgroup Server Name The workgroup server name used to connect to the dataset. A connection can be made by either the workgroup name or workgroup URL Workgroup Server URL The workgroup server URL used to connect to the dataset. A connection can be made by either the workgroup name or workgroup URL Enhancement Suite License Path The path to the FYB Enhancement Suite product license Link Generator License Path The path to the FYB Link Generator product license Reassign Actions License Path The path to the FYB Reassign Actions product license Soft Deleter License Path The path to the FYB Soft Deleter product license Email Tagger License Path The path to the FYB Email Tagger product license Temp Path A temporary path utilized by the application for storing temp files and logs. -
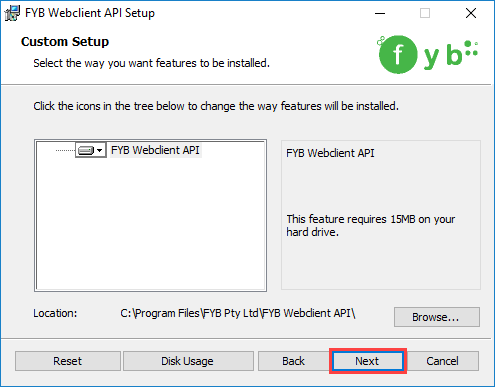
On the Custom Setup screen select the install location and Click on the Next button
-
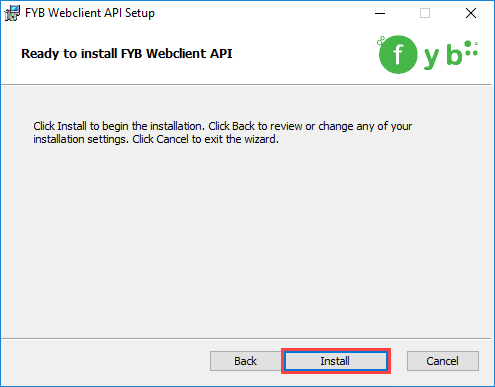
Confirm the Installation by clicking on the Install button
-
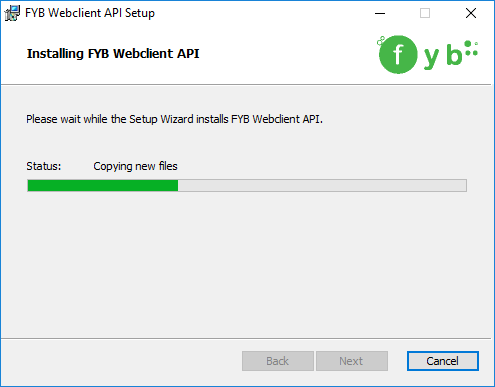
The installation will commence
-
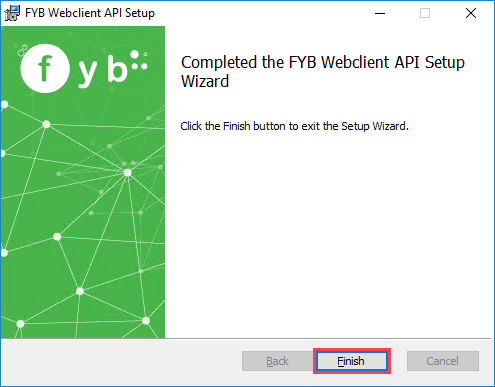
Once the installation is complete click on the Finish button
CONFIGURATION
-
After the installation process is complete, you will be able to locate the application installed within the site selected during installation
-
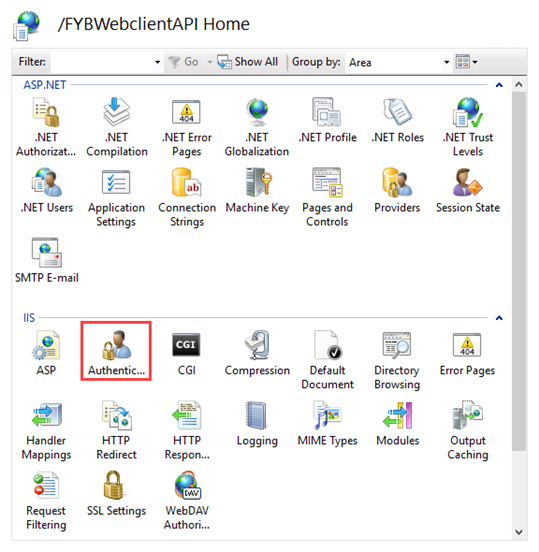
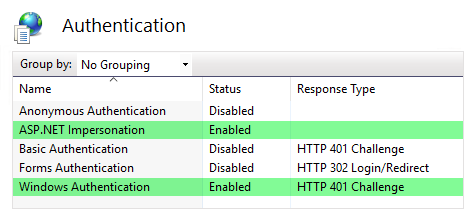
From the Features View go to Authentication and ensure that Windows Authentication and ASP.NET Impersonation are the only authentication types enabled. All other's should be disabled
DEPLOYING ADD-INS TO THE WEB-CLIENT
DEPLOYMENT
Once the FYB Webclient Enhancement Suite is installed the following structure will be created in the FYBWebClientEnhancement Suite installation directory.
-
Navigate to C:\Program Files\FYB Pty Ltd\FYB Webclient API\WebClientAddonScripts.
NoteIf you changed the installation directory from the default path, the above path will need to be adjusted.

-
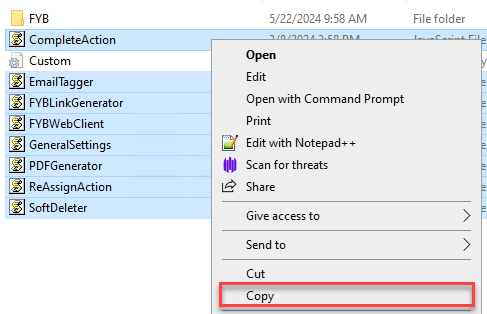
Copy all JavaScript files from this directory
-
Navigate to Content Manager Web Client directory, by default this will be C:\Program Files\Micro Focus\Content Manager\Web Client
-
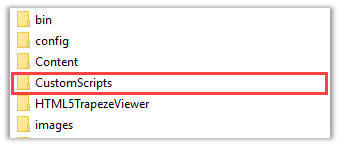
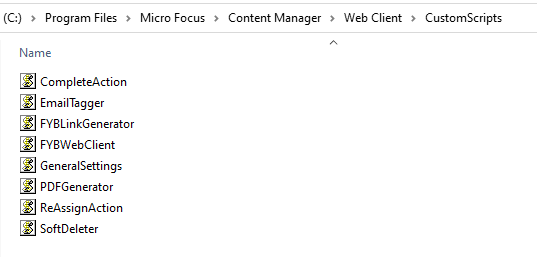
Within the Web Client directory create a folder called CustomScripts (Named Exactly).
-
Copy the script files into this directory
-
Navigate to the Content Manager Web Client Record directory, by default this will be C:\Program Files\Micro Focus\Content Manager\Web Client\Content\templates\Record
-
In the RecordCommandPannel.tmpl.html file, locate the DIV that has a class value of "sidebar-nav scroll-command-panel".
Insert the below code inside this DIV. The code will need to be inserted at the bottom of the parent DIV element.
<div class="btn-group fyb" id="fyb-addin" style="display:block" onclick="menu()">
<button role="button" name="button" style="width: auto !important; margin-top: 0;color:#000;font-size:13px;margin-bottom:5px;" class="btn btn-flat btn-primary dropdown-toggle" data-toggle="dropdown">
<span style="float:left">FYB ADD-IN & CONNECTOR</span>
<span class="drop-down-caret" style="margin-top:-5px"></span>
</button>
<ul class="dropdown-menu" role="menu" style="margin-top:0; top:37px; left: 5px;" id="addin-menu"></ul>
</div>
-
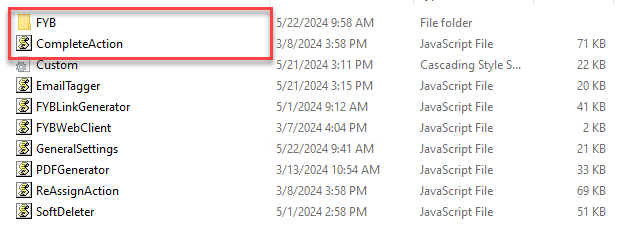
Copy the Custom.css and FYB folder from C:\Program Files\FYB Pty Ltd\FYB Webclient API\WebClientAddonScripts
-
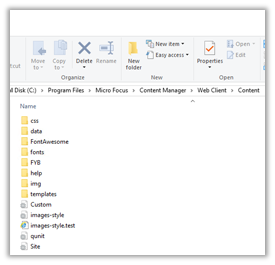
Navigate back to C:\Program Files\Micro Focus\Content Manager\Web Client\Content and copy the FYB folder and Custom.css file into this directory.
POST-DEPLOYMENT CONFIGURATION
LINK GENERATOR
When using link generator for the first time, you will be required to provide the settings for the add-in.
Please note that these settings are centrally managed and will affect all users.
Please follow the steps below on how to configure the add-in:
-
In Content Manager Web Client, select a Record
-
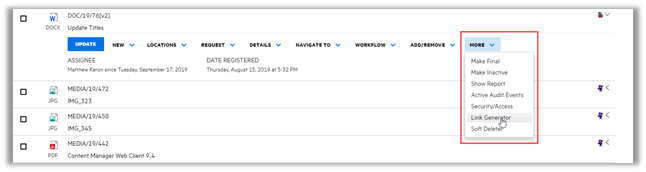
Click on the MORE drop-down menu and select Link Generator from the list of option
-
The Link Generator configuration window will appear, within the settings window the below settings are available for configuration:
NoteThe following settings must be configured at a minimum before Link Generator can be used:
- License Path
- Database ID
- Internal
NAME DESCRIPTION SOFTWARE VERSION Current version of the installed add-in LICENSED TO Organisation the add-in is licensed to LICENSE EXPIRY DATE Expiry date of the license DATABASE ID The two-character dataset identifier LICENCE PATH The LOCAL file path to your license file including the .lic, for example:
C:\FYB Add-Ins\Licenses\FYB Enhancement Suite_XXXXXXXX.licINTERNAL FYB Link Generator API URL configured for internal use. Example: http://servername/LinkGeneratorAPI/Record/ EXTERNAL FYB Link Generator API URL configured for external use (if applicable). Example: http://servername/LinkGeneratorAPI/Record/ WEB CLIENT Content Manager Webclient URL
Example: http://servername/hprmwebclient/?q=uriDEFAULT LINK Sets the default link format to show when Link Generator opens.
Can be set to "URL", "HYPERLINK", or "HTML"
- URL will produce the following: http://server/LinkgeneratorAPI/record/113031/download_file
- HTML will produce the following: <a href="http://server/LinkgeneratorAPI/record/113031/download_file">DOC/19/29</a>"
- HyperLink will produce the following string: DOC/19/29 - Document Title
-
Press the Update button to save the settings
-
Once configured, the Link Generator can now be used
SOFT DELETER
When using Soft Deleter for the first time, you will be required to provide the settings for the add-in.
Please note that these settings are centrally managed and will affect all users.
Please follow the steps below on how to configure the add-in:
-
In Content Manager Web Client, select a Record
-
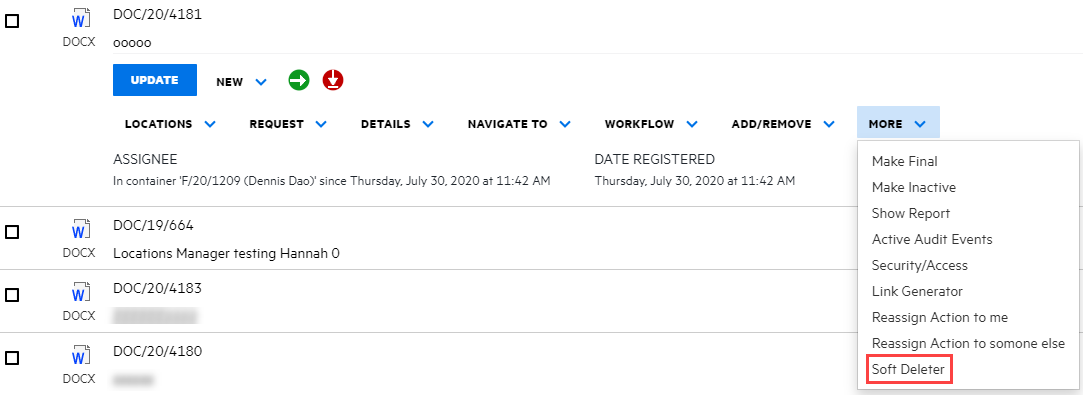
Click on the MORE drop-down menu and select Soft Deleter from the list of option
-
The Soft Deleter configuration window will appear, within the settings window the following settings are available for configuration
NoteThe following settings must be configured at a minimum before Soft Deleter can be used:
- Holding Container
- Soft Deleter Location
NAME DESCRIPTION SOFTWARE VERSION Current version of the installed add-in LICENSED TO Organisation the add-in is licensed to LICENSE EXPIRY DATE Expiry date of the license DATABASE ID The two-character dataset identifier LICENSE PATH The LOCAL file path to your license file including the .lic, for example:
C:\FYB Add-Ins\Licenses\FYB Enhancement Suite_XXXXXXXX.licHOLDING CONTAINER The holding container is required by FYB Soft Deleter to transfer records to a temporary holding container. (Please supply the URI of the container to this field) SOFT DELETER LOCATION The URI of the nominated soft delete location group REASONS Adjust the reasons for deletion, the reason will appear under the drop-down list. You may add as many reasons as required or adjust the existing as necessary USE EVENT PROCESSOR If enabled, soft deletion of records will be delegated to the Soft Deleter event processor using the Soft Deleted Request additional field as the trigger flag REMOVE CAVEATS If enabled, security caveats will be removed from soft deleted records CREATOR RESTRICTION If enabled, only the creator of the associated record can remove the record using the soft deleted request PUBLISHED RESTRICTION If enabled, this prevents records that are published from being soft deleted.
The published documents are determined through a boolean additional field. -
Press the Update button to save the settings
-
Once configured, the Soft Deleter can now be used
REASSIGN ACTIONS
There is no additional required configuration for initial run of Reassign Actions.
PDF GENERATOR
There is no additional required configuration for initial run of PDF Generator.
EMAIL TAGGER
The following settings are required for the initial run of Email Tagger
| NAME | DESCRIPTION |
|---|---|
| Email Tag Prefix | The email prefixed used for the generation of the email tag |